Charlie and the Chocolate Factory Crafts
With the play Charlie and the Chocolate Factory opening right around the corner from our studio, at the Playhouse on the Square, we knew we had to get in on the fun.
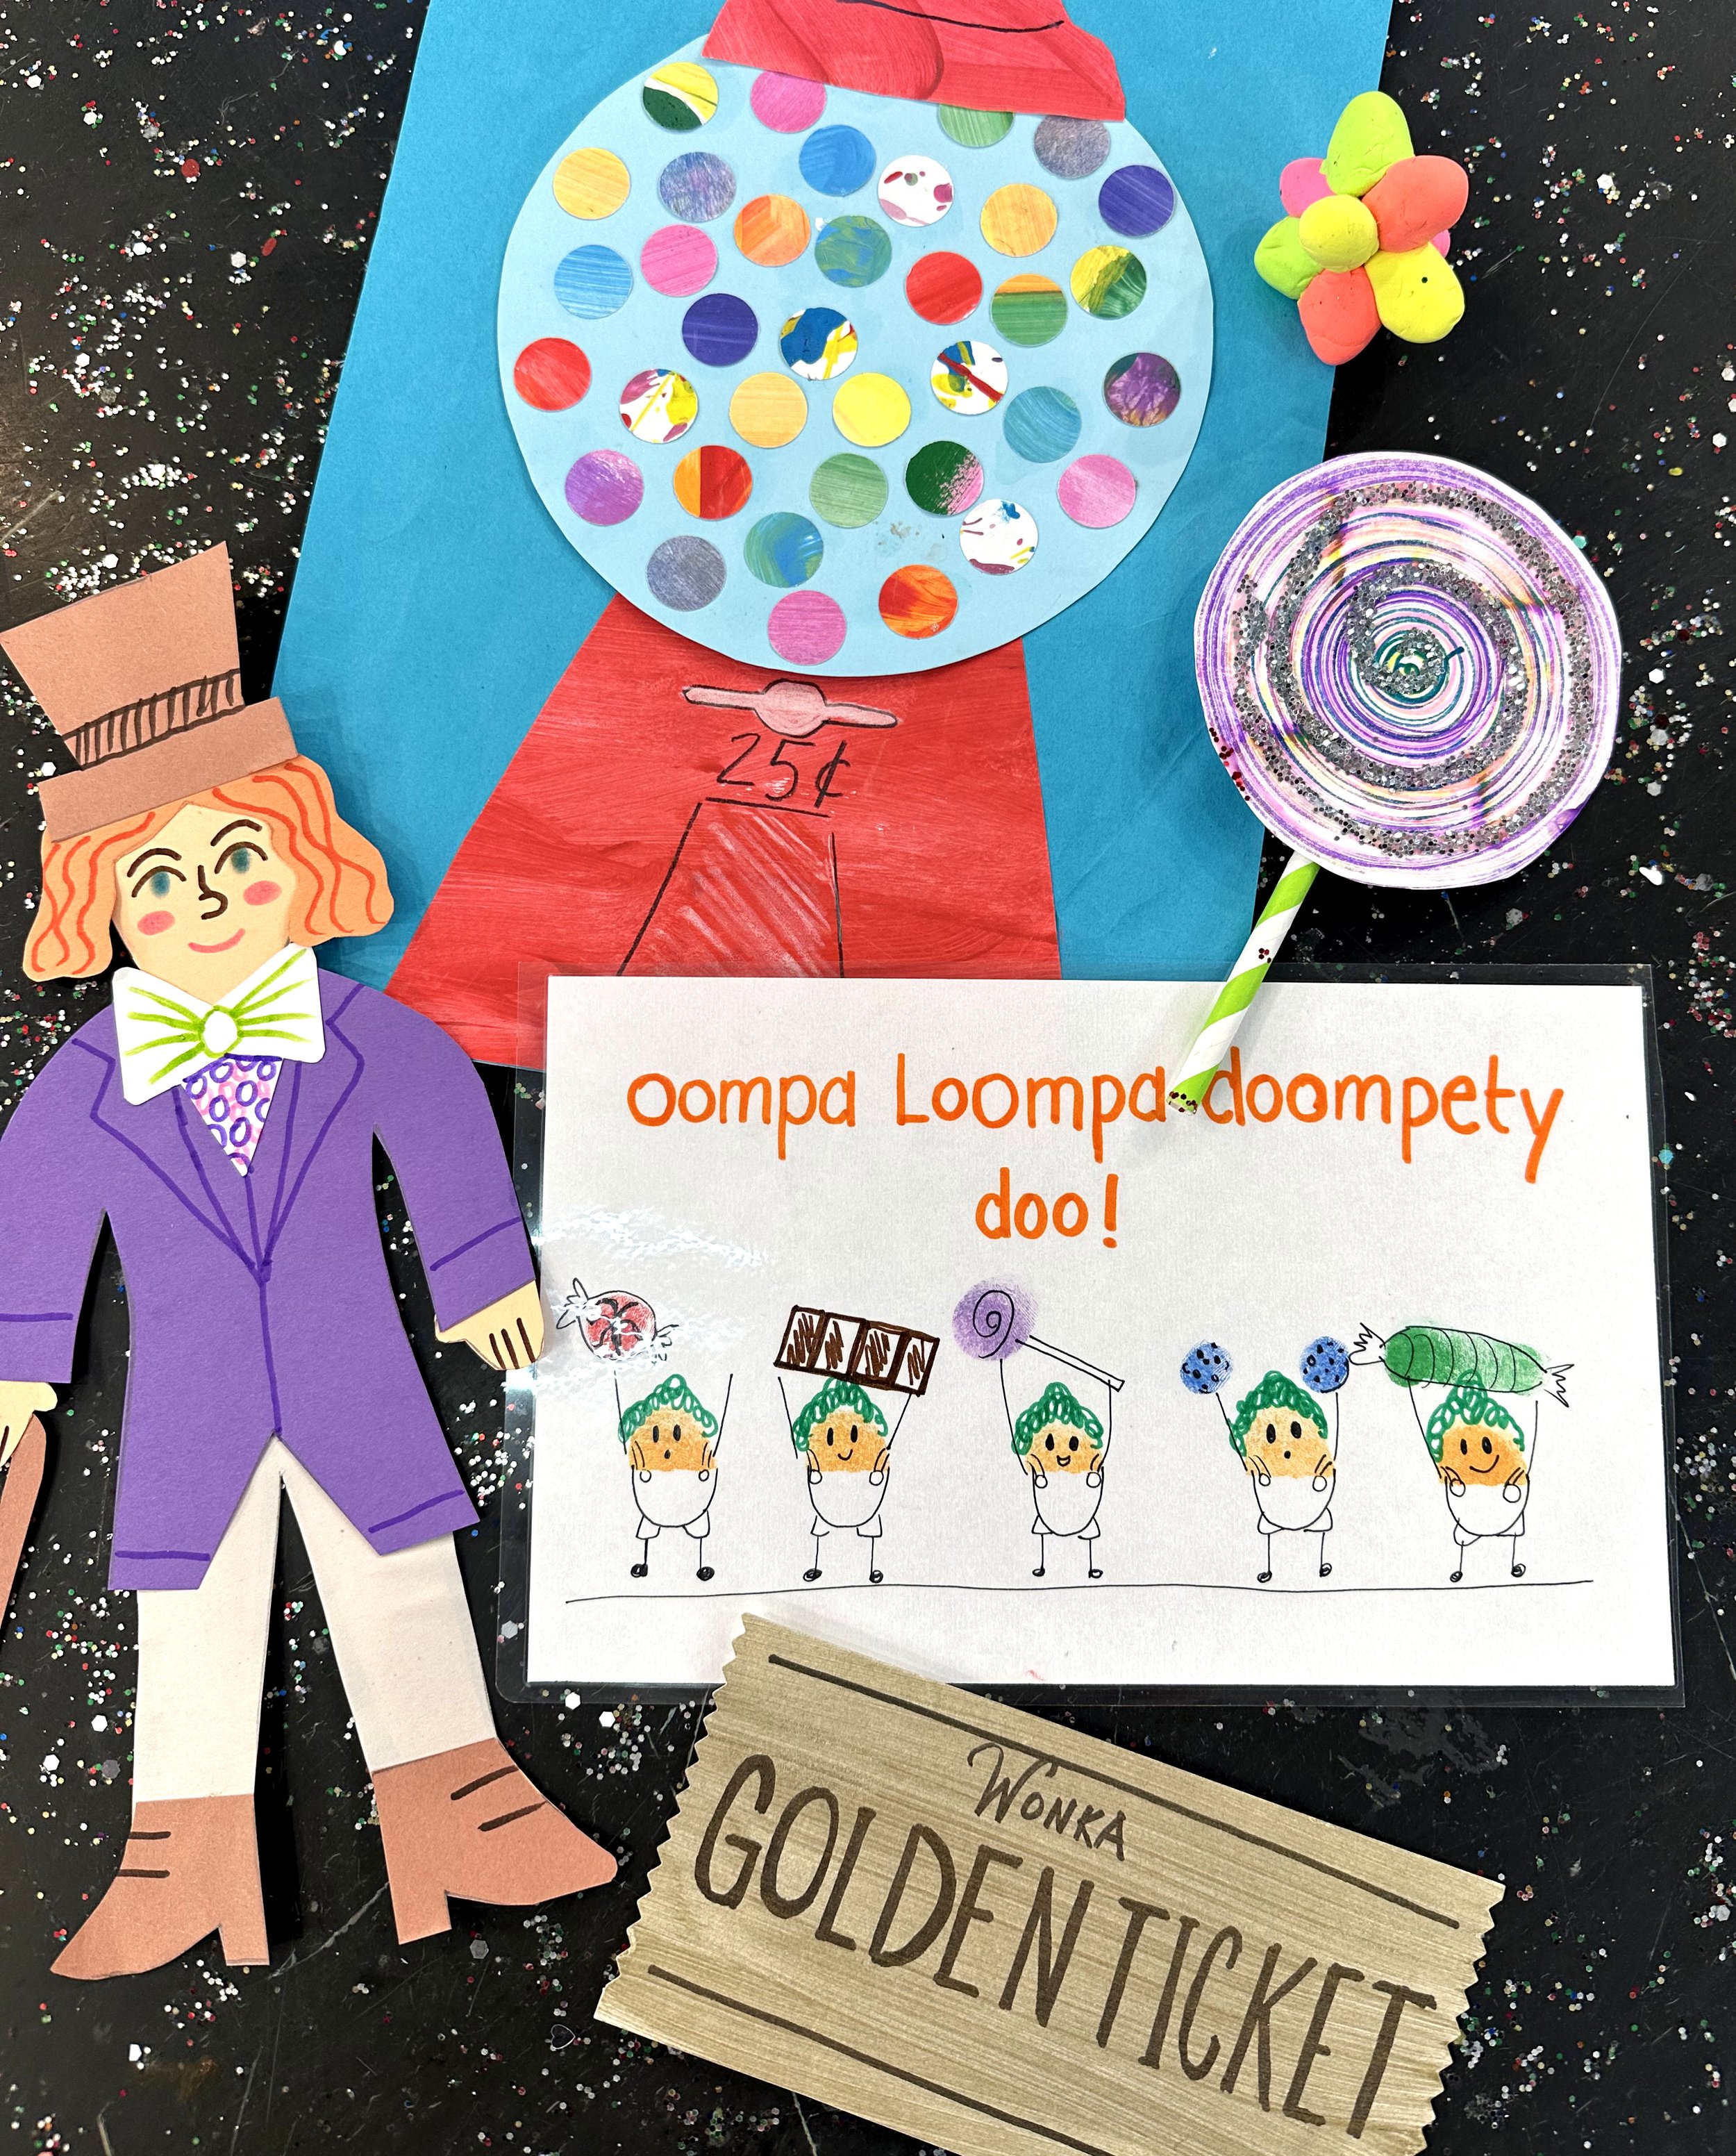
Below are six crafts inspired by the story. These are great for kids of all ages (and parents!). Let us know if you try any of these projects at home!
Willy Wonka Paper Doll
What You’ll Need:
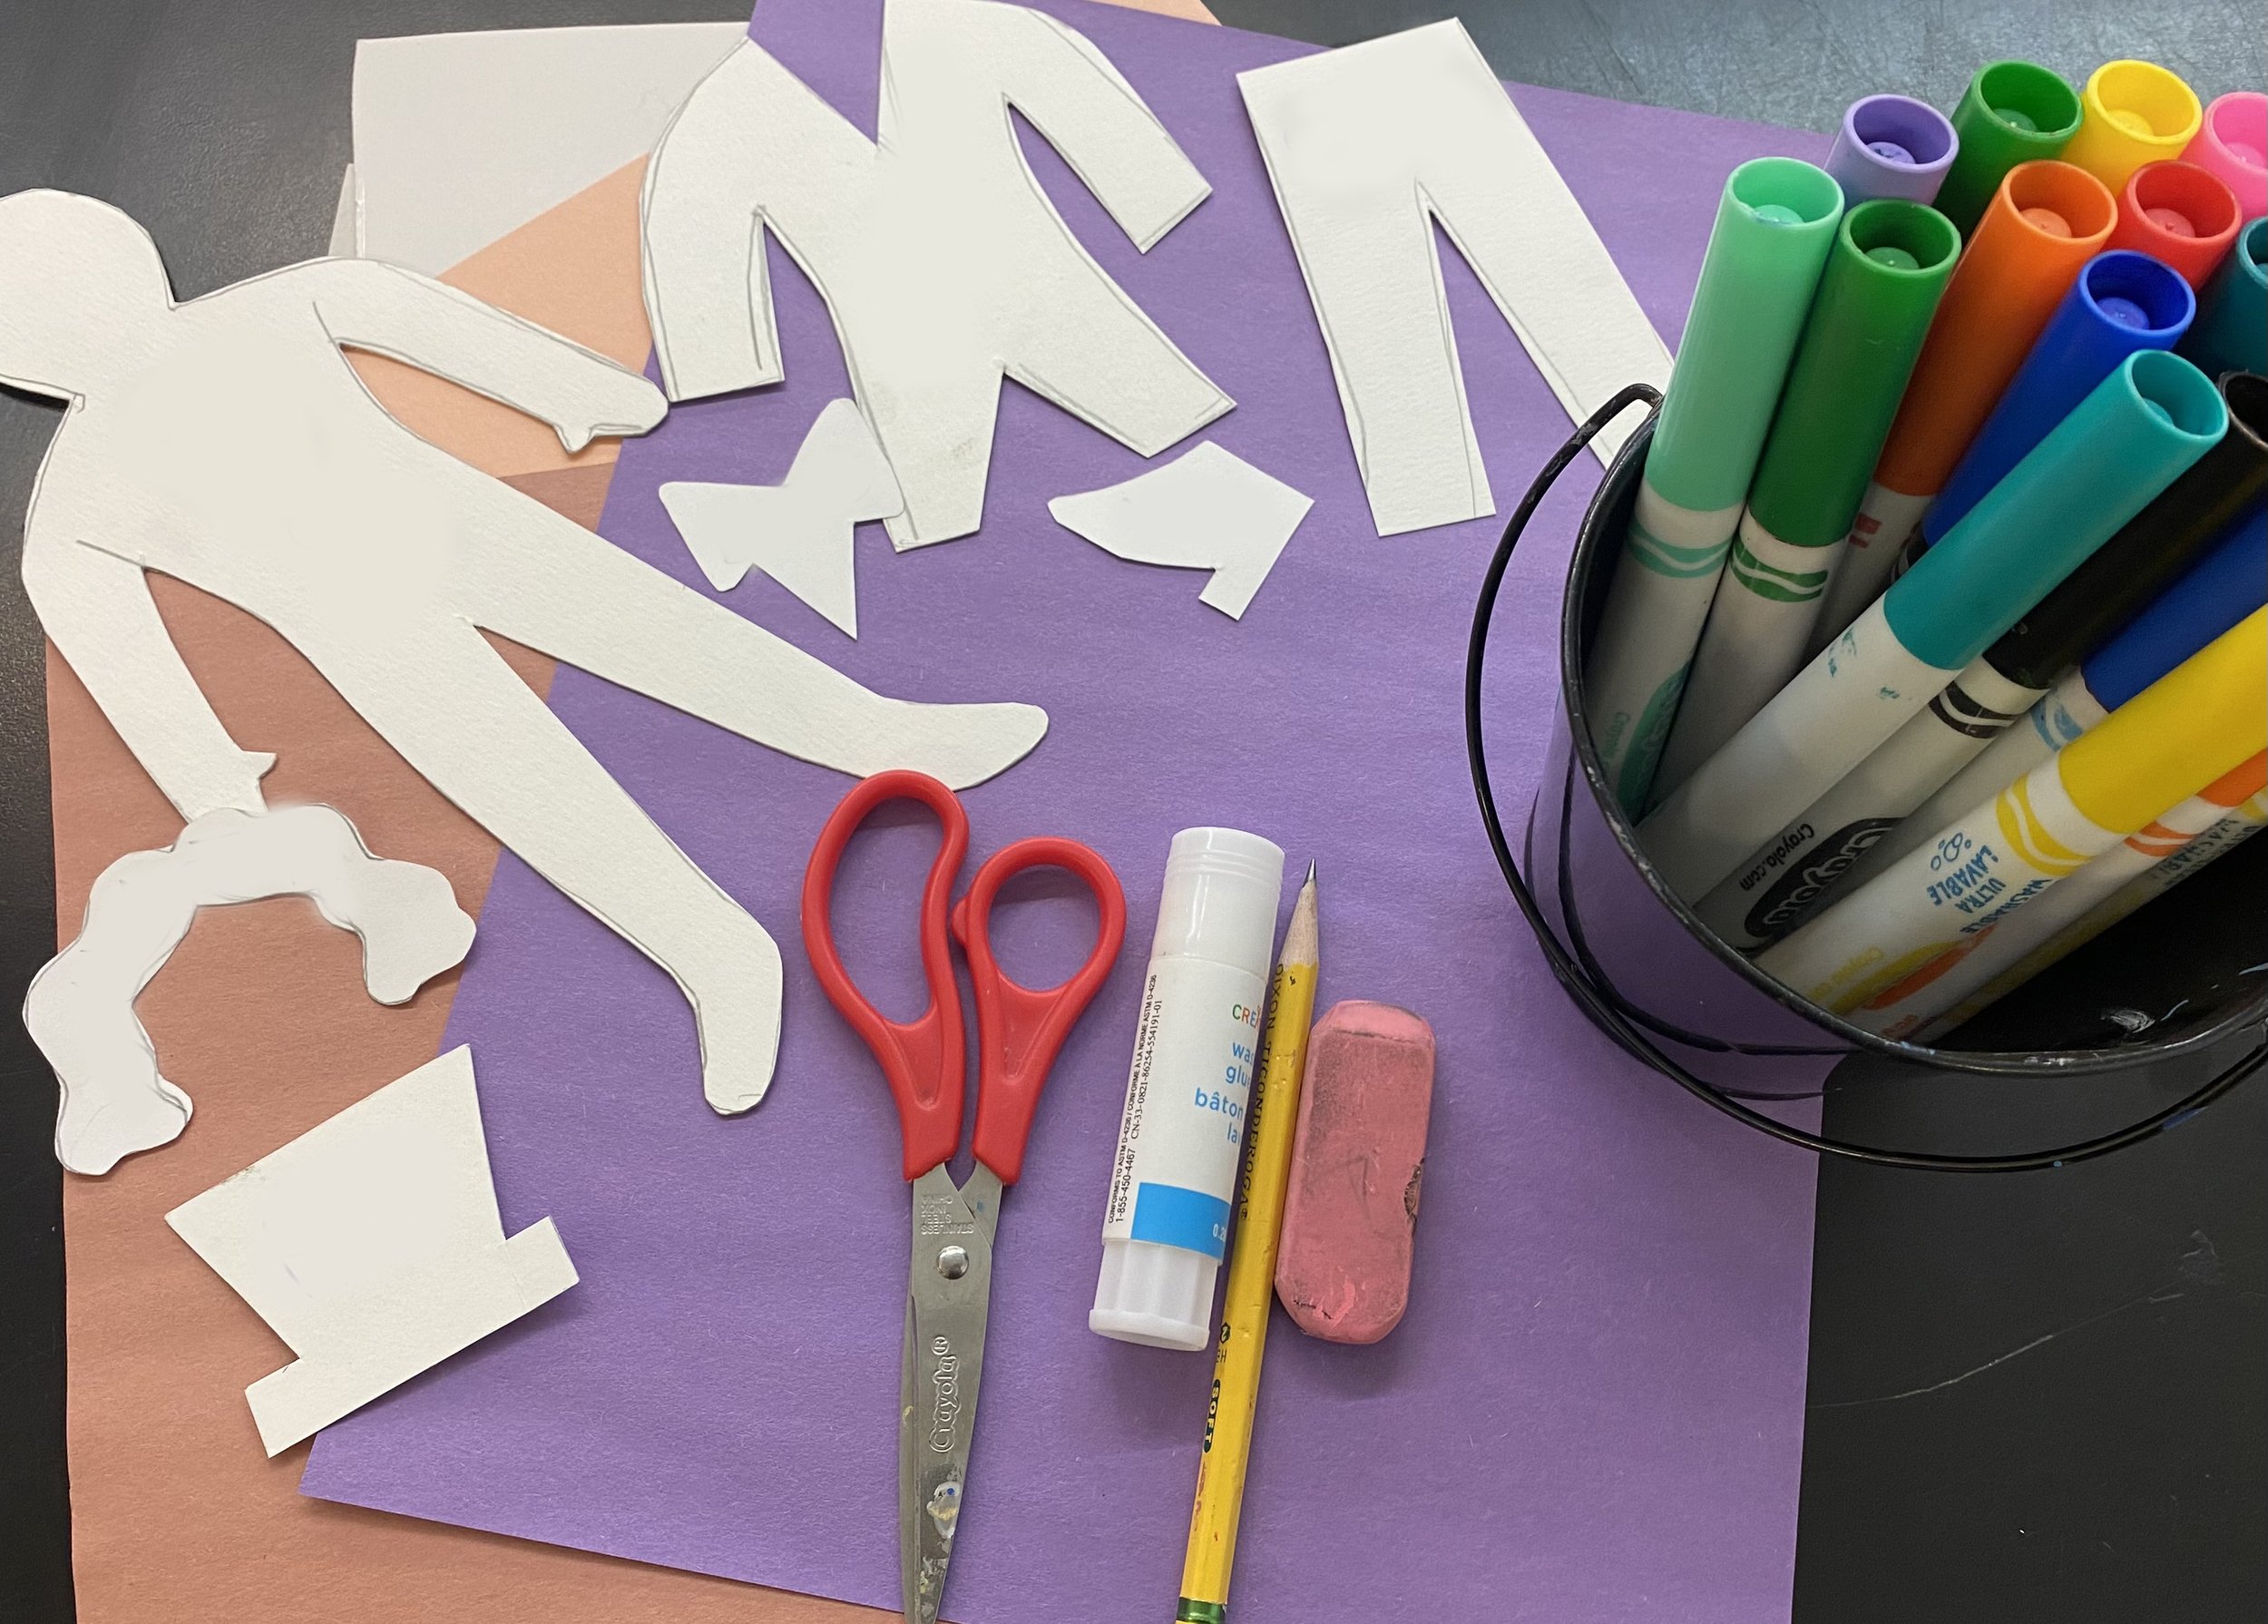
Construction paper
Paper doll templates (download templates for free here - body/accessories and clothes)
Glue stick
Scissors
Pencil/eraser
Instructions:
Trace our paper doll body templates onto construction paper. See above links to download our paper doll templates. Or, feel free to design your own. Cut them out.
Assemble your clothes onto your paper doll and secure with a glue stick. Add hair, hat, bow tie, boots and any other accessories.
Using markers, draw a face and other details on your person.

Willy Wonka Paper Doll
Make A Golden Ticket
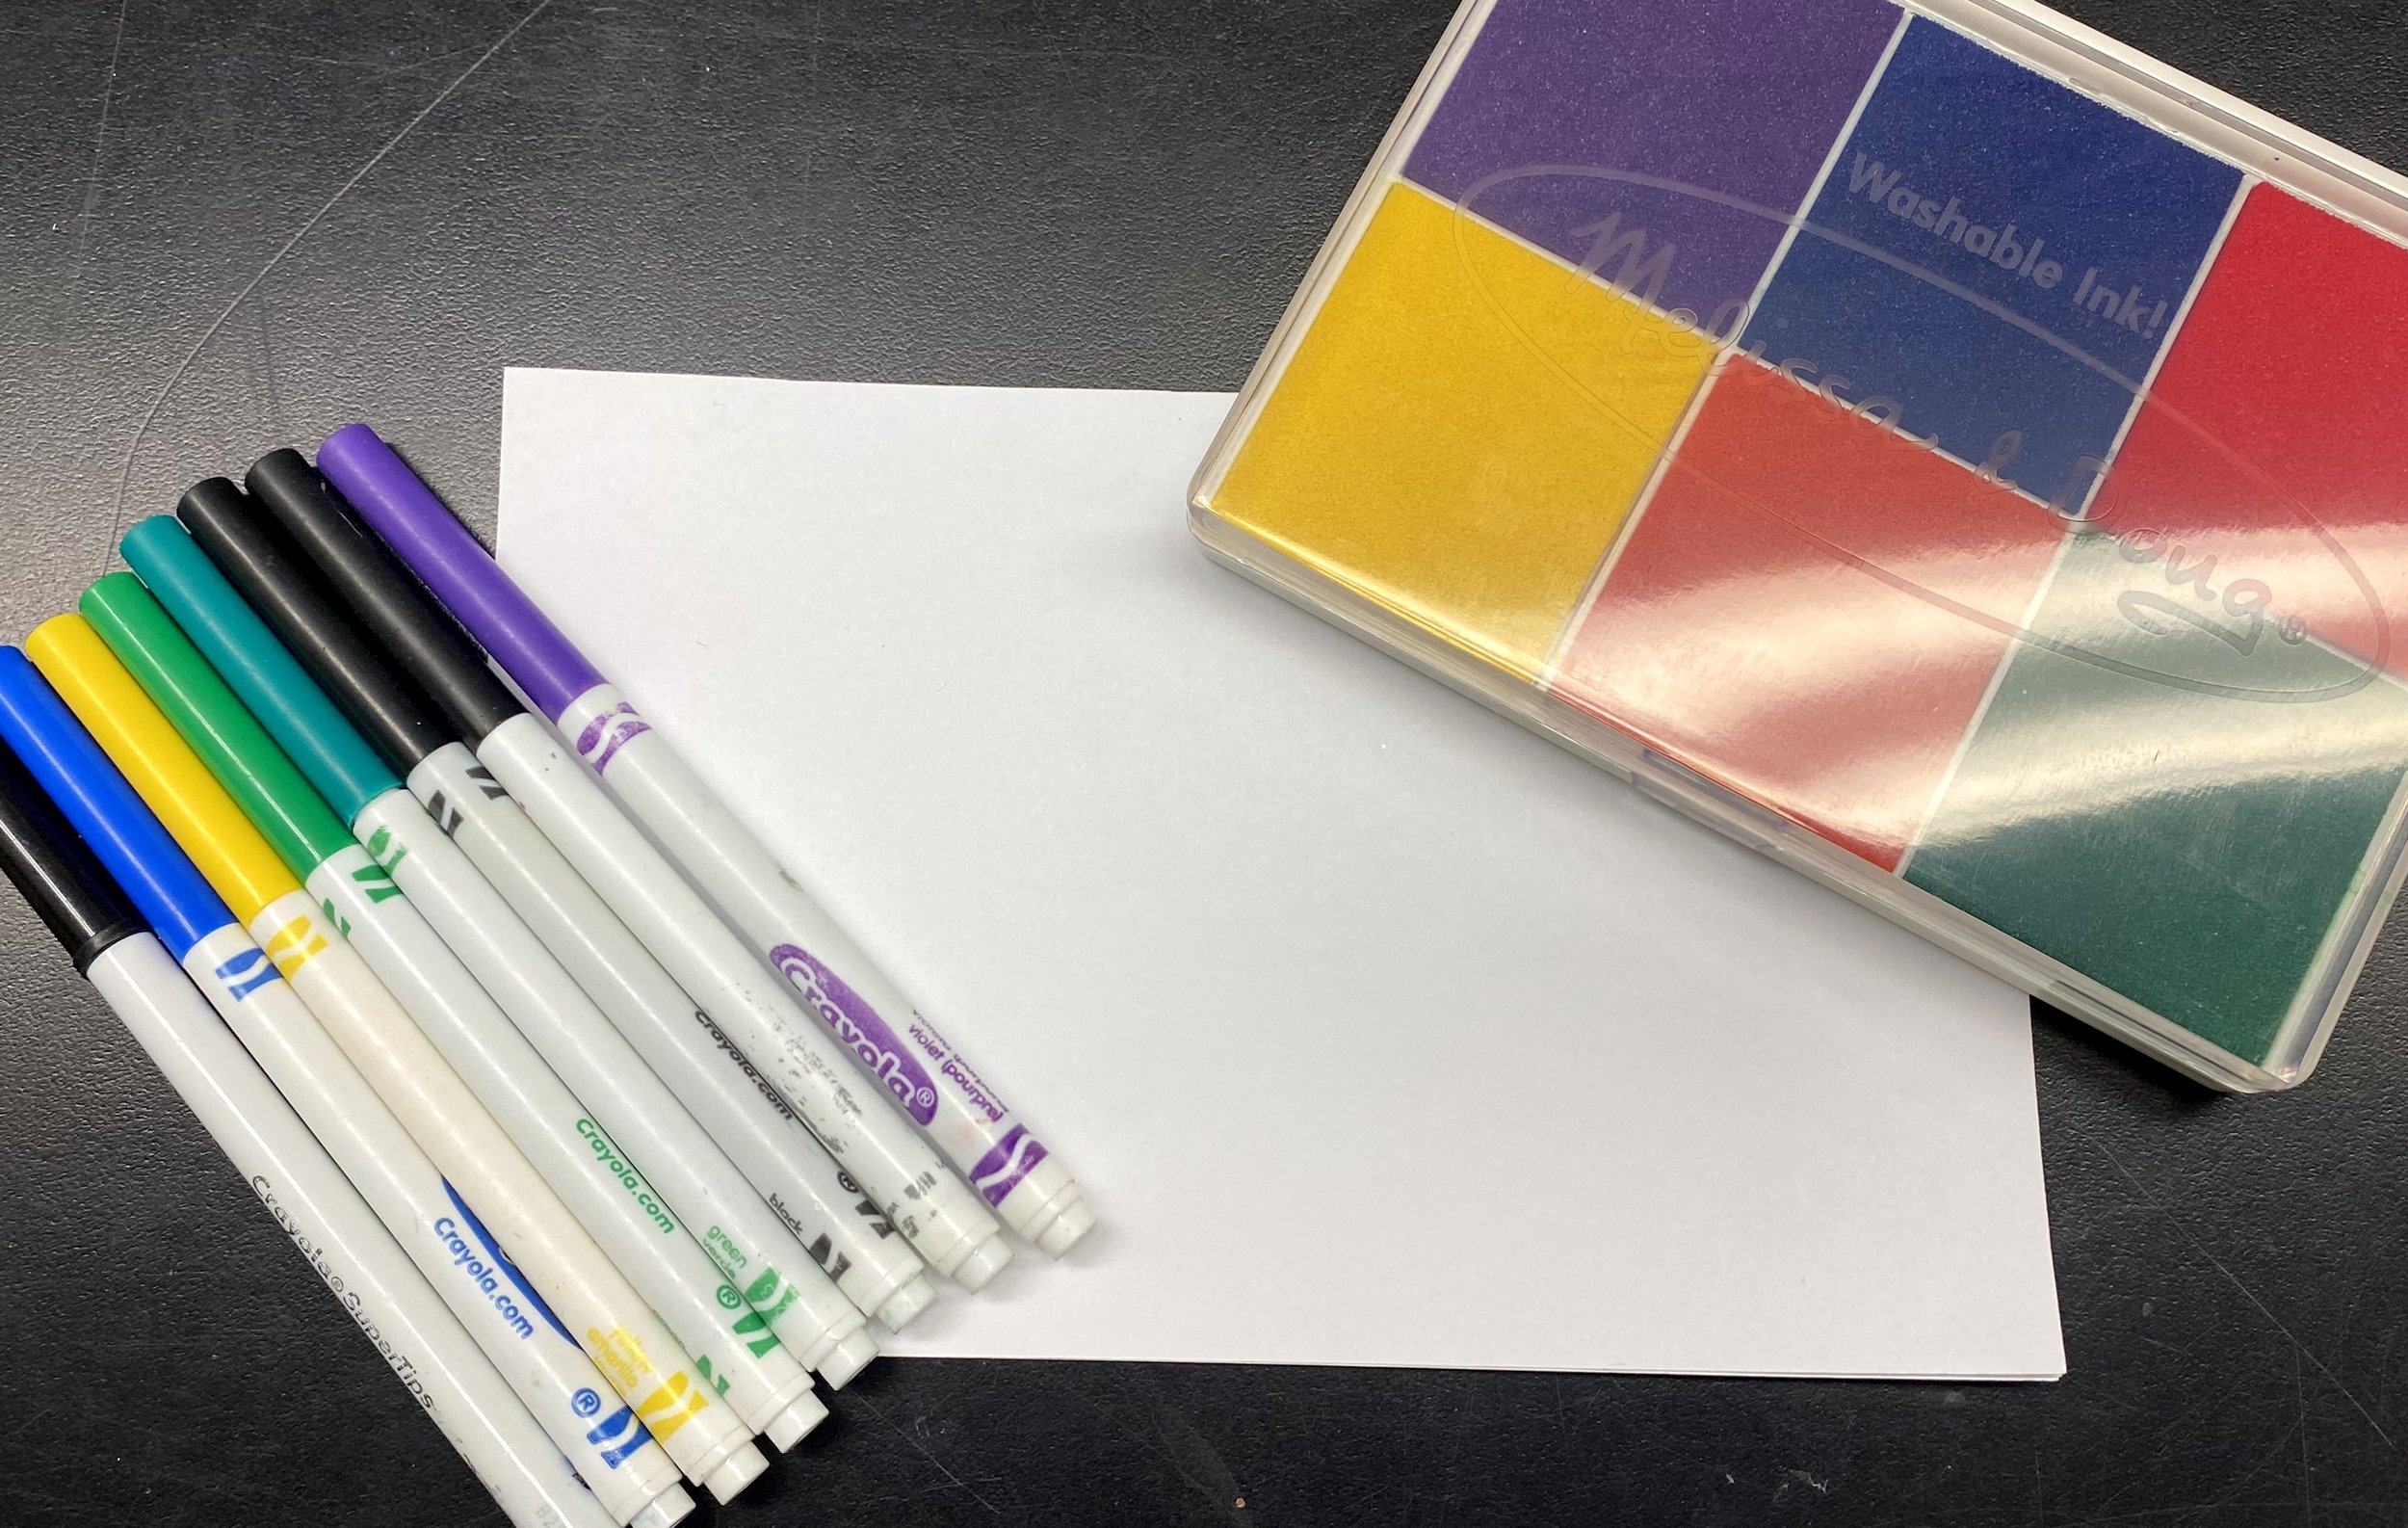
What You’ll Need:
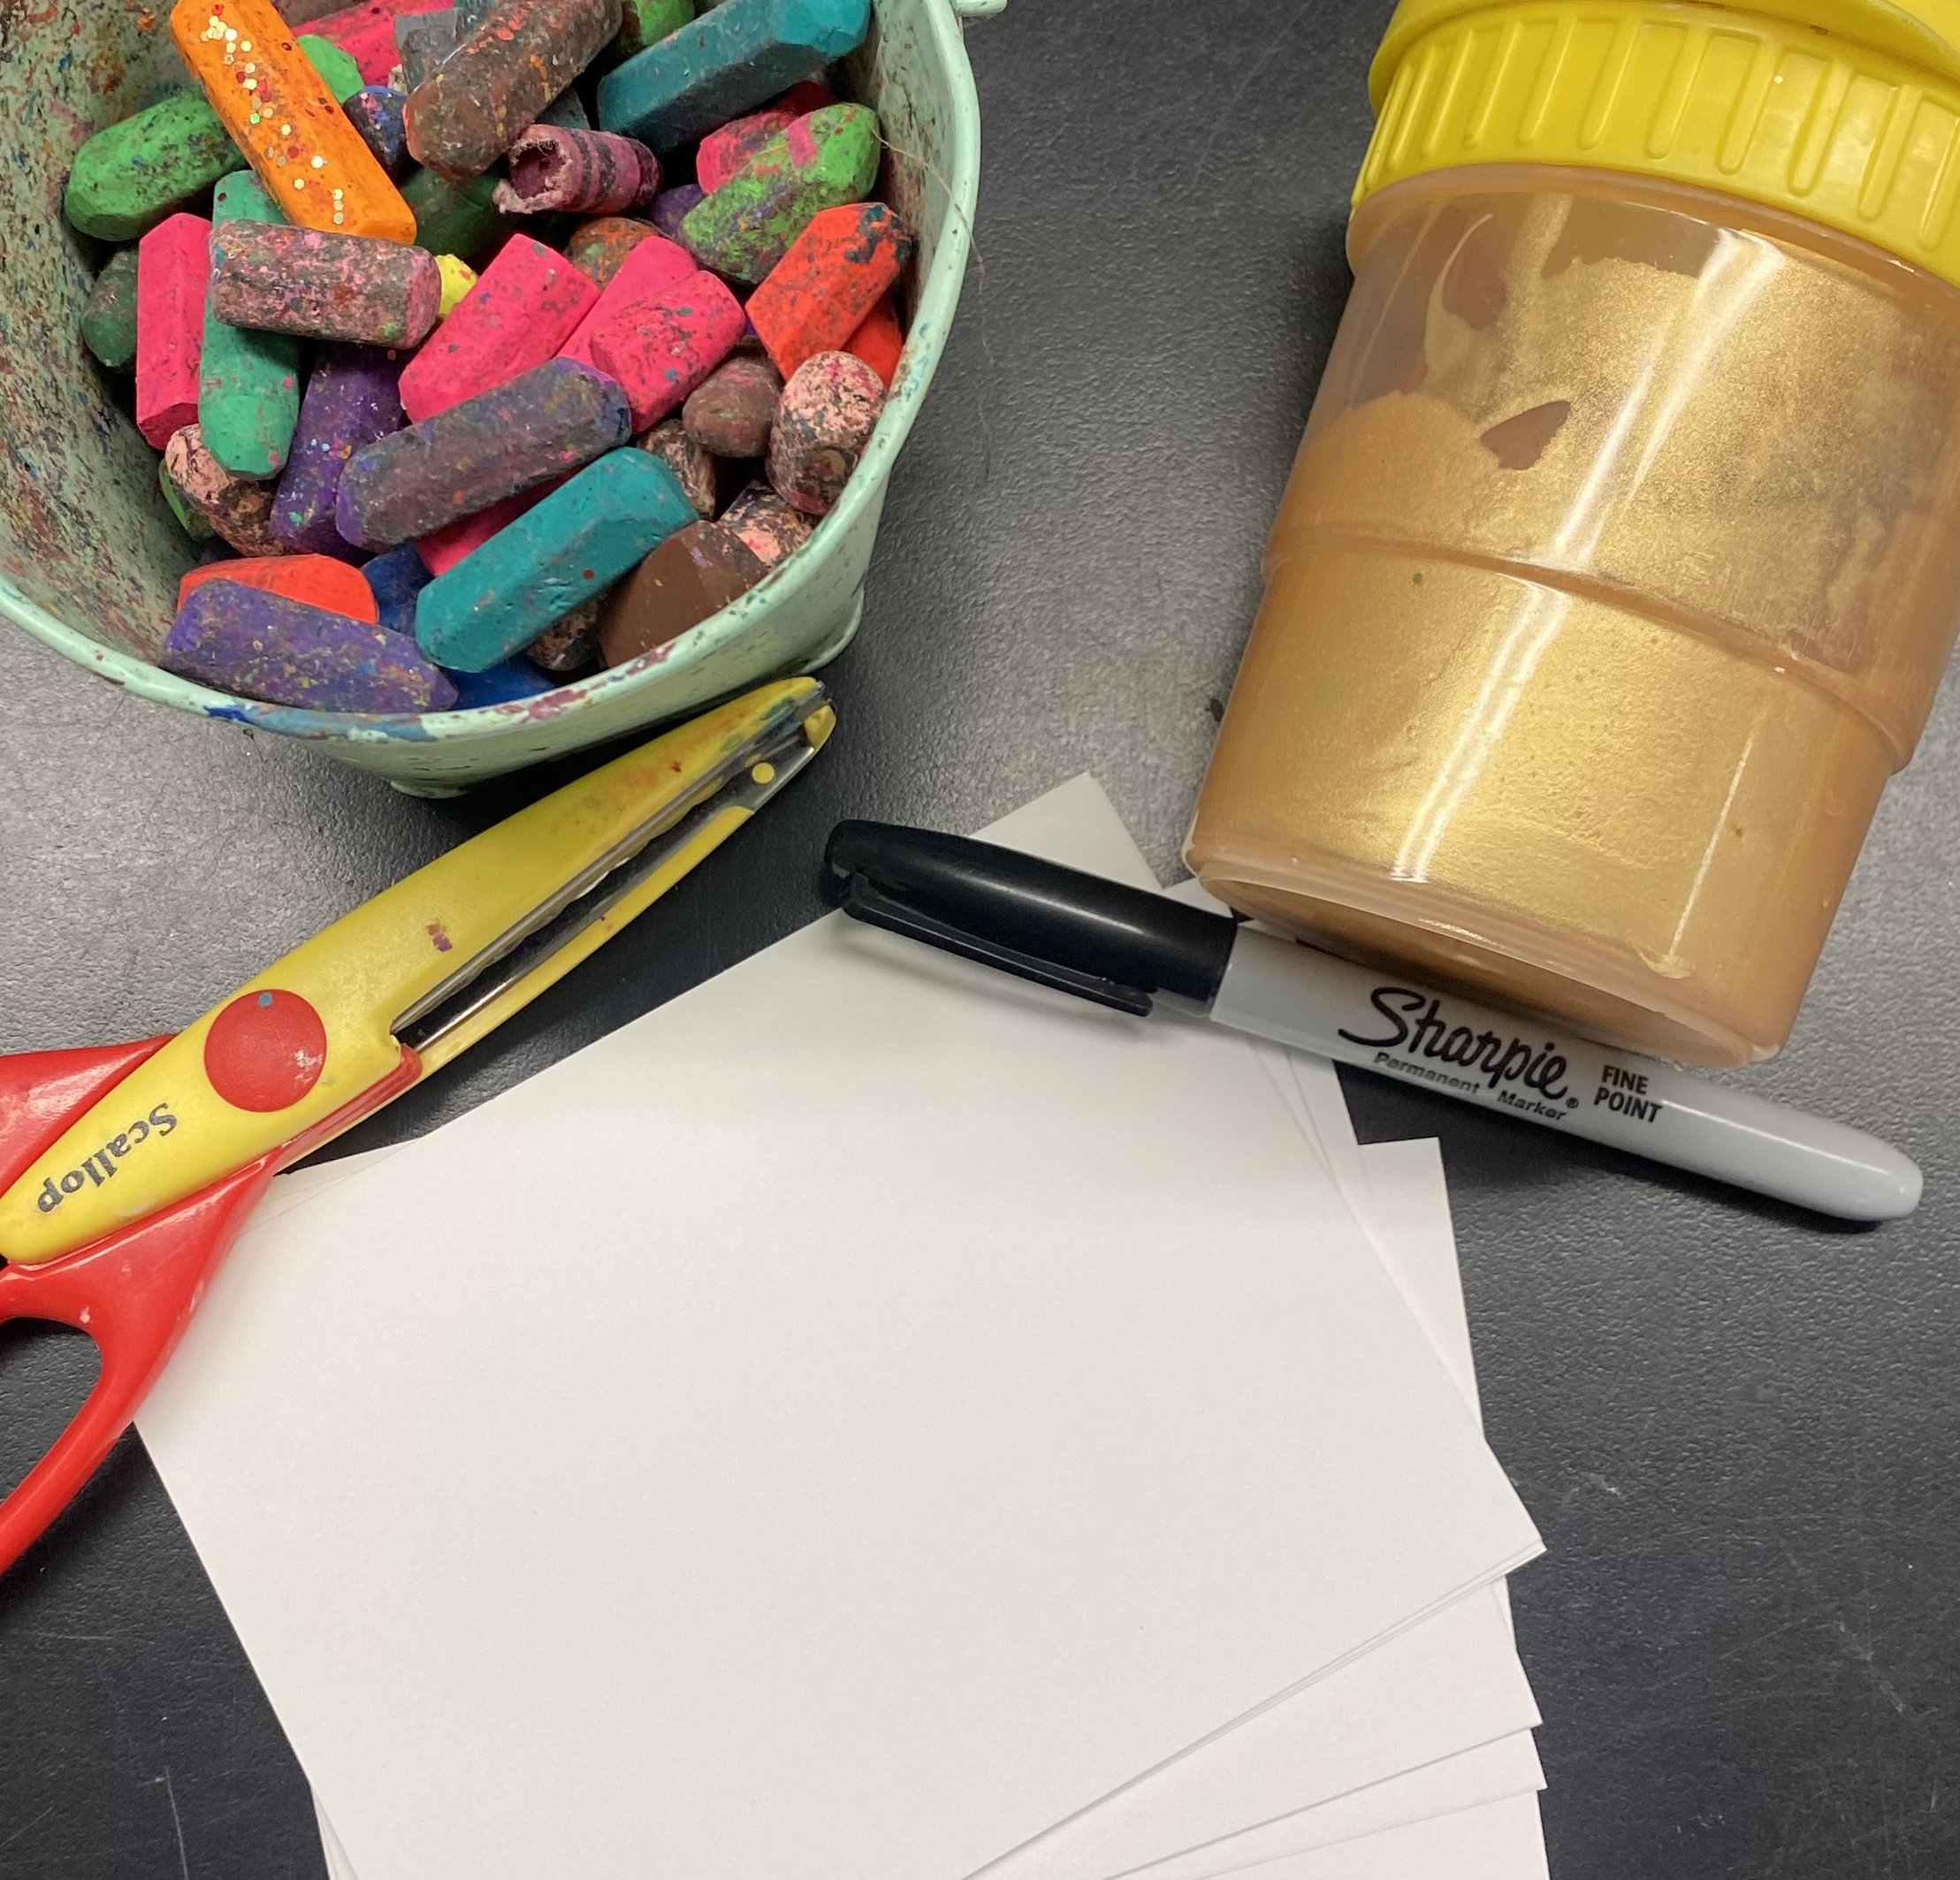
Permanent markers in assorted colors or oil pastels for younger kids (we love these neon oil pastels by Crayola)
Paintbrush
Gold Liquid Watercolor poured into a paint cup (we love these no spill cups by Melissa & Doug so you can save your extra paint for later)
Instructions:
Cut out your ticket using decorative scissors.
Design the text on your ticket using permanent markers and/or oil pastels.
Fill in the background using gold liquid watercolor paint.
Optional: Once paint has dried, go back on top of the paint with oil pastels or permanent marker.
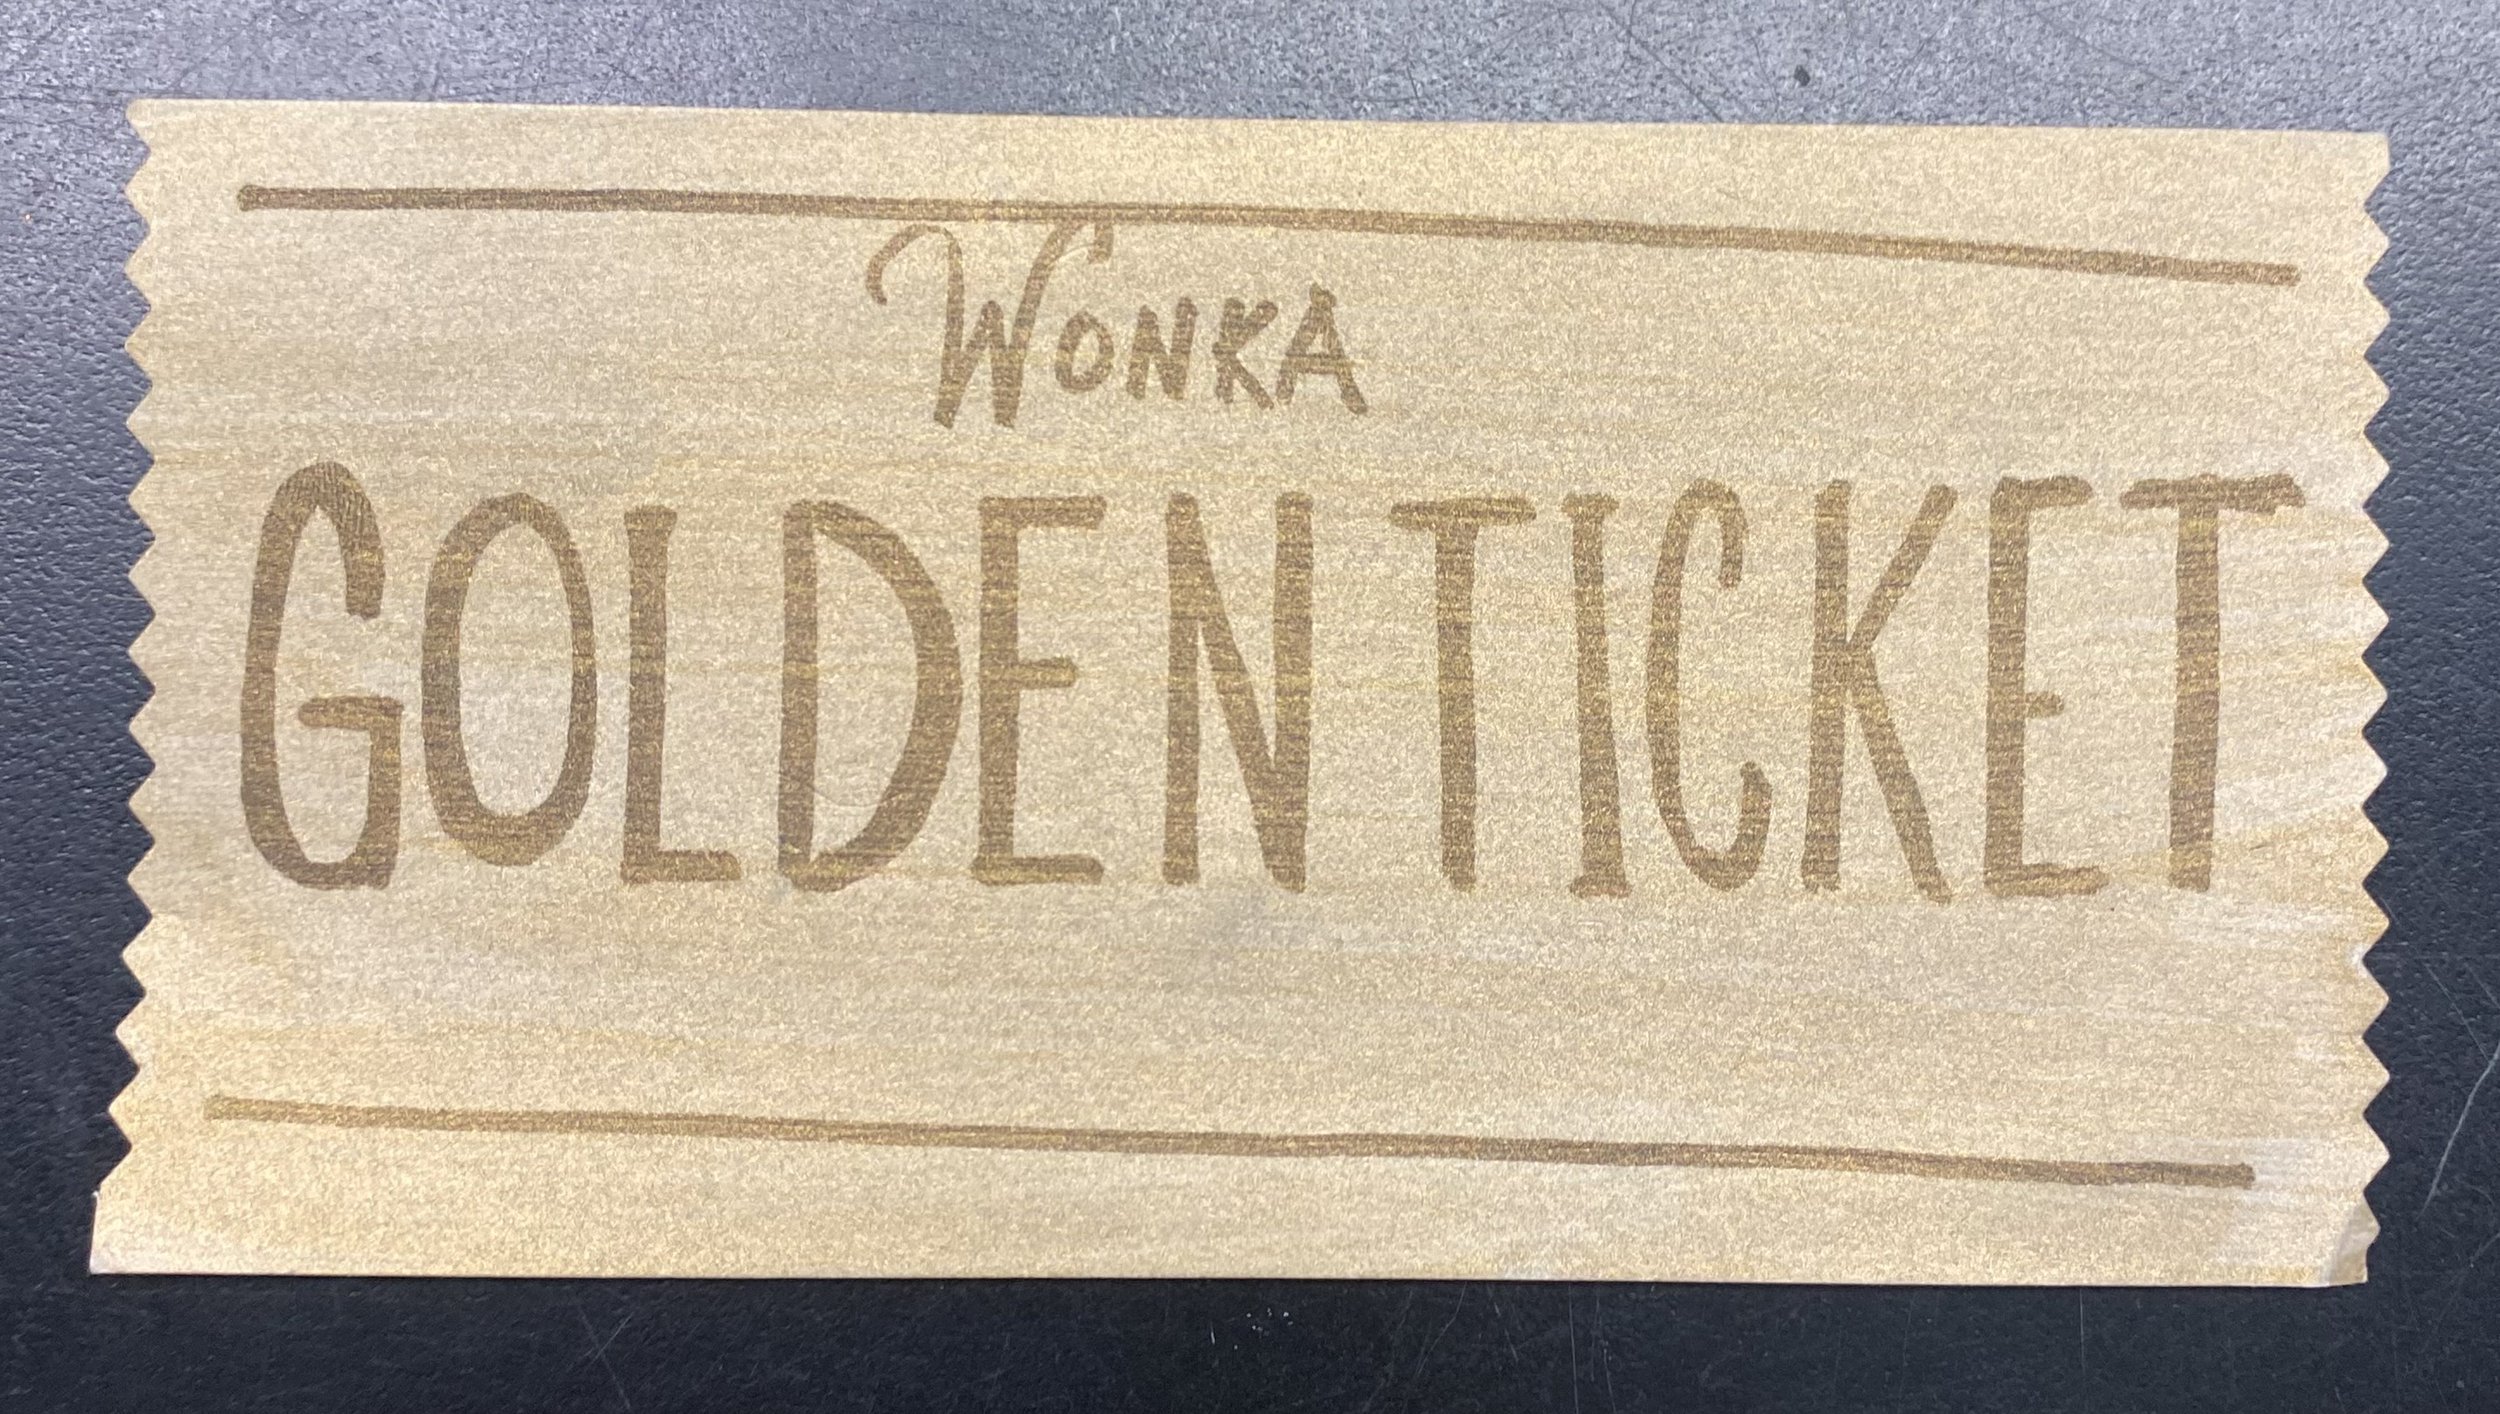
Golden Ticket
Oompa Loompa Fingerprint Art
Fingerprint art has been a favorite at the studio since day 1 (still love this fingerprint scavenger hunt we made during Covid lockdown). It is a simple way for kids to draw characters without getting frustrated.
What You’ll Need:
Instructions:
Dip the top half of your finger into stamp ink and stamp it on your paper.
Use markers to add the characters’ bodies, eyes, hair, feet, hands, etc. Follow our example or feel free to get creative!
Next, dip your finger in ink and stamp it on your paper to create the candy held by the character. Add details to the candy using markers.
*Tip: Make sure to wipe your finger off in between colors to avoid making your stamp pad dirty.
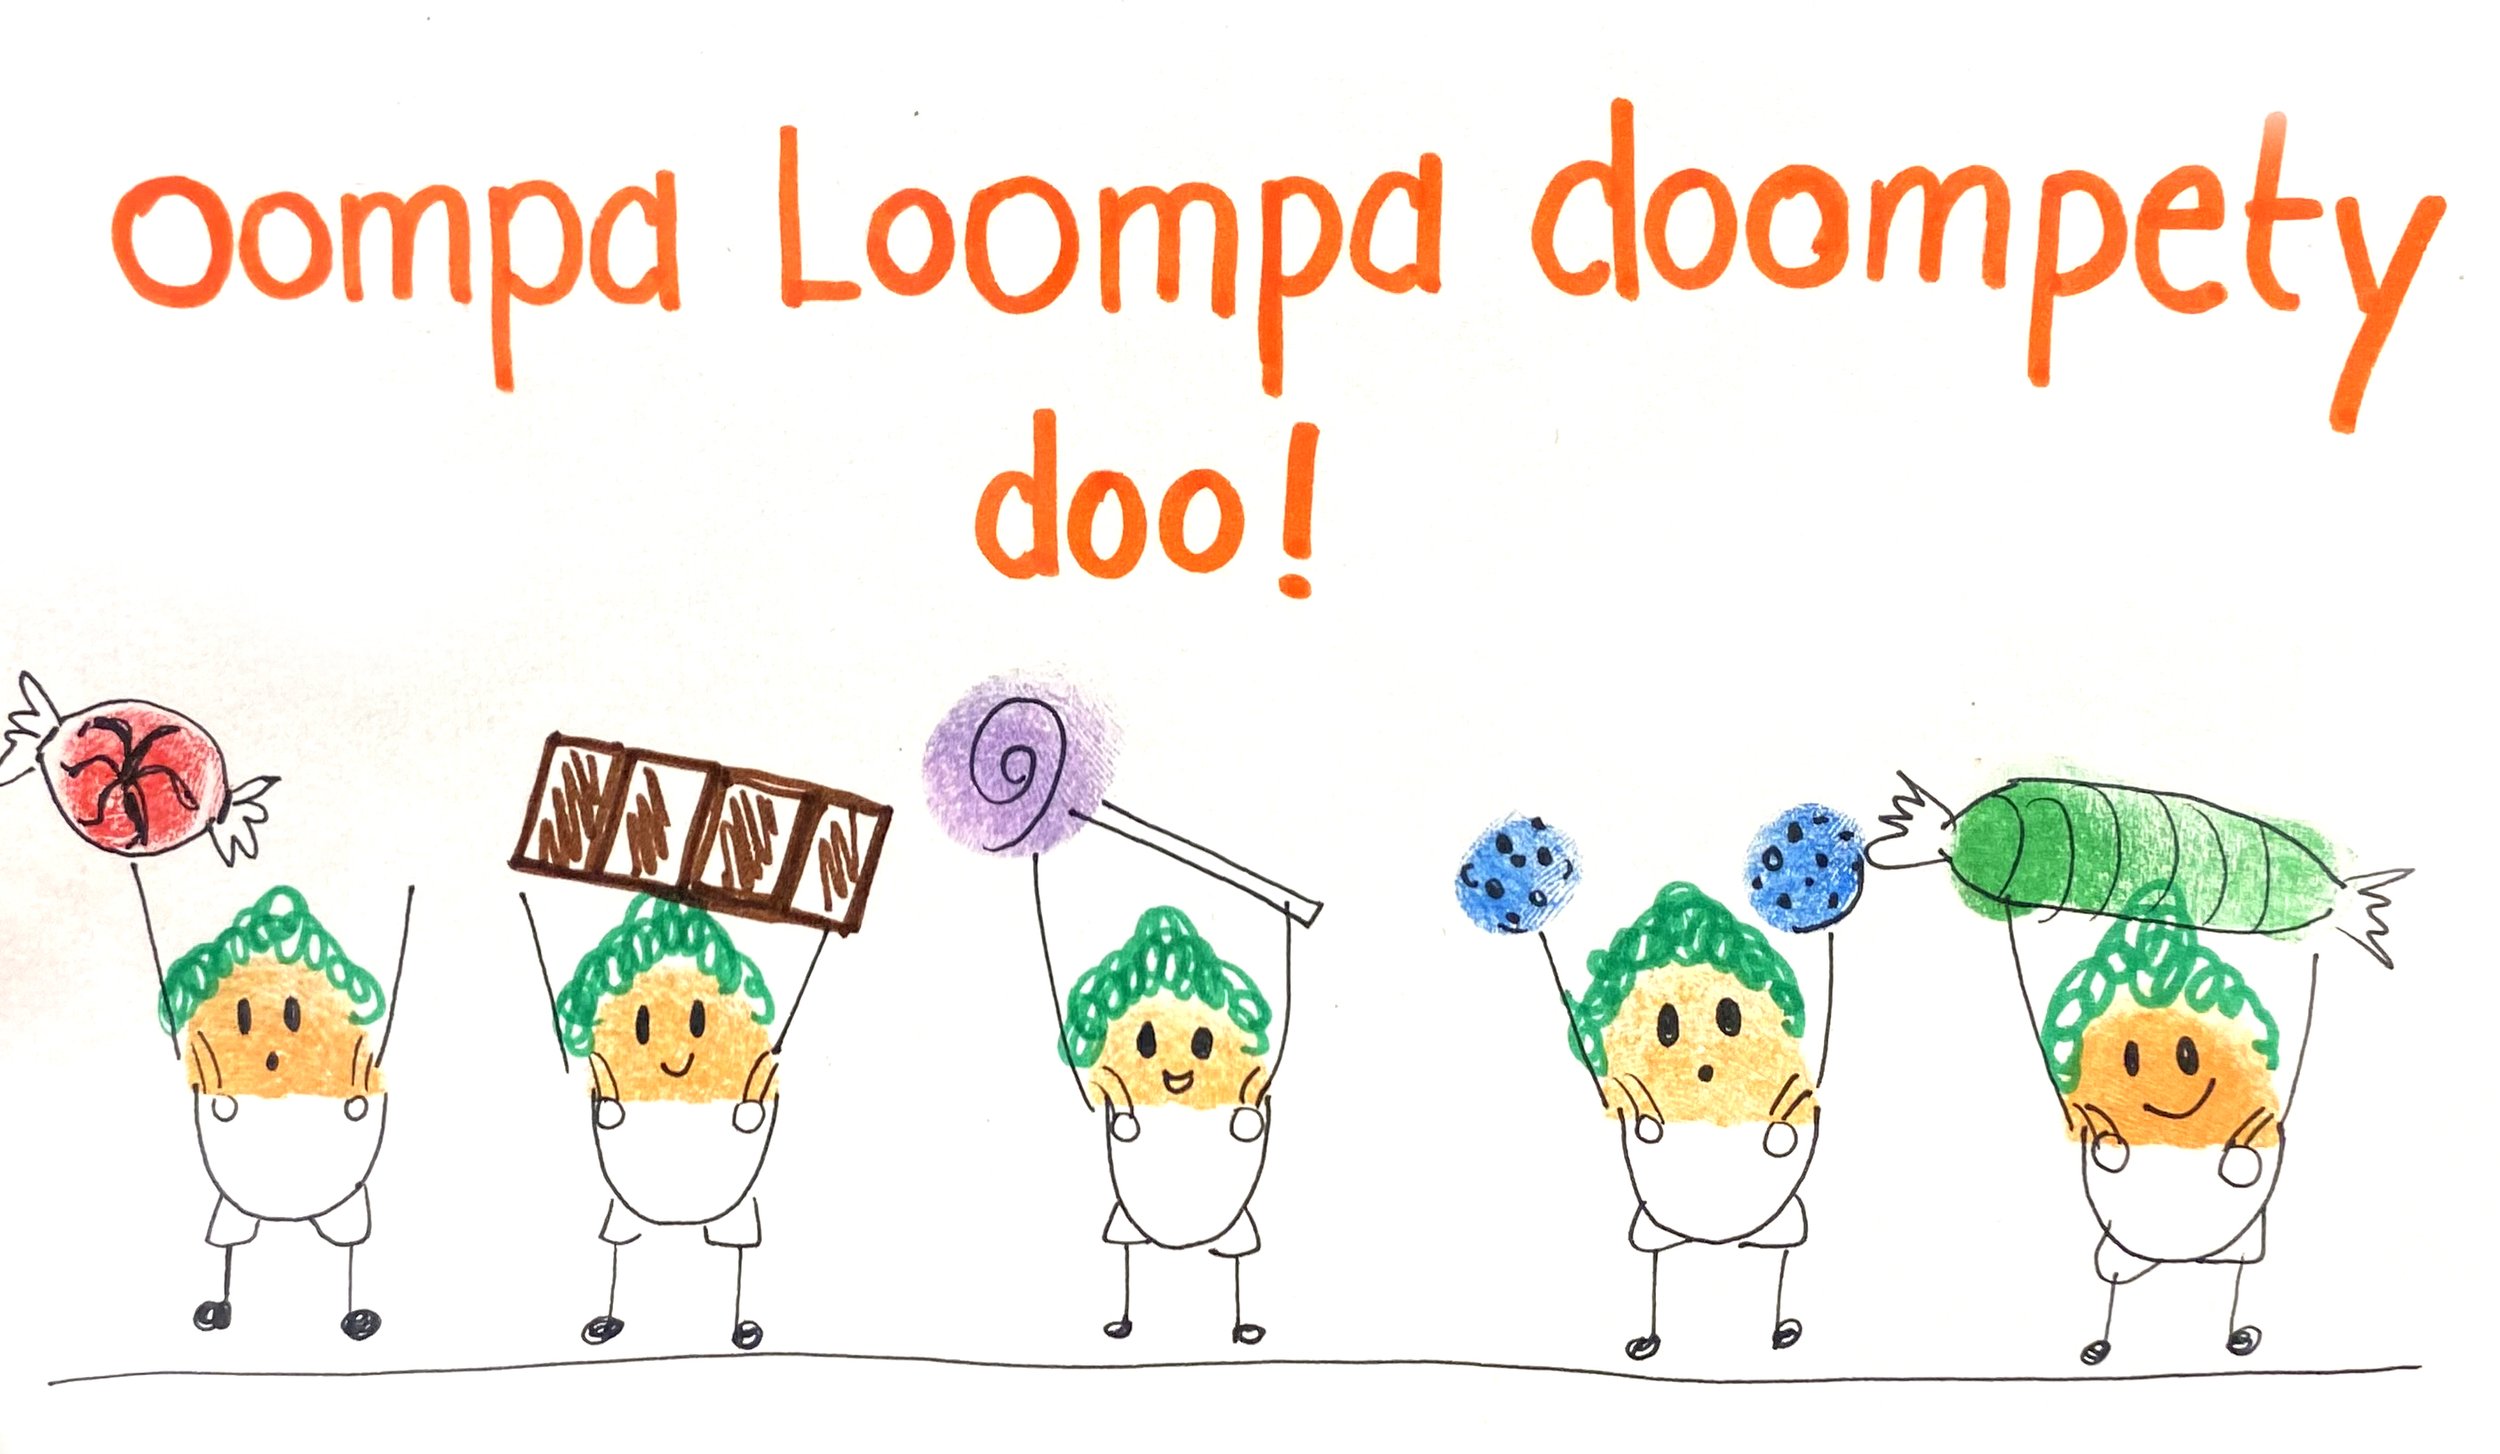
Oompa Loompa Fingerprint Art
Spin Art Lollipop
We’ve been using spin art machines at the studio since before we even opened our doors. They are always popular. We love the hand powered spin art machines because kids are able to control how fast/slow they spin and they aren’t always running out of batteries. They can be super messy to use at home since kids love to squeeze entire bottles of paint in the machines. Using markers is a low mess (but still fun) way to create with spin art.
What You’ll Need:

4” x 4” square paper
Paper straws or craft sticks
Scissors
Masking Tape
Optional: Glue & Glitter
Instructions:
Clip your square paper into the spin art machine.
While continuously pressing the lever with one hand, place your marker on the spinning paper and watch as a circular design appears.
Cut out the circular shape and tape it to a paper straw or a popsicle stick.
Optional: Decorate your lollipop using glitter and glue. Be sure to use a tray to catch the loose glitter (here is one of our favorite trays for using messy materials like glitter).
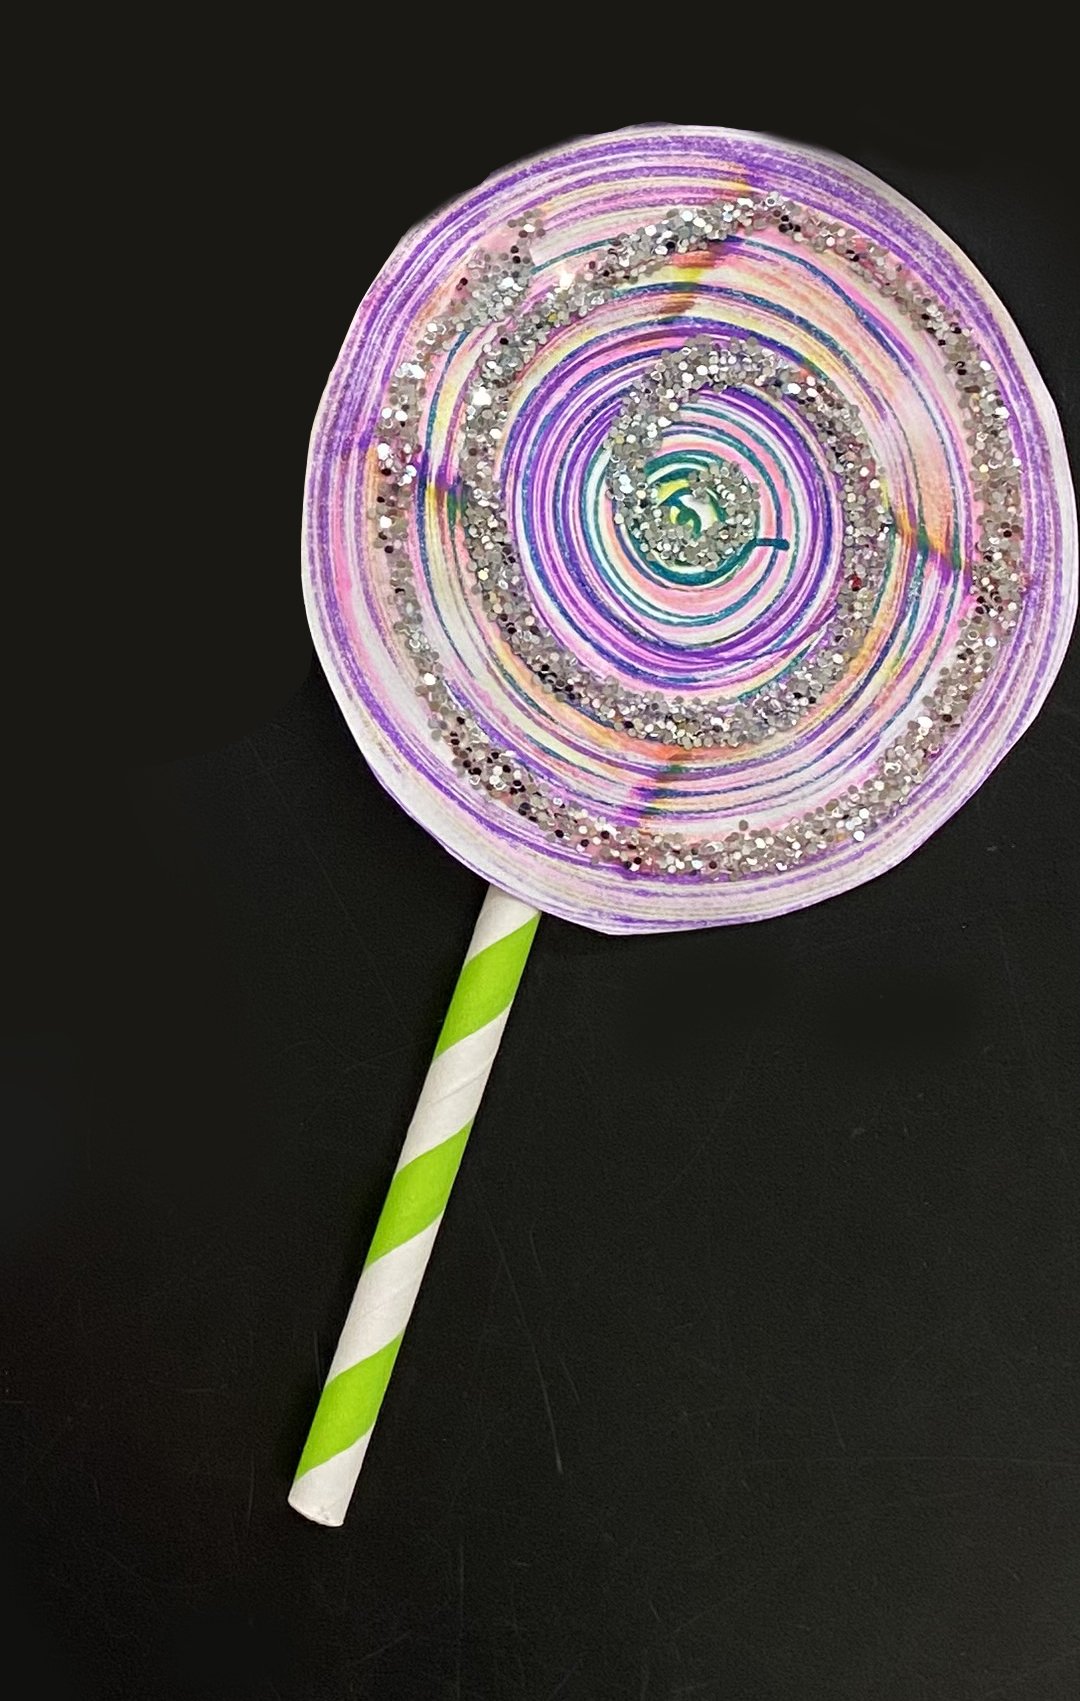
Spin Art Lollipop

Everlasting Gobstopper
Make An Everlasting Gobstopper
Model Magic is a type of air dry clay. Unlike other air dry clays, it is very low mess and doesn’t crumble. Plus, it can be super fun for color mixing. It is a great way to introduce young children to clay without needing any type of special equipment or kiln.
What You’ll Need:
Instructions:
Roll small pieces of Model Magic clay into a ball. Squish the balls together to make your piece of candy.
Clay will air dry in 24-48 hours.
Collage A Gumball Machine
This project is a fun way to use up paper scraps or unwanted painted paper (as you can imagine, we hoard a LOT of unwanted painting paper at the studio). Invest in some paper punchers in a variety of shapes to make collage fun for kids!
What You’ll Need:
Glue stick
Construction paper
Collage paper (use magazine scraps, unwanted art, scrapbook paper, etc.)
Scissors
Instructions:
Cut out lots of little “gumball” circles in assorted colors. Use a circle paper puncher to make this process more fun.
Draw a circle for the container of your gumball machine. Cut it out. *Tip: Find something circular to trace, like a coffee can.
Cut out a base and a top for your gumball machine.
Glue your base down to a piece of construction paper. Next, glue the circular container piece down. Then, glue down all of your little gumballs. Finally, add the top to your machine.
Add any decorations using markers.
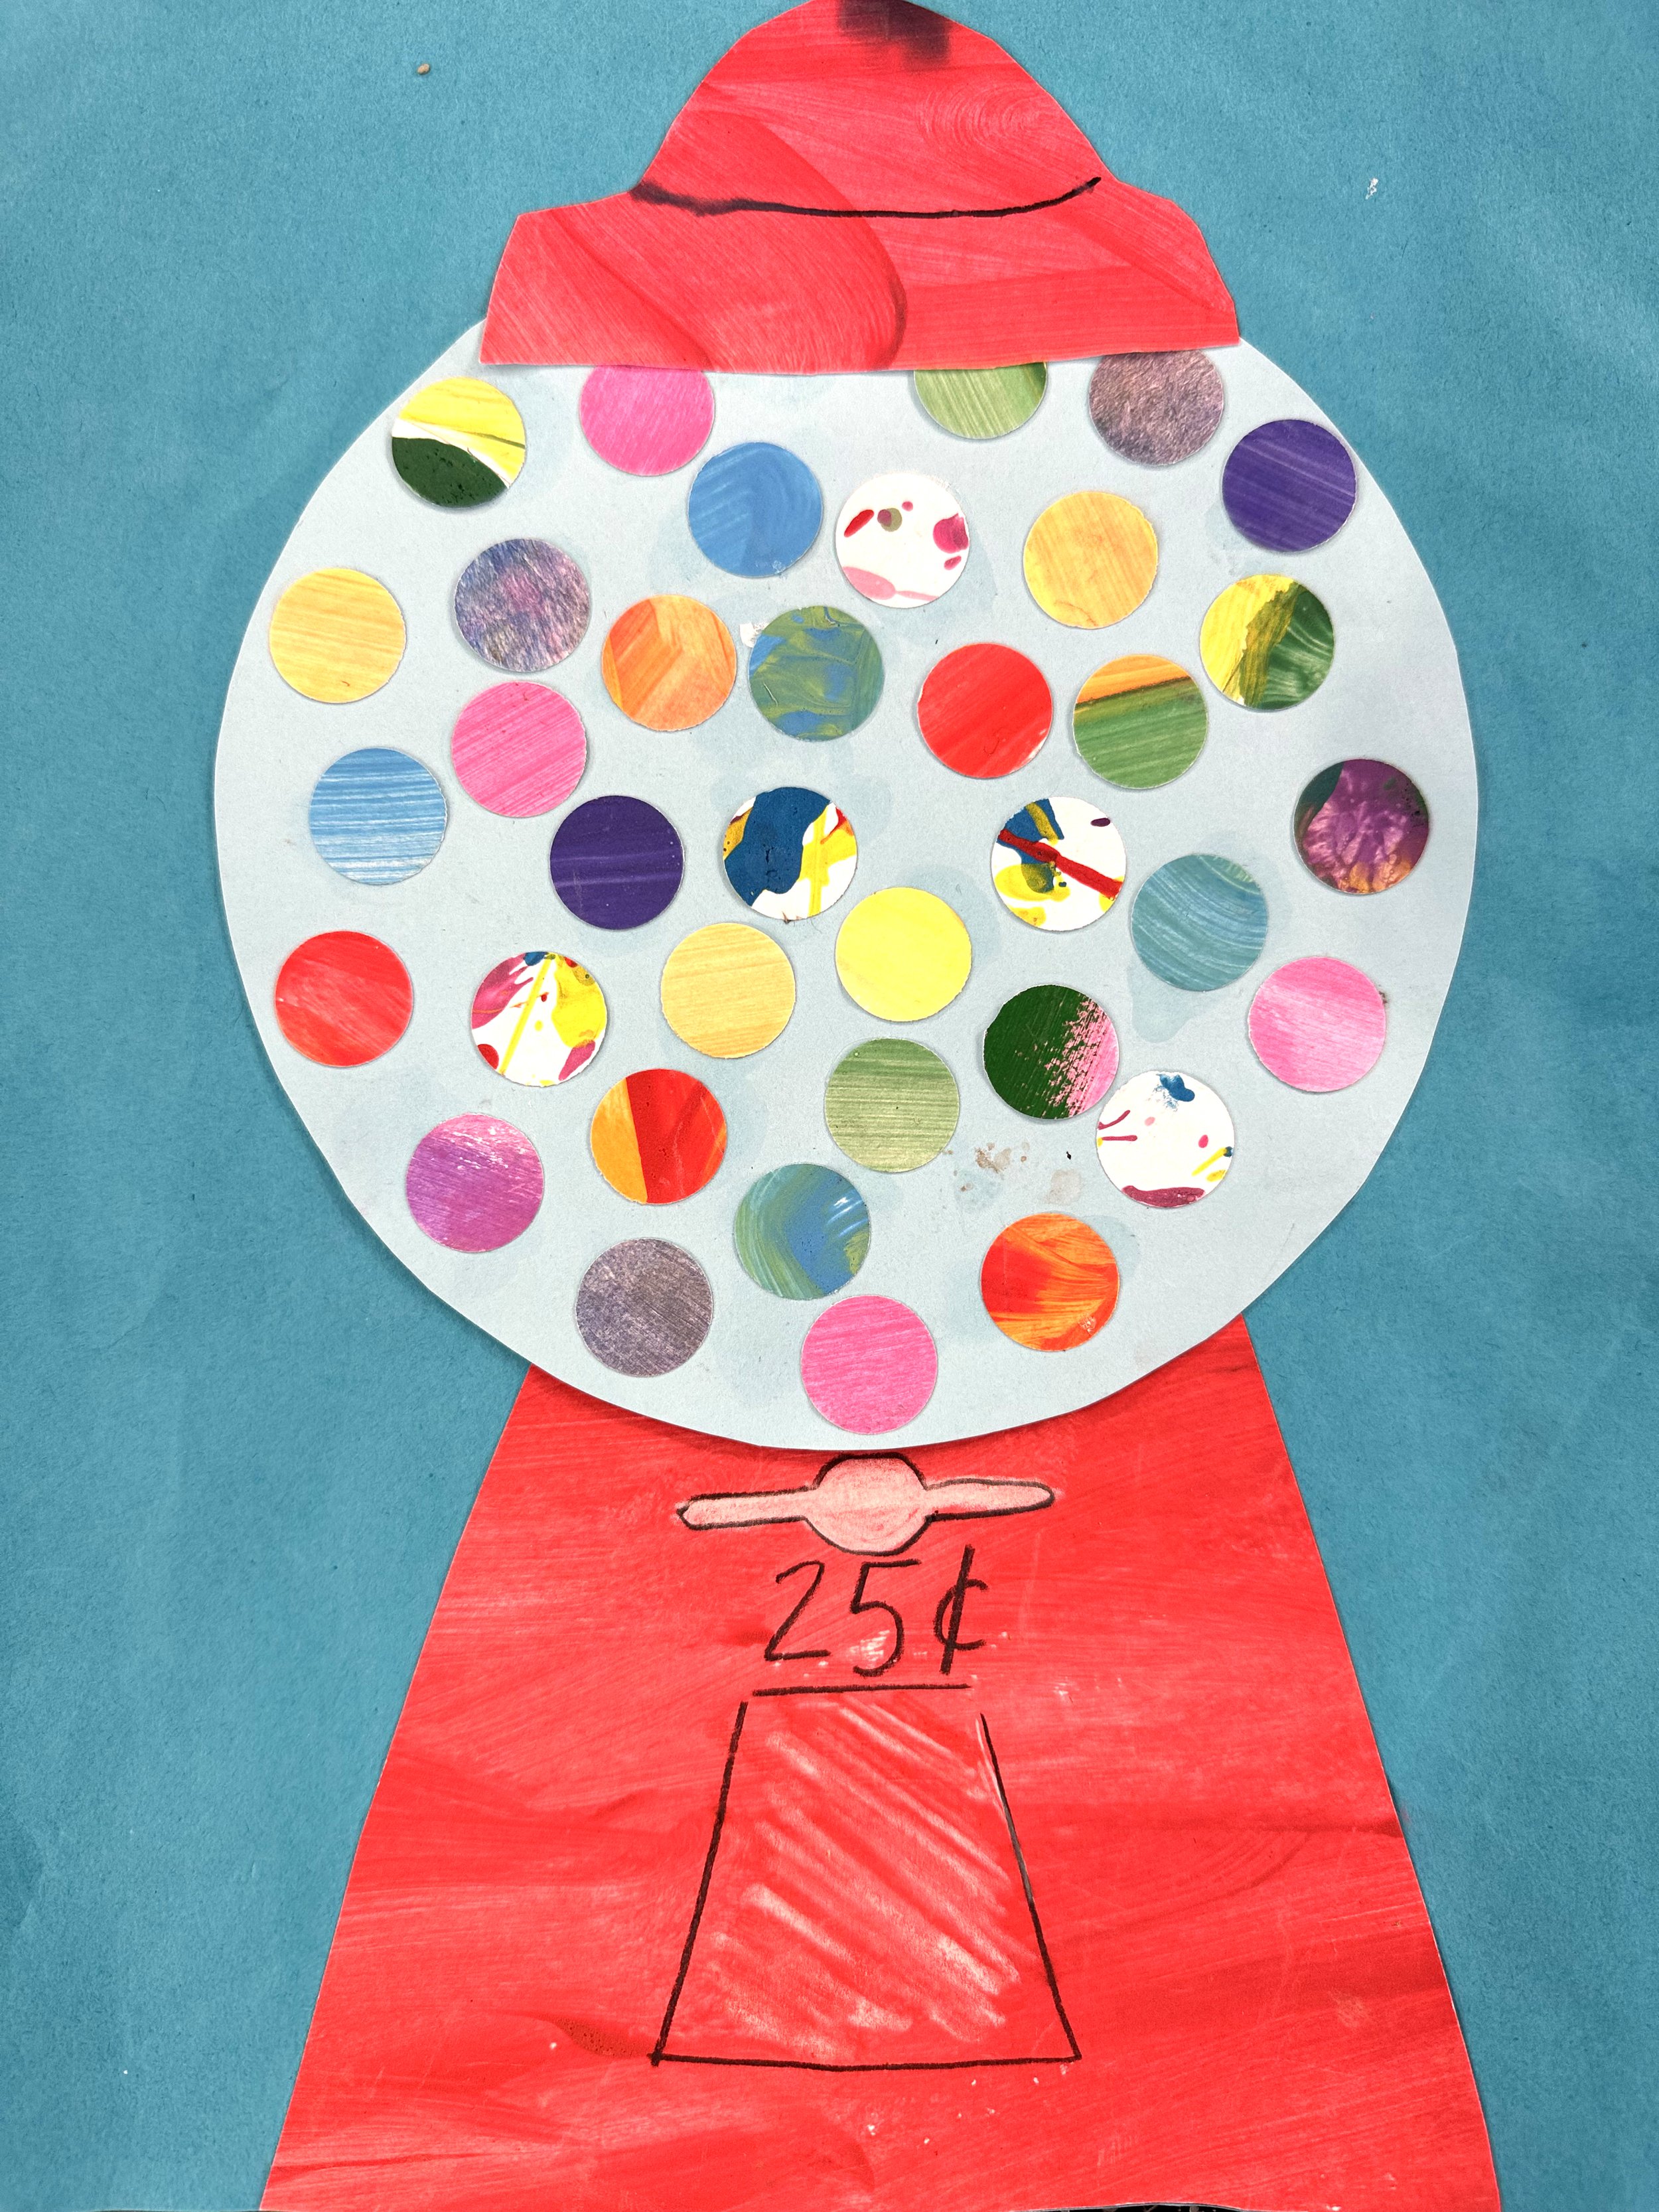
Collage A Gumball Machine