Nutcracker Crafts For Kids
We had so much fun creating Nutcracker inspired crafts this year. Below you’ll find step-by-step instructions for each of our all new projects. These are fun for the whole family to do together!
Ballet Memphis’ production of the Nutcracker has been a family favorite since we were kids. We can’t wait to see all of their new sets and costumes this year! For tickets, head to: https://balletmemphis.org/the-nutcracker. And, let us know if you try any of these projects at home!

Nutcracker Paper Dolls
What You’ll Need:

Construction paper
Paper doll templates (download templates for free here - bodies, clothes and accessories)
Glue stick
Glitter
Scissors
Decorations: beads, sequins, ribbon, tulle, fabric scraps, etc.
Markers
Pencil/eraser
Instructions:
Trace our paper doll body templates onto construction paper. See above links to download our paper doll templates. Or, feel free to design your own! Cut them out.
Assemble your clothes onto your paper doll and secure with a glue stick. Add hair and other accessories.
Decorate using fabric, sequins, markers, ribbon, beads, glitter, etc.
Draw and color a face on your person.

Nutcracker Paper Dolls
Draw & Watercolor A Nutcracker
What You’ll Need:

Watercolor paints
Paintbrush/water
Crayons or oil pastels (we love Crayola Construction paper crayons or these fun twistable crayons!)
Pencil/eraser
Sequins
Instructions:
Use a pencil to sketch your nutcracker. Use our step-by-step guide or draw your own.
Outline your pencil lines with a permanent marker.
Fill in any colors or patterns using crayons. Don’t forget the background!
Paint your nutcracker and the background using watercolor paints. The watercolor will resist the crayons & marker lines.
Add final decorations using glue & sequins.
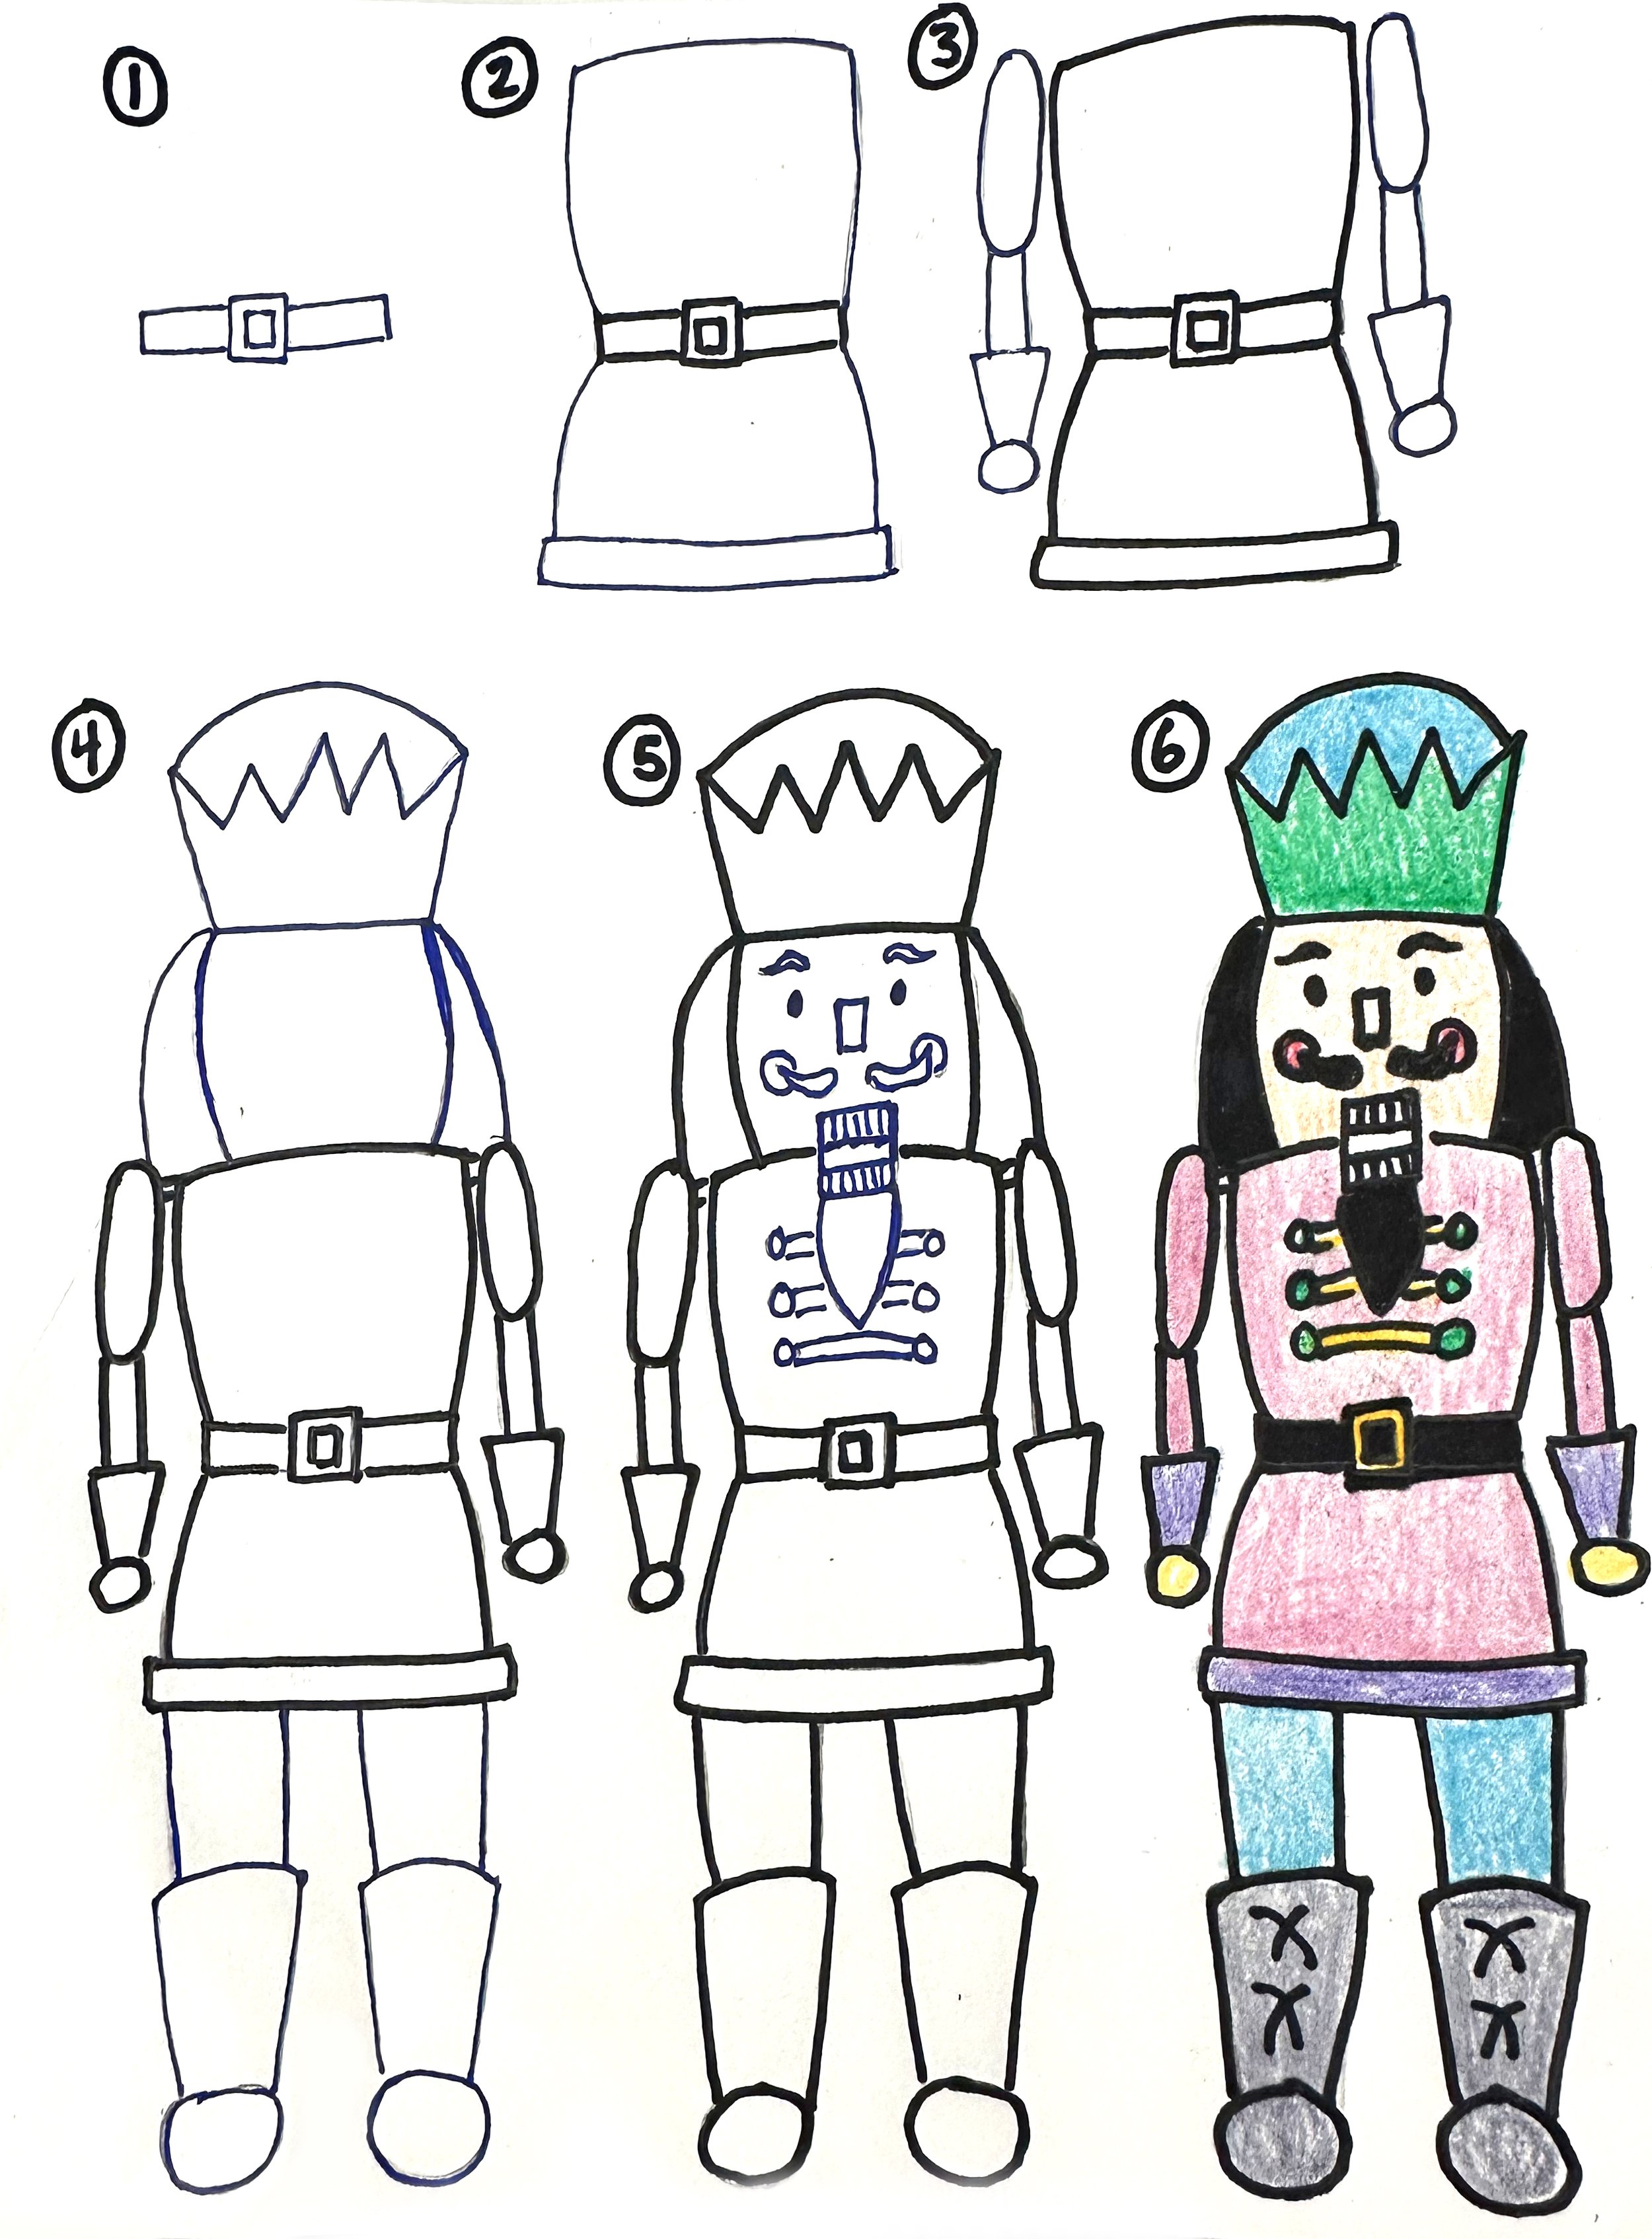
Step-by-step how to draw a Nutcracker
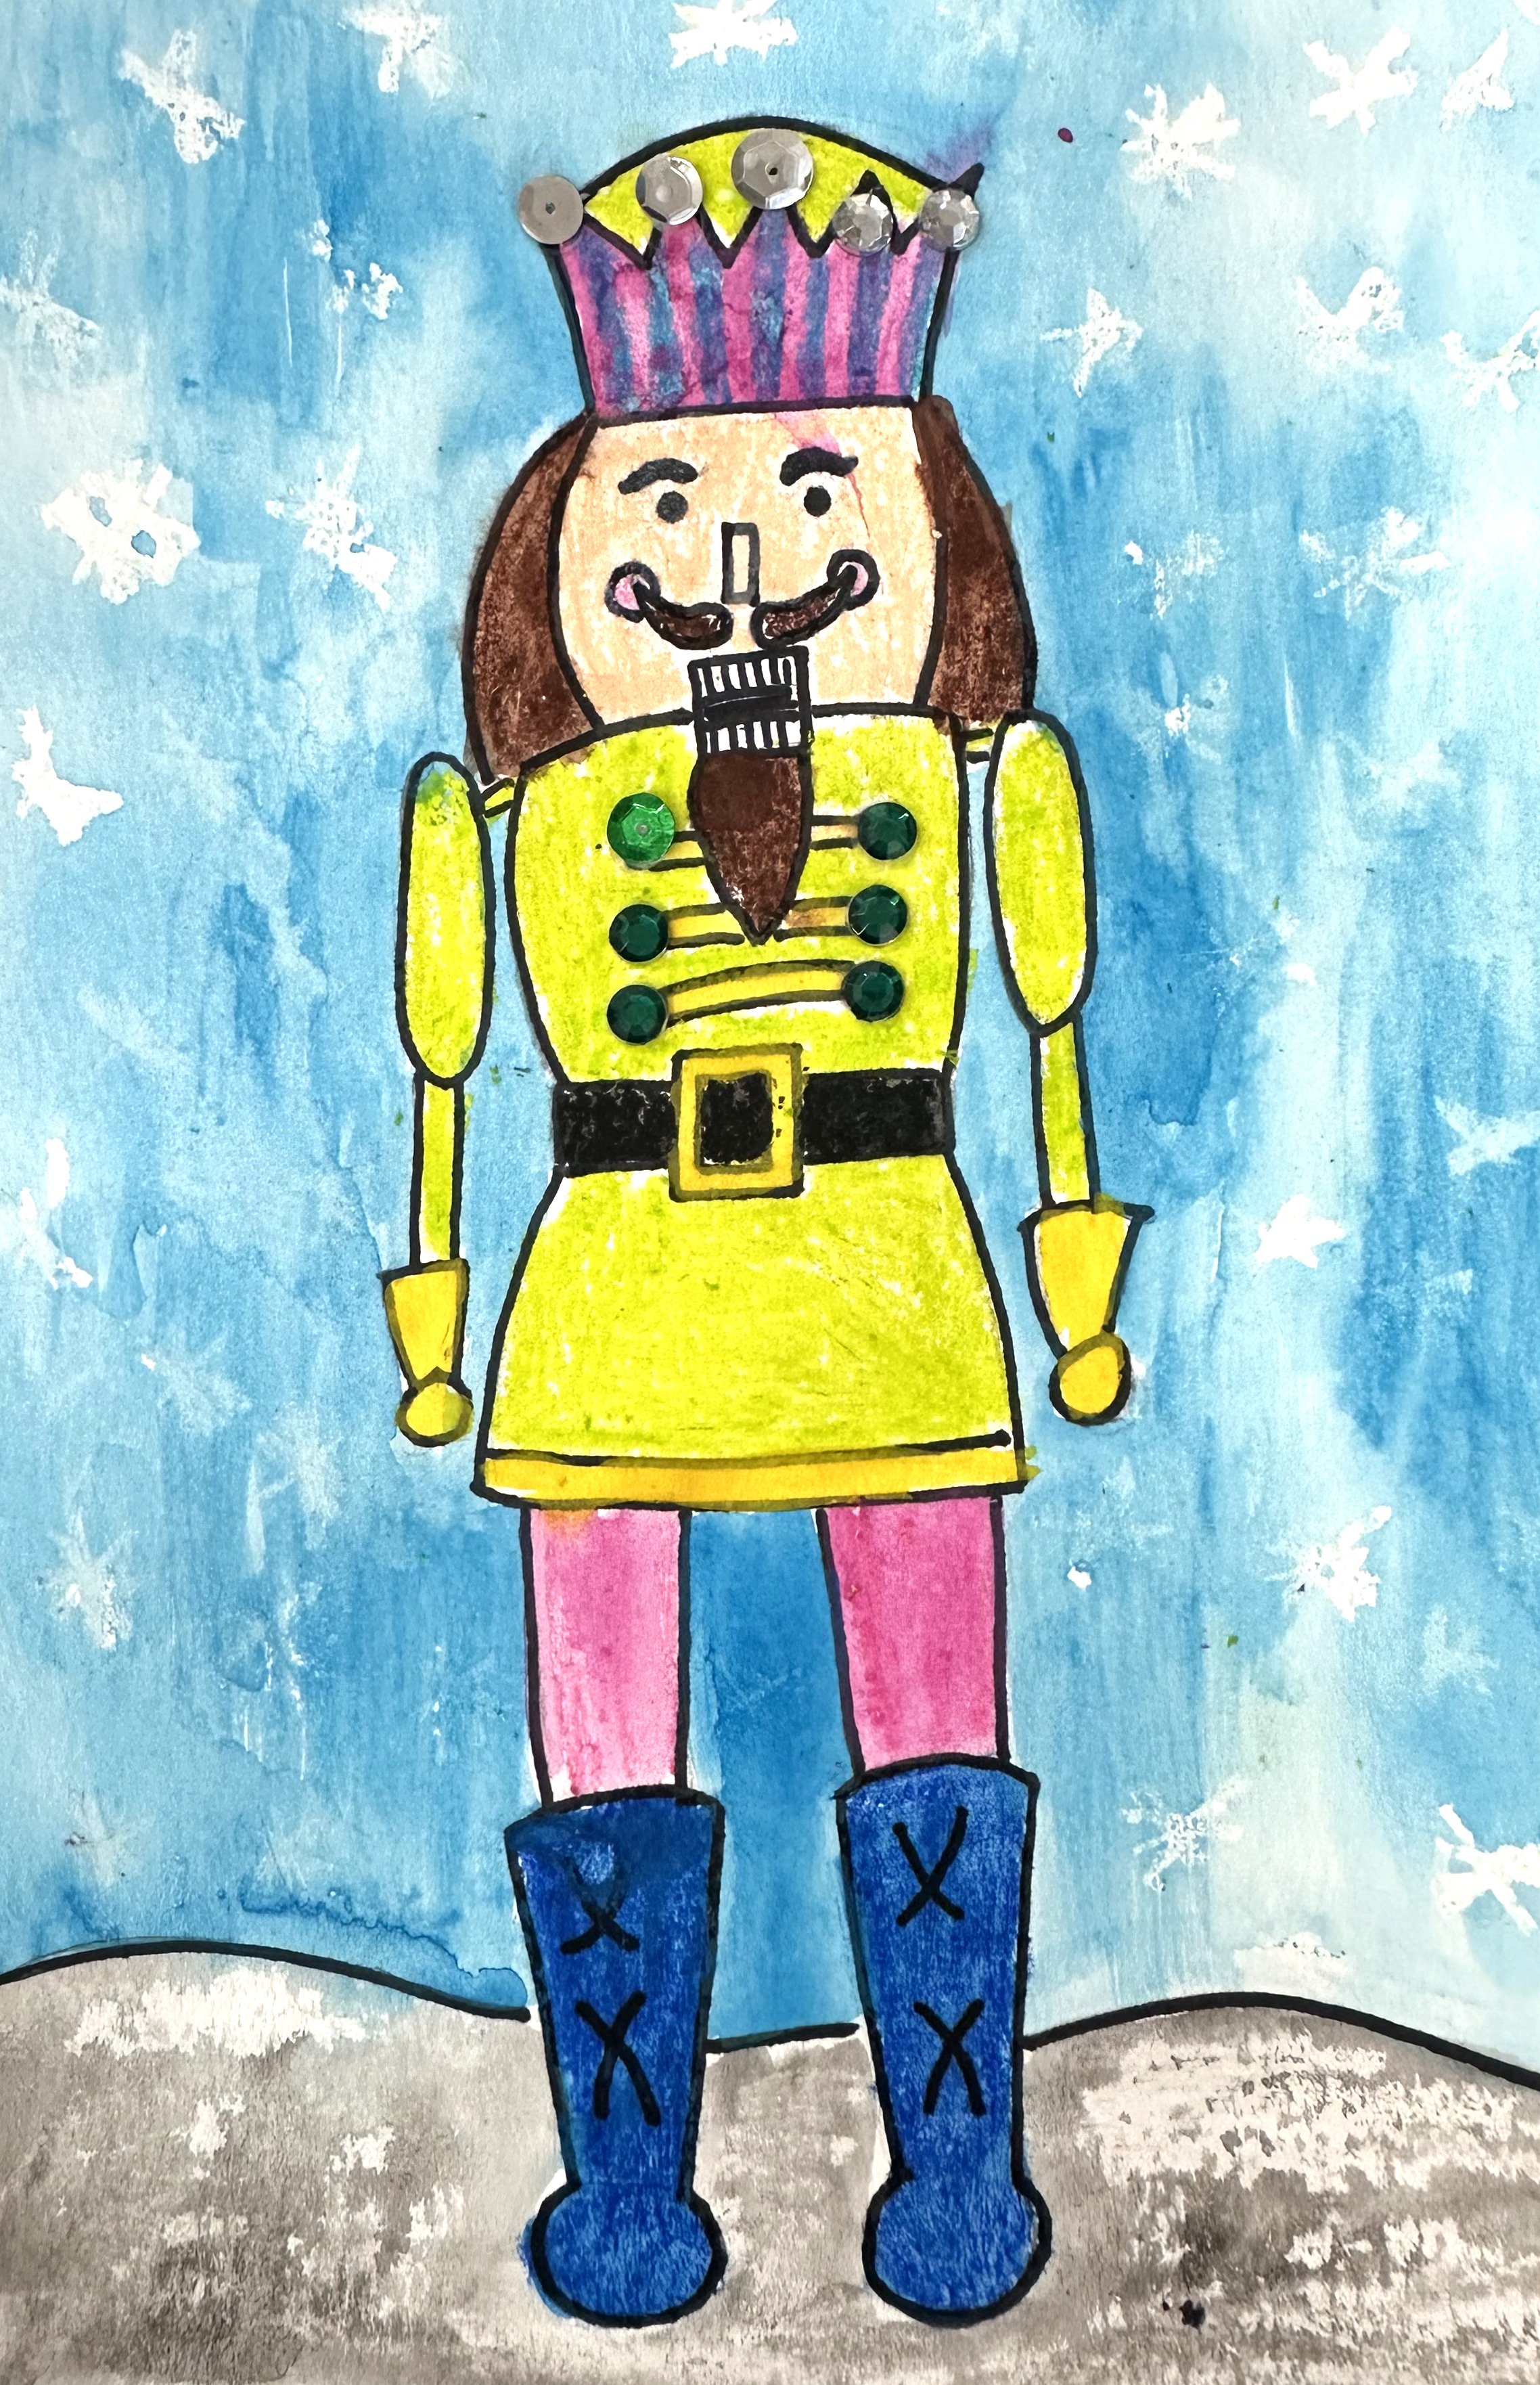
Nutcracker watercolor
Make a “Land of the Sweets” Ornament
What You’ll Need:

Cardboard
Scissors
Paper straws
Washable glue
Glitter & other decorative items
String
Masking tape
Instructions:
Cut out a simple house shape out of recycled cardboard.
Cover the cardboard with color using Kwik Stix. They dry in just a few minutes! *Tip - work in layers so that the colors cover the cardboard nicely.
Decorate your house using cut paper, beads, glitter, paper straws, yarn and Model Magic clay. *Tip - create pastel colors of Model Magic clay by mixing a lot of white with just a little bit of color.
Tape a string to the back of your creation to turn it into an ornament.

Make an ornament inspired by the Nutcracker’s Land of the Sweets
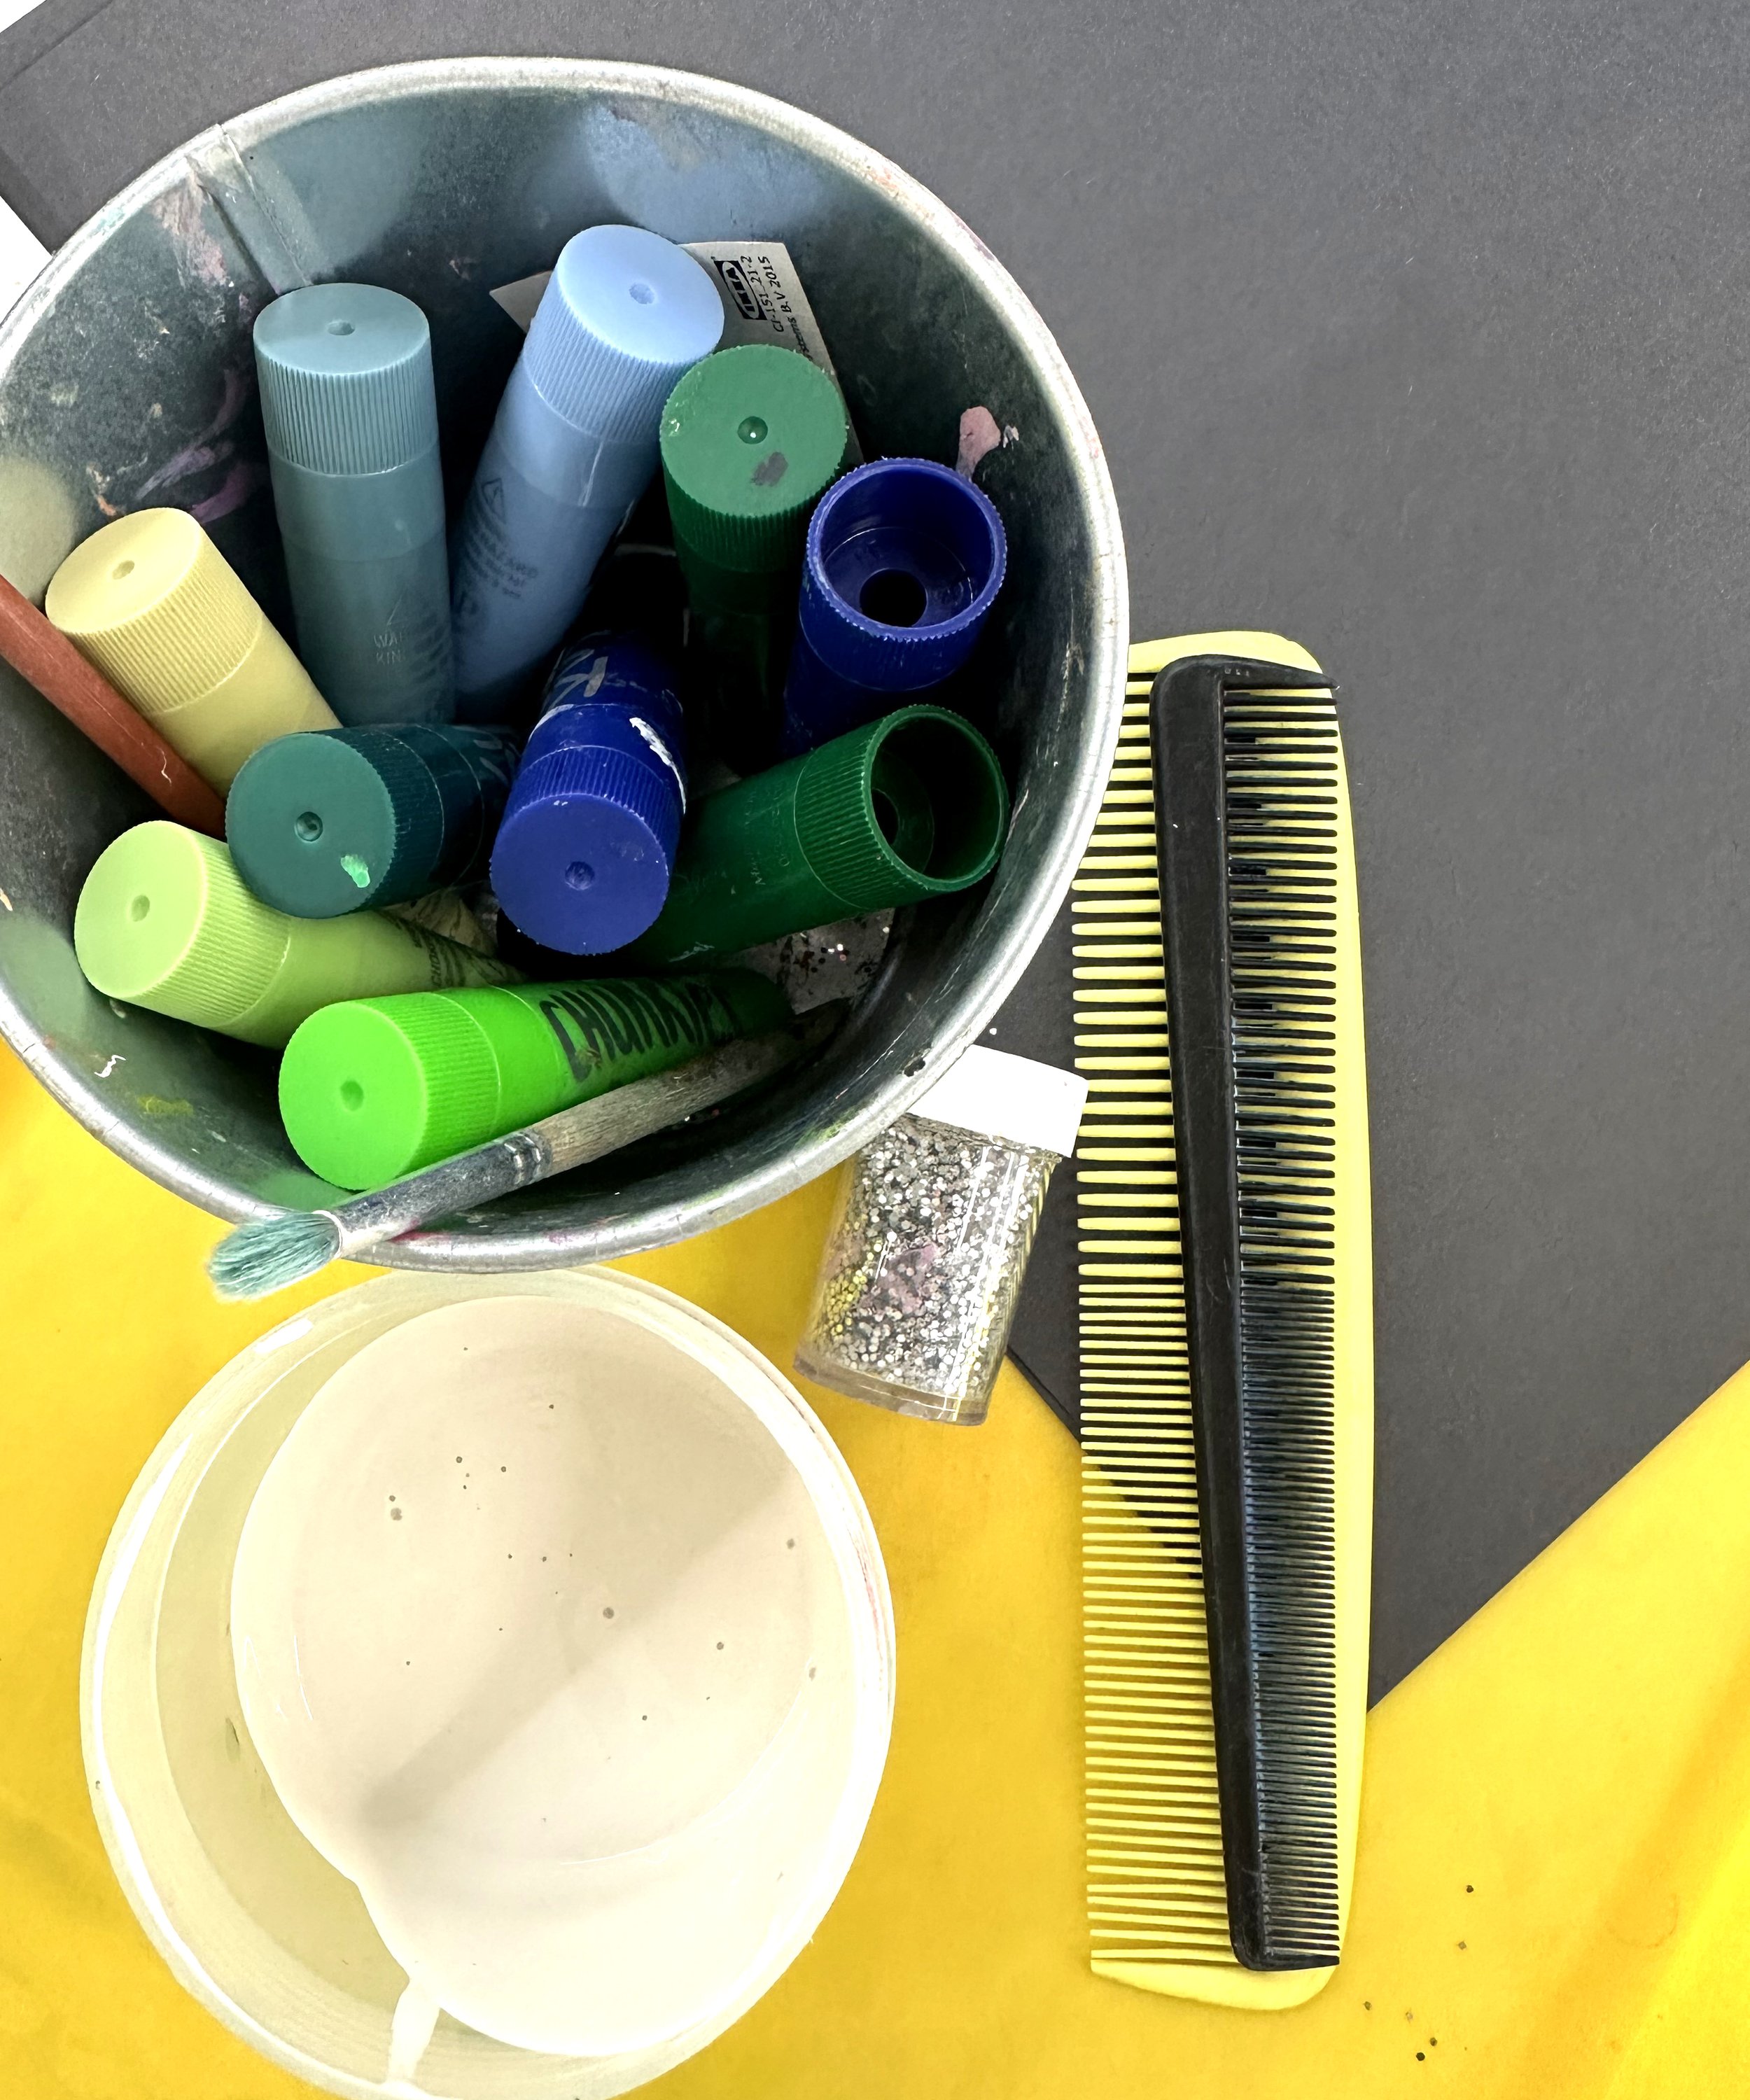
Paint Waltz of the Snowflake Scenery
What You’ll Need:
Black construction paper
Small flat paintbrush
Glitter
Comb
Instructions:
Draw a forest of trees using Kwik Stix. Use different shades of green, white and grey. Paint sticks will dry in just a few minutes.
Dip your finger into white washable paint and stamp it on the paper. This will form the ballerina’s heads.
Using a paintbrush, paint simple lines to create the dancer’s body, arms and legs. Repeat for each of the fingerprinted heads.
Dip your comb in the white paint. Pointing the comb at your paper, rub your thumb along the edge (away from your body) creating splatter painted “snow” on your paper.
Decorate with glitter.

Paint Waltz of the Snowflake Scenery

Collage A Magical Tree
What You’ll Need:
Collage paper
Scissors
Glue stick
Beads & sequins
Glitter
Markers
Stamp ink (we love this washable stamp pad by Melissa & Doug)
Yarn
Instructions:
Cut a large triangle out of green construction paper. This will be your tree shape.
Cut green collage paper into long strips. These will form the tiers of your tree. Cut fringe into the paper taking care not to cut all the way through. *Tip - stack multiple pieces of green paper on top of each other so you can do multiple pieces at once.
Layer your fringed paper on top of your triangle shape & secure with a glue stick. Trim any excess on the sides so you can see the triangle shape.
Glue your tree to a big piece of construction paper.
Add tiny mice under your tree by stamping your fingerprints and drawing eyes, nose, whiskers and a tail with markers.
Add details to your background using markers. Draw things like windows, curtains, wallpaper, an owl, a clock, etc.
Add presents under your tree using collage paper/glue stick.
Cut a star out of paper using the star puncher. Glue it to your tree and decorate it with glitter.
Add tree decorations using cut paper/beads for candles and yarn for garland.
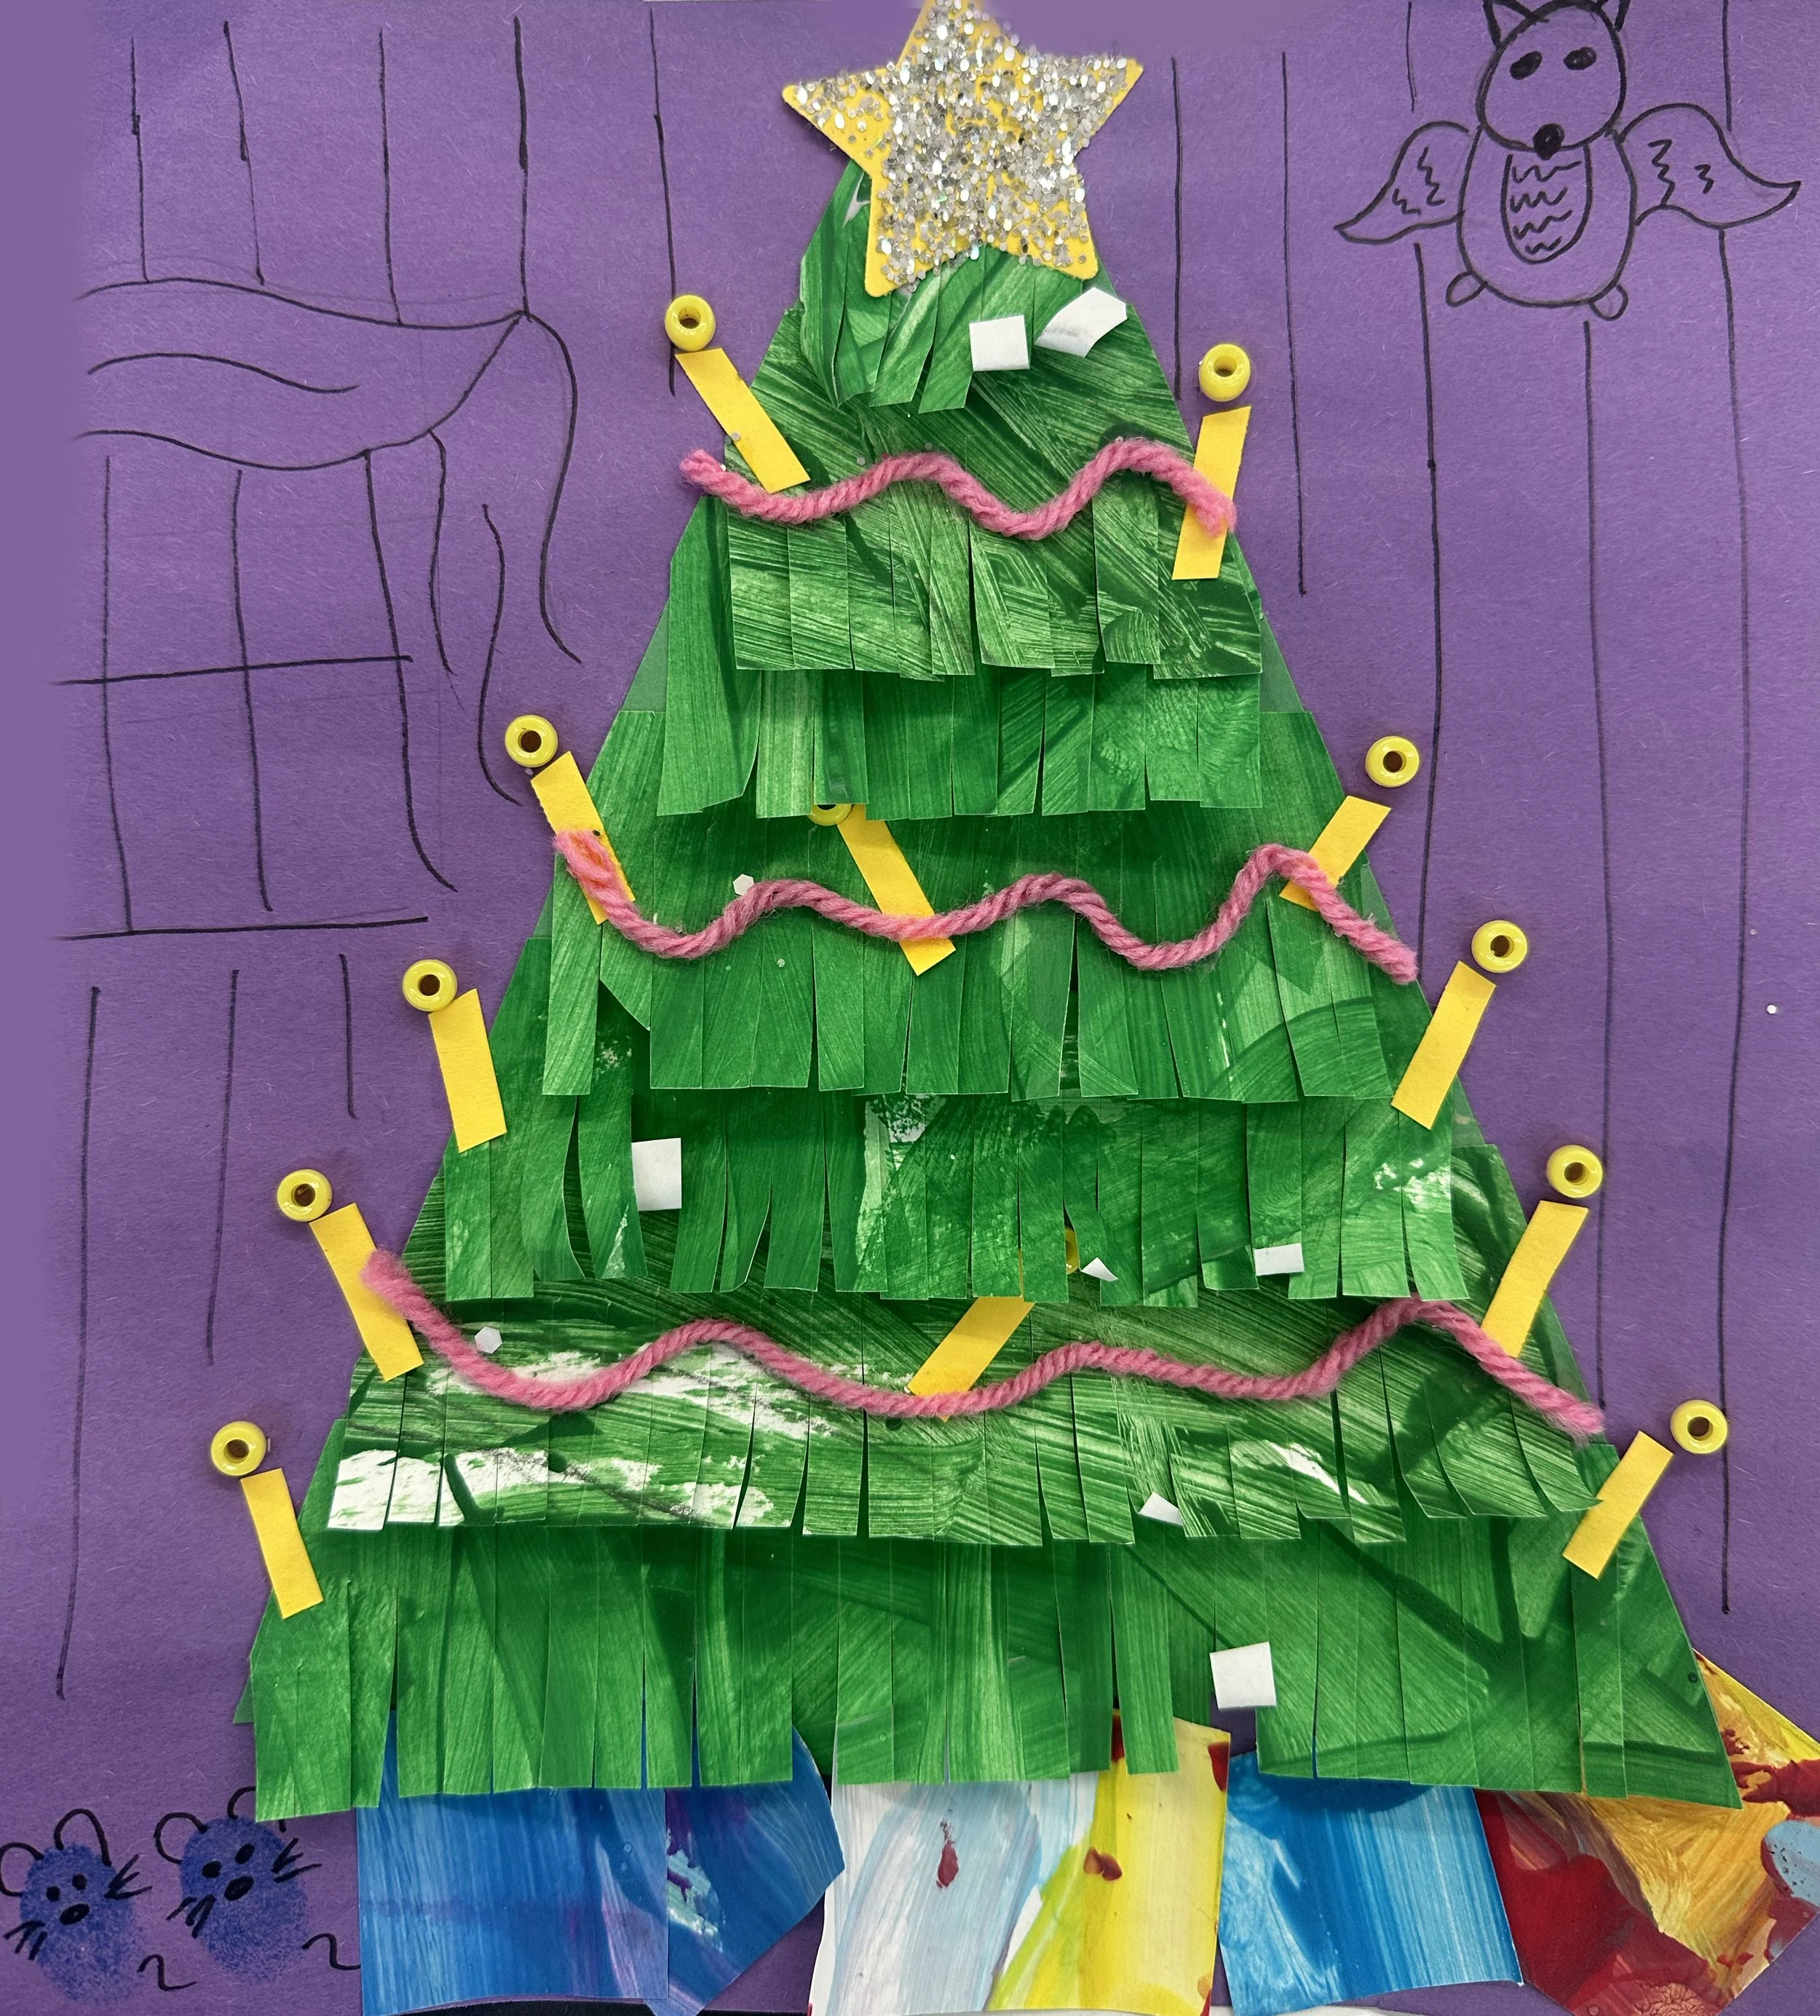
Collage a “magical” tree inspired by the Nutcracker
Toddler Friendly Activities & Sensory Play
Make Gingerbread Sensory Dough
What You’ll Need:
2 cups of all purpose flour
4 Tablespoons cream of tartar
1/2 cup salt
2 Tablespoons vegetable oil
Pumpkin Pie Spice (start with 2 tablespoons and add more depending on how strong you want it to be)
2 cups of water
Instructions:
In a microwave safe bowl, mix your dry ingredients (flour, salt, cream of tartar and pumpkin pie spice).
Add vegetable oil and water. Stir until lumps are gone.
Microwave in 1 minute increments (stirring in between each minute) for 4-5 minutes. Mixture will look like a globby mess as you are cooking it. When it is done it will form a ball.
Let dough cool for a few minutes. Knead it until it is no longer sticky.
*You can also cook this in a sauce pan over a stove. Or, use a stand mixer with a dough hook attachment. Add all dry ingredients. Add in vegetable oil and 2 cups of boiling water. Let the stand mixer knead it into dough!

Instant Snow
What You’ll Need:
Tray (we love these trays for sensory play & finger painting)
Scoopers, silicon muffin cups and toy ballerinas (these squeezy tweezers are great for play & fine motor development)
4 cups of water
Instructions:
Pour North Pole Instant Snow into a mixing bowl.
Add 4 cups of water and stir. Watch the mixture turn instantly to snow.
Pour snow into a tray and pair with toy ballerinas, winter figurines, silicon muffins, scoopers and more!

Paint with Toy Mice or Rats
What You’ll Need:
Toy mice/rats *You could also use toy soldiers or ballerinas if you have any on hand!
Washable paint (Crayola washable paint is great for finger painting!)
Construction paper
Instructions:
Dip your toy mice in paint and make them scurry across your paper. Experiment how many different types of marks you can make on your paper. Stamp with the tail, paint with the tail, stomp with the feet and more! Have fun with it. This project is all about the process over the end product. Learn more about process art HERE!