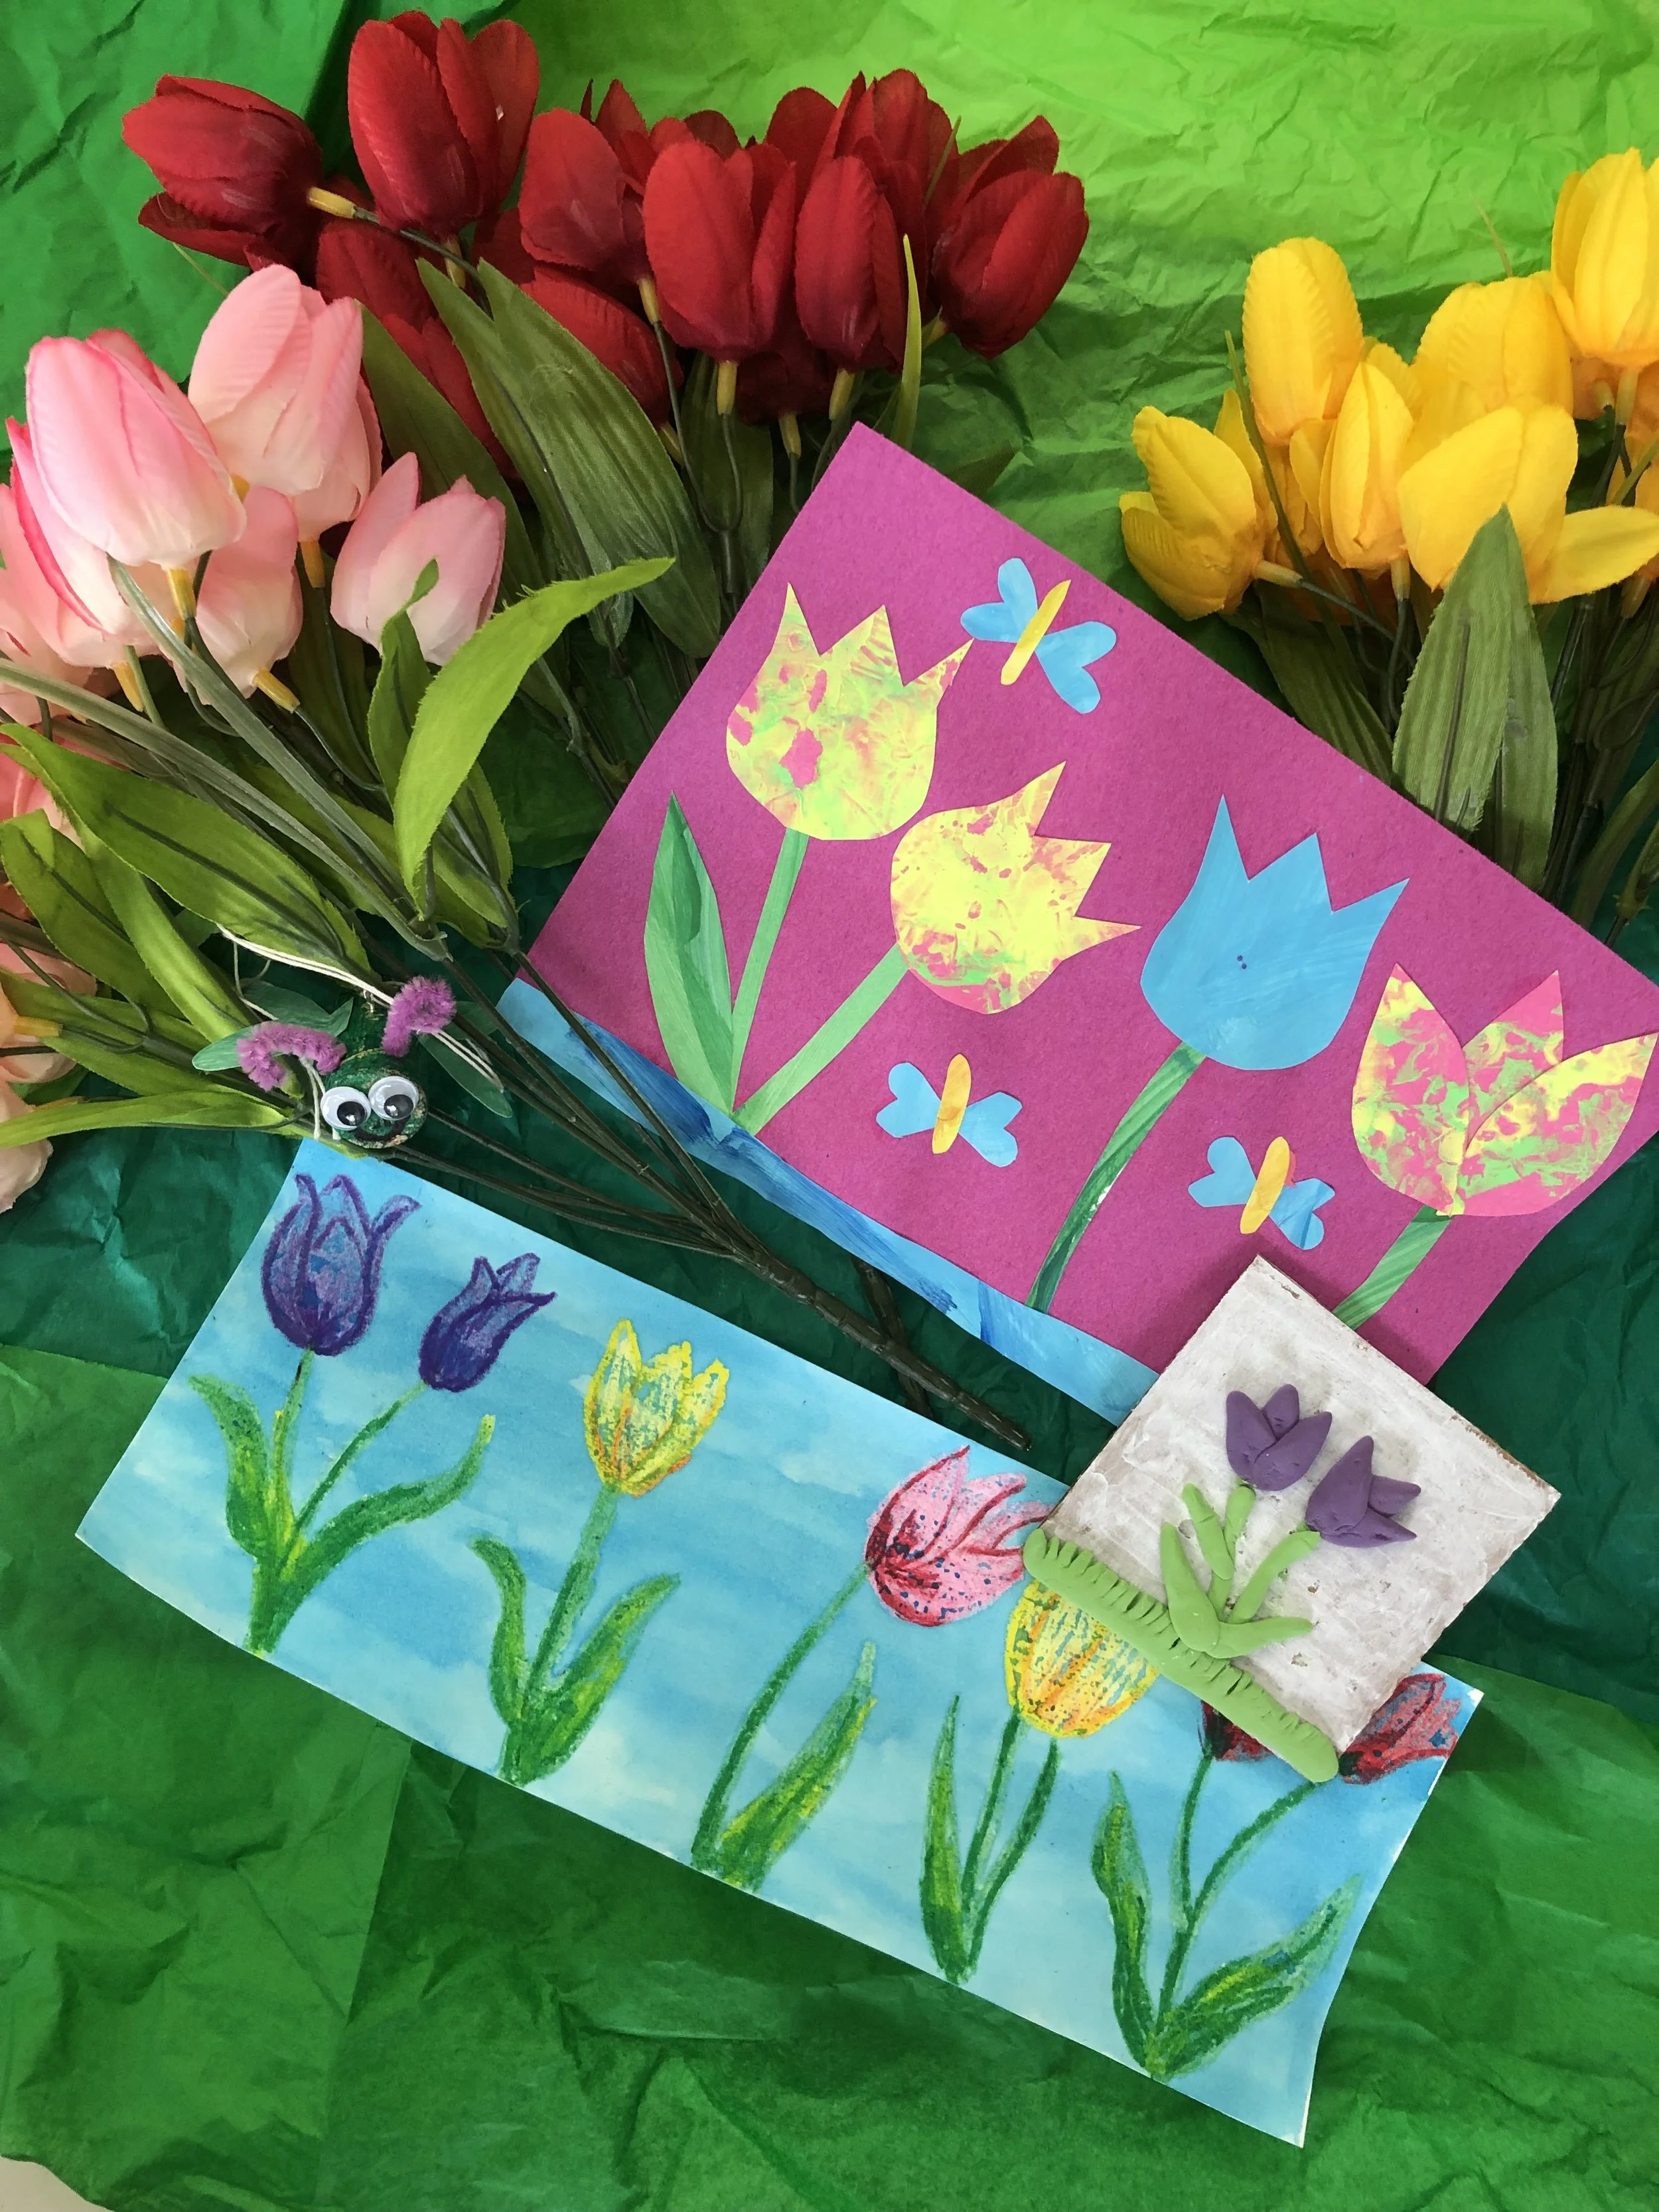
Tulip Crafts for kids!
Spring is right around the corner! Well…hopefully. It feels like it has been cold and rainy all winter! BUT…at least here in Memphis, the tulip stems are starting to sprout. Our favorite place in Memphis to see the tulips each year is at the Dixon Gallery & Gardens. This year - in anticipation of the tulips about to bloom at the Dixon, we are celebrating everything tulip! Here are 5 fun tulip themed crafts to try with your kids. We’ve got something for every age group!
Tulip Crafts for Kids. By The Art Project
Tulip Watercolors
We often cut paper in half to make art less overwhelming for kids. A lot of times, we’ve noticed kids don’t like working on a large scale because they don’t have the attention span. Usually we cut paper width-wise in half. For this project, we decided to mix it up and cut 9” x 12” paper lengthwise (so it measures 5.5” x 9”).
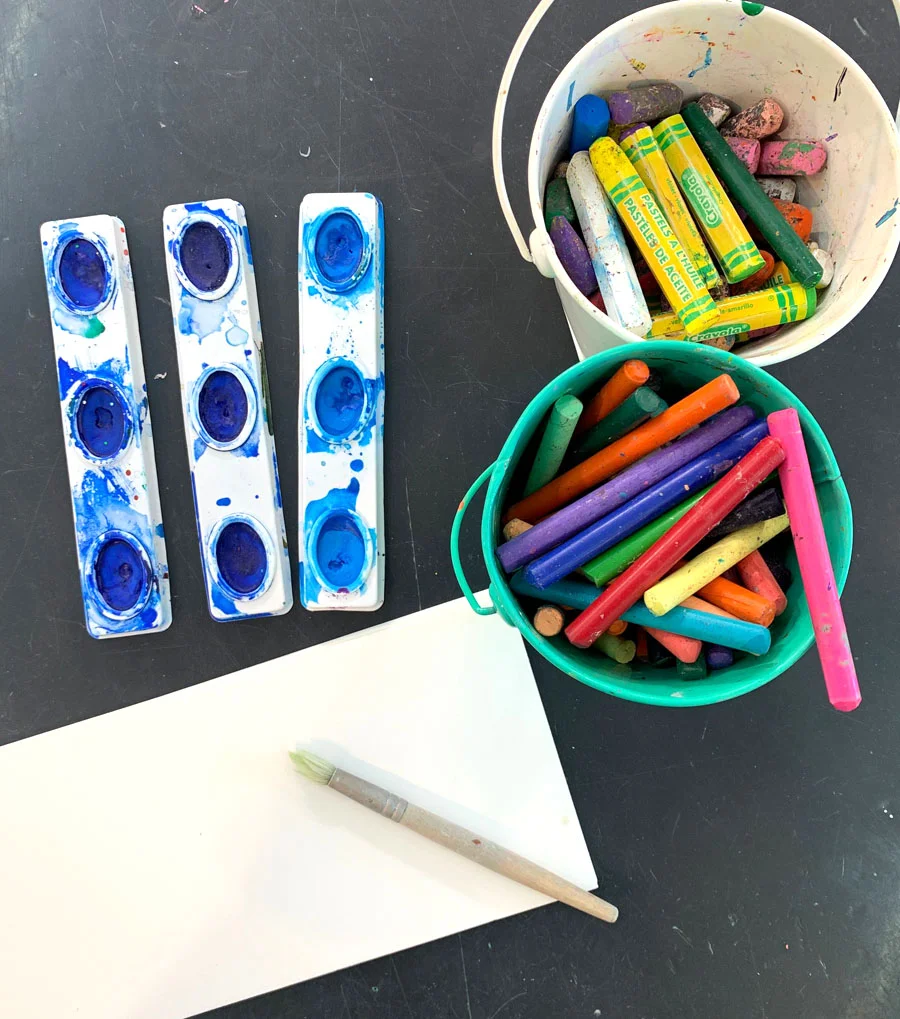
What You’ll Need:
Watercolor paper - we cut ours lengthwise so it is 5.5” x 9”
Oil pastels or Crayons (we love Crayola’s Construction Paper crayons)
Blue watercolors
Paintbrush
Cup of water - we love these no spill cups!
Instructions:
Draw tulips using a mix of crayons of oil pastels.
Paint over your drawing using blue watercolor paints. The watercolor will resist the oil pastel/crayon lines.

Tulip Relief Sculpture
Kids of all ages love Crayola’s Model Magic clay. When younger kids work with Model Magic, we often see them make sculptures flat on cardboard because they have fun sculpting but don’t have to actually make something stand up structurally. They end up looking like really fun low relief sculptures. We thought this would be a fun technique to use with tulips!

What You’ll Need:
Clay tools
Scissors
Cardboard square
Instructions:
Color a piece of cardboard using Kwik Sticks. While it is drying, sculpt your flowers.
To make the petals, pinch of 3 tiny little pieces and roll them into a ball. Use your fingers to make tear drop shapes. Layer the 3 pieces together to form the blooms.
Make the stems, leaves and grass. Use scissors and clay tools to create texture in your flowers.
Stick your flowers down to your piece of cardboard. Model Magic clay will air dry in 24-48 hours.

Tulip Relief Sculpture. By The Art Project
Paint With Tulips
We love process based art projects. They are great for all ages, but especially kids 4 and under! We found some inexpensive artificial tulips at Michael’s. They are durable and can be washed so kids can do this project over and over again!

What You’ll Need:
Artificial Tulips
Washable paint in fun/bright colors
Paper
Instructions:
Dip tulips in paint and use them like a paintbrush!
Experiment with different ways tulips can make marks on your paper.
Tulip Collage
Tulips can be made using really simple shapes so a collage project is something we had to include! We love using recycled paintings as a material. It adds a fun dimension to the kids’ art.

What You’ll Need:
Scissors
Pencil/eraser
Glue stick
Collage paper/recycled paintings
Construction paper
Instructions:
Sketch tulip shapes on painted paper and cut them out.
Choose a piece of construction paper as the background. Arrange your tulips on the paper. Once you have them in position, glue down using a glue stick.
Put the tulips in an environment. Use cut paper/glue to add elements such as bugs, grass, other flowers, weather, etc.
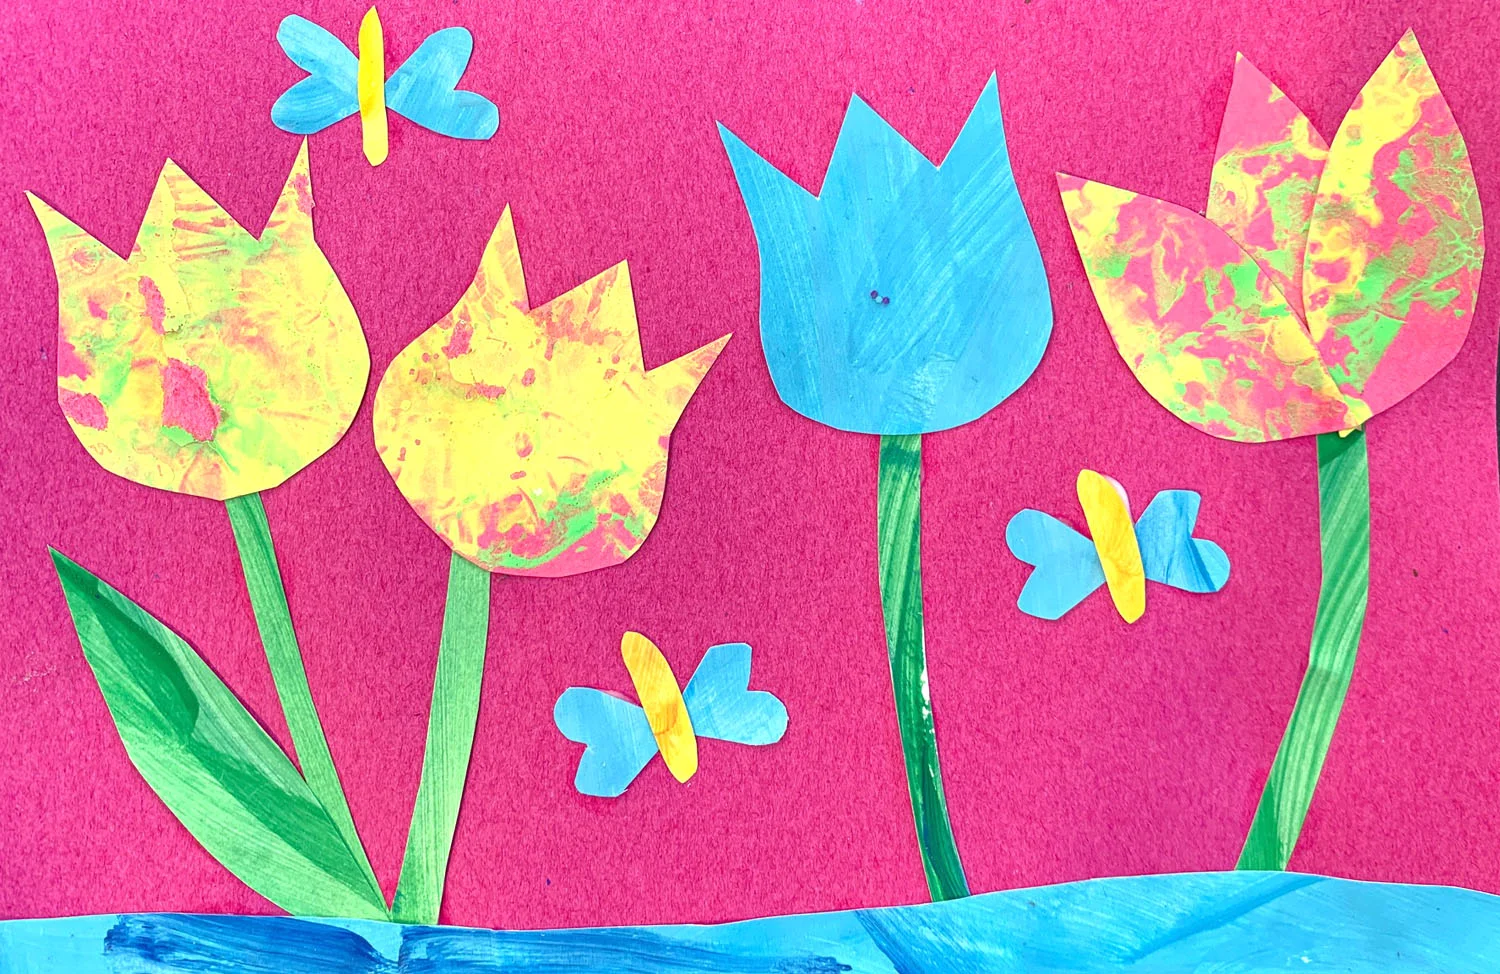
Tulip Collage. By The Art Project
Make Wine Cork Bugs
We wanted to include a project for kids who like to build and put things together. Local restaurants save wine corks for us to use in the studio, so we have TONS of them! We thought they could make really fun bugs. We also had lots of little eye hooks leftover from holiday ornaments so we added those to make our bugs fly.

What You’ll Need:
Wine Corks
Eye hooks (we got these from Amazon)
String
Scissors
Glue
Google Eyes
Paper Scraps
Wooden Dowel (a thumb tack or hot glue would also work)
Instructions:
Color your cork using Kwik Sticks. Allow it to dry 2-3 minutes.
While your cork is drying, cut out wings for your bug. Tip: heart shapes make great bug wings!
Cut and curl pipe cleaners for the antennas.
Once cork is completely dry, glue down wings and google eyes.
Stick wooden dowels into the cork where the antennas will go. Stick your pipe cleaners into the holes.
Tie a string through the eye hook to hang your bug.
