Coral Reef Week!
Who doesn’t love the beautiful colors and marine life of a coral reef? We’ve pulled every bit of neon in the studio to come up with these fun and beautiful Coral Reef projects for kids. Check ‘em out.


Coral Reef Pattern PROJECT FOR KIDS
What You'll Need:
Paintbrush
Cup of water
Watercolor paper
1. Draw different types of coral using Construction Paper Crayons. We love these crayons by Crayola because the colors are super vibrant. Draw lots of different shapes and patterns. Fill up the whole paper with patterns.
2. Fill in your whole paper with color using watercolor paints. The watercolor will resist the crayon lines.


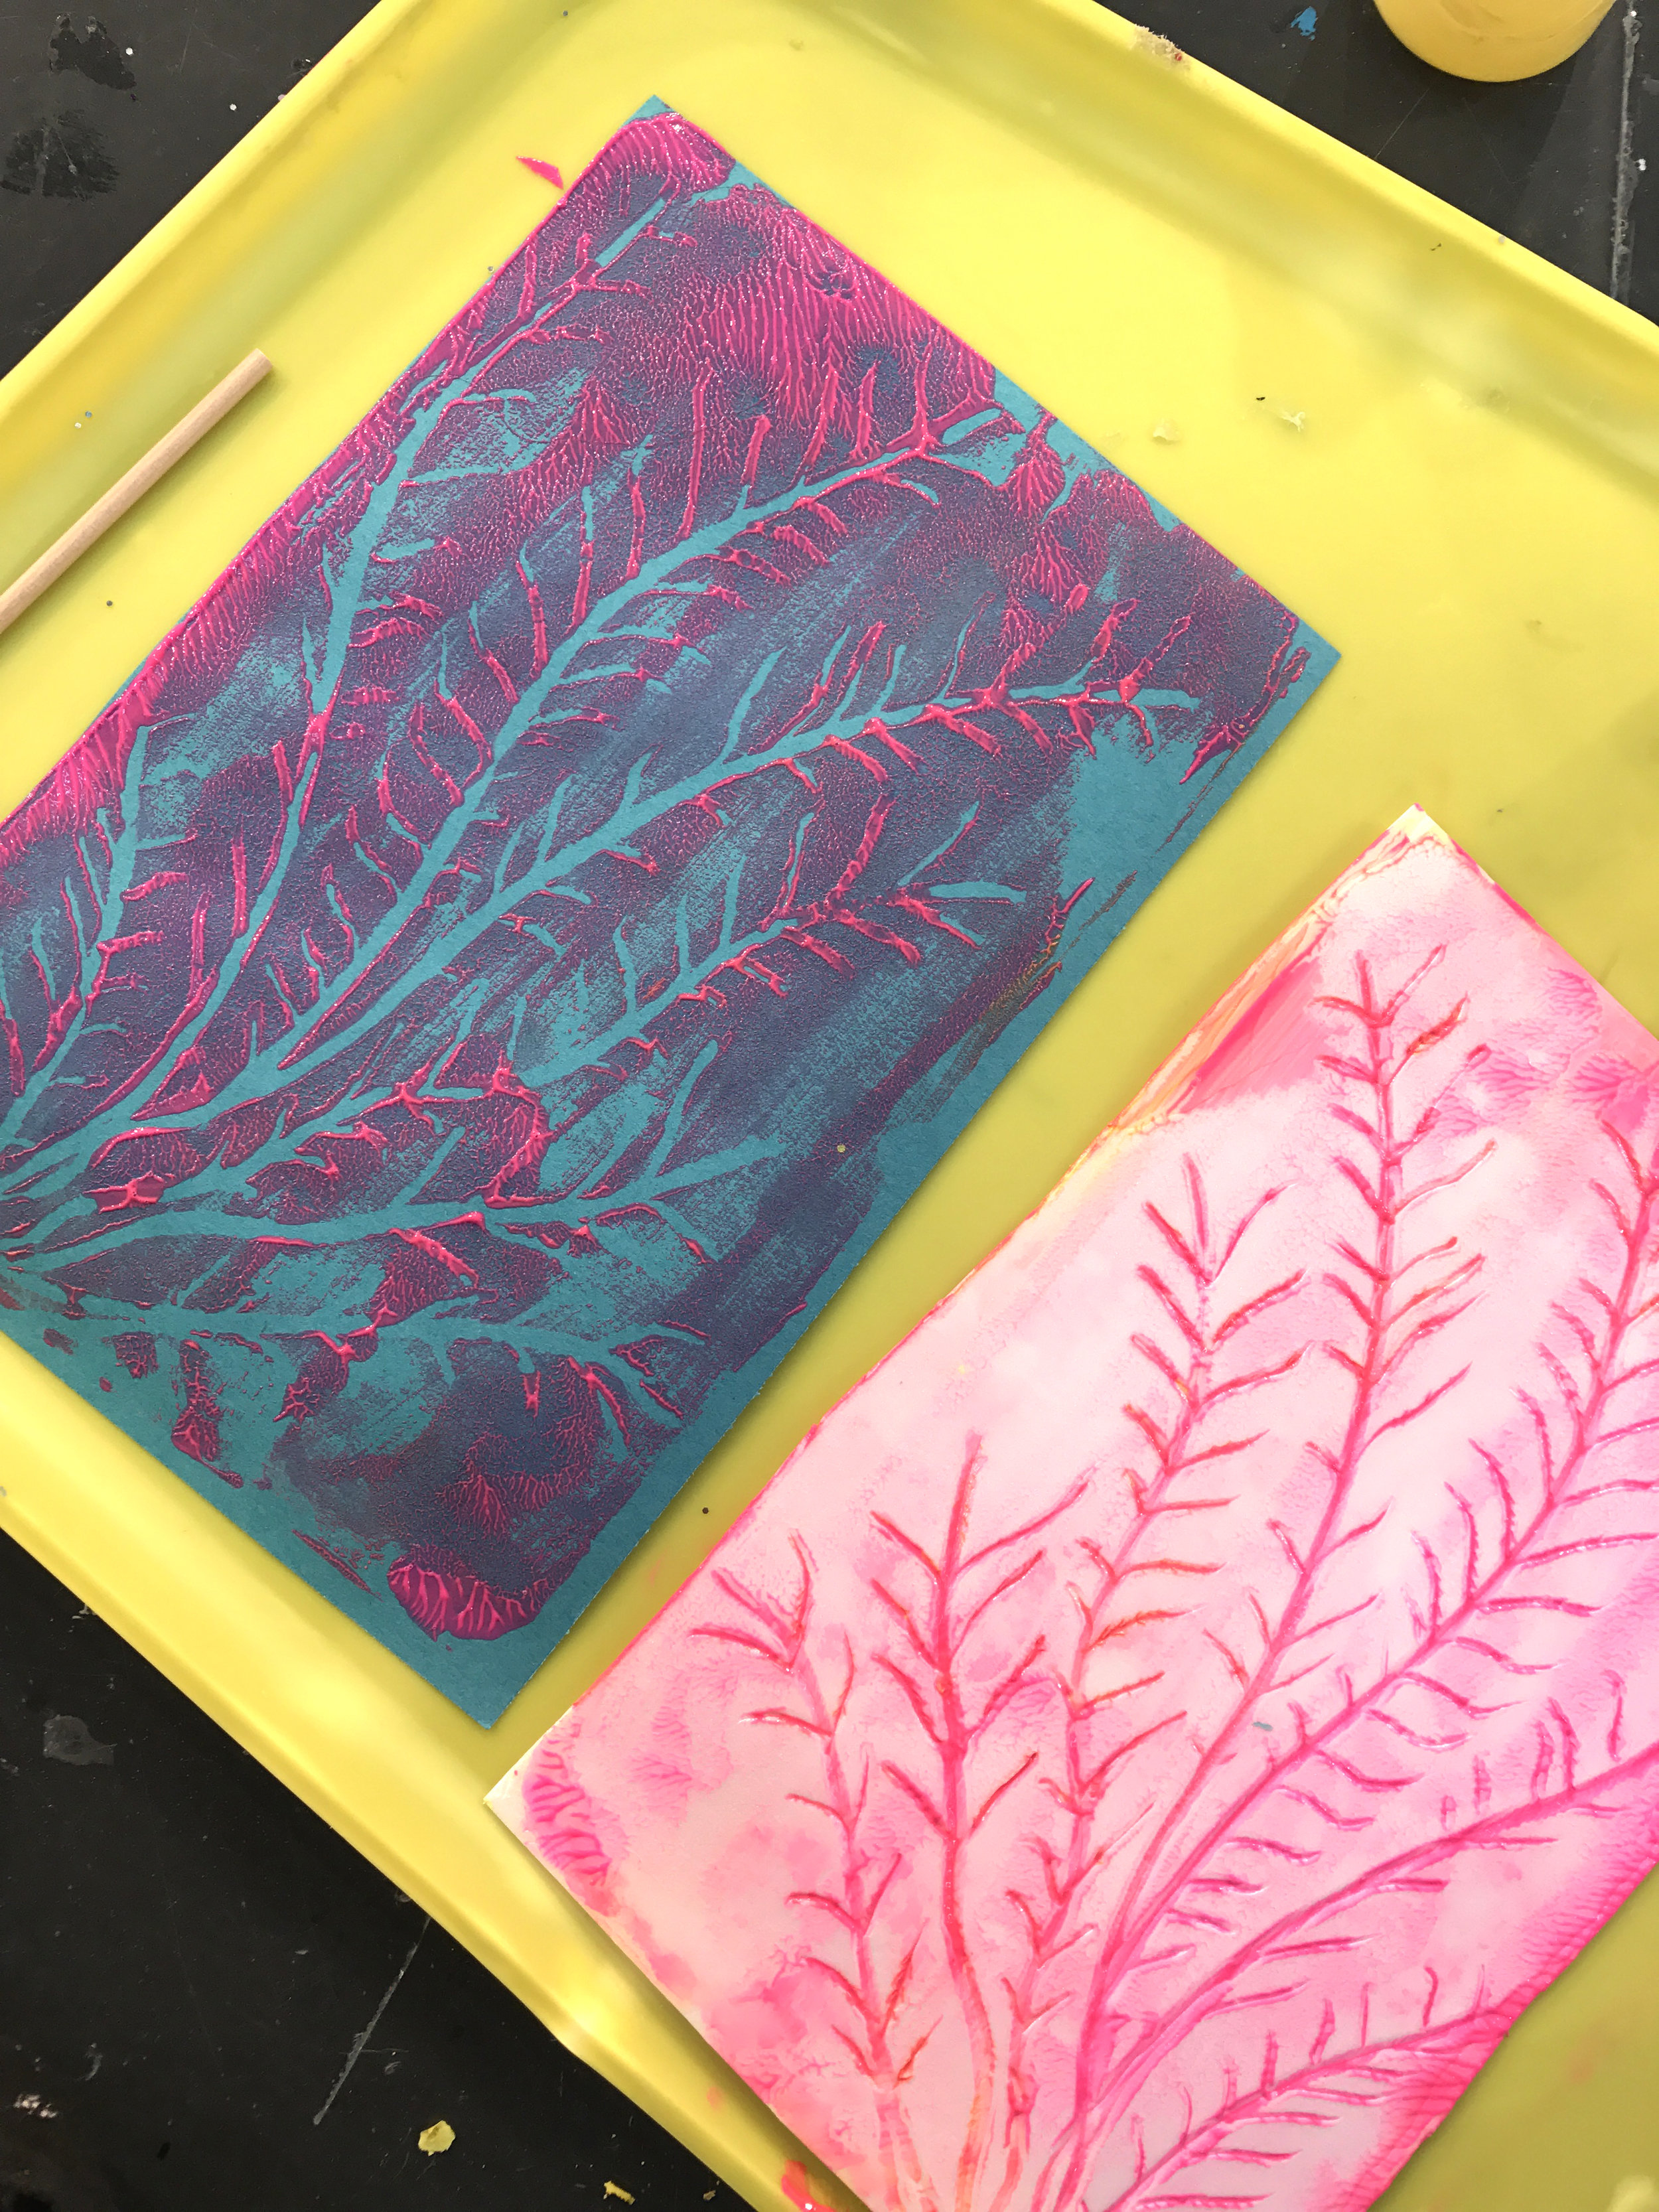
Coral Reef Printmaking PROJECT FOR KIDS
What You'll Need:
Wide paintbrush
Scratch foam paper or piece of styrofoam
Construction paper
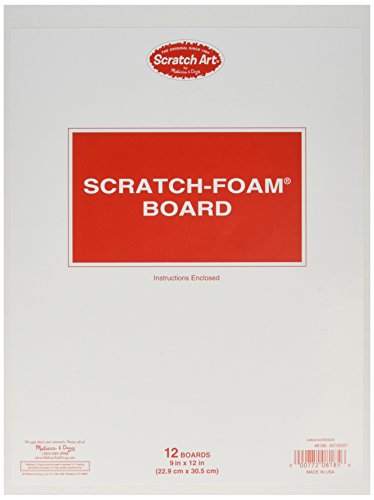
1. Etch your design into a piece of foam paper using a wooden stylus. We love using Melissa & Doug brand scratch foam board and wooden stylus. You may also use recycled styrofoam from food containers or to-go boxes and a dull pen or pencil.
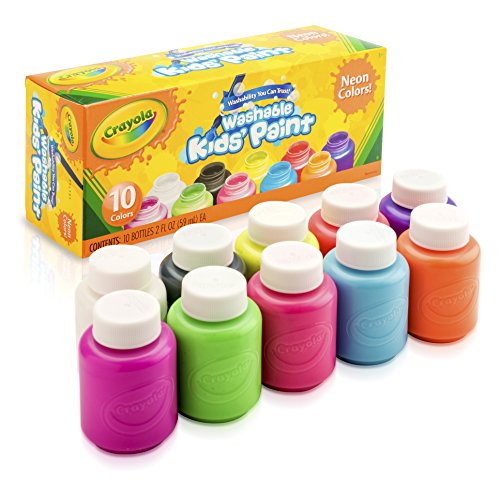
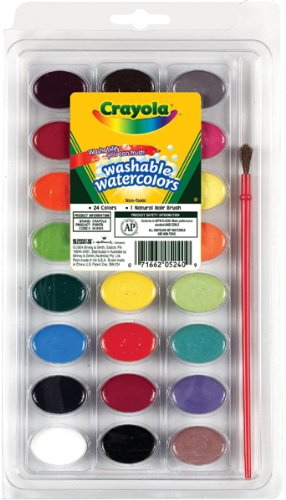
2. Cover your etched plate with paint. We are using Crayola brand Washable Neon paint. The colors are bright, we trust the washability and love that it is non-toxic. Stamp your design on the paper. Feel free to repeat using the same etched plate over and over with new colors!
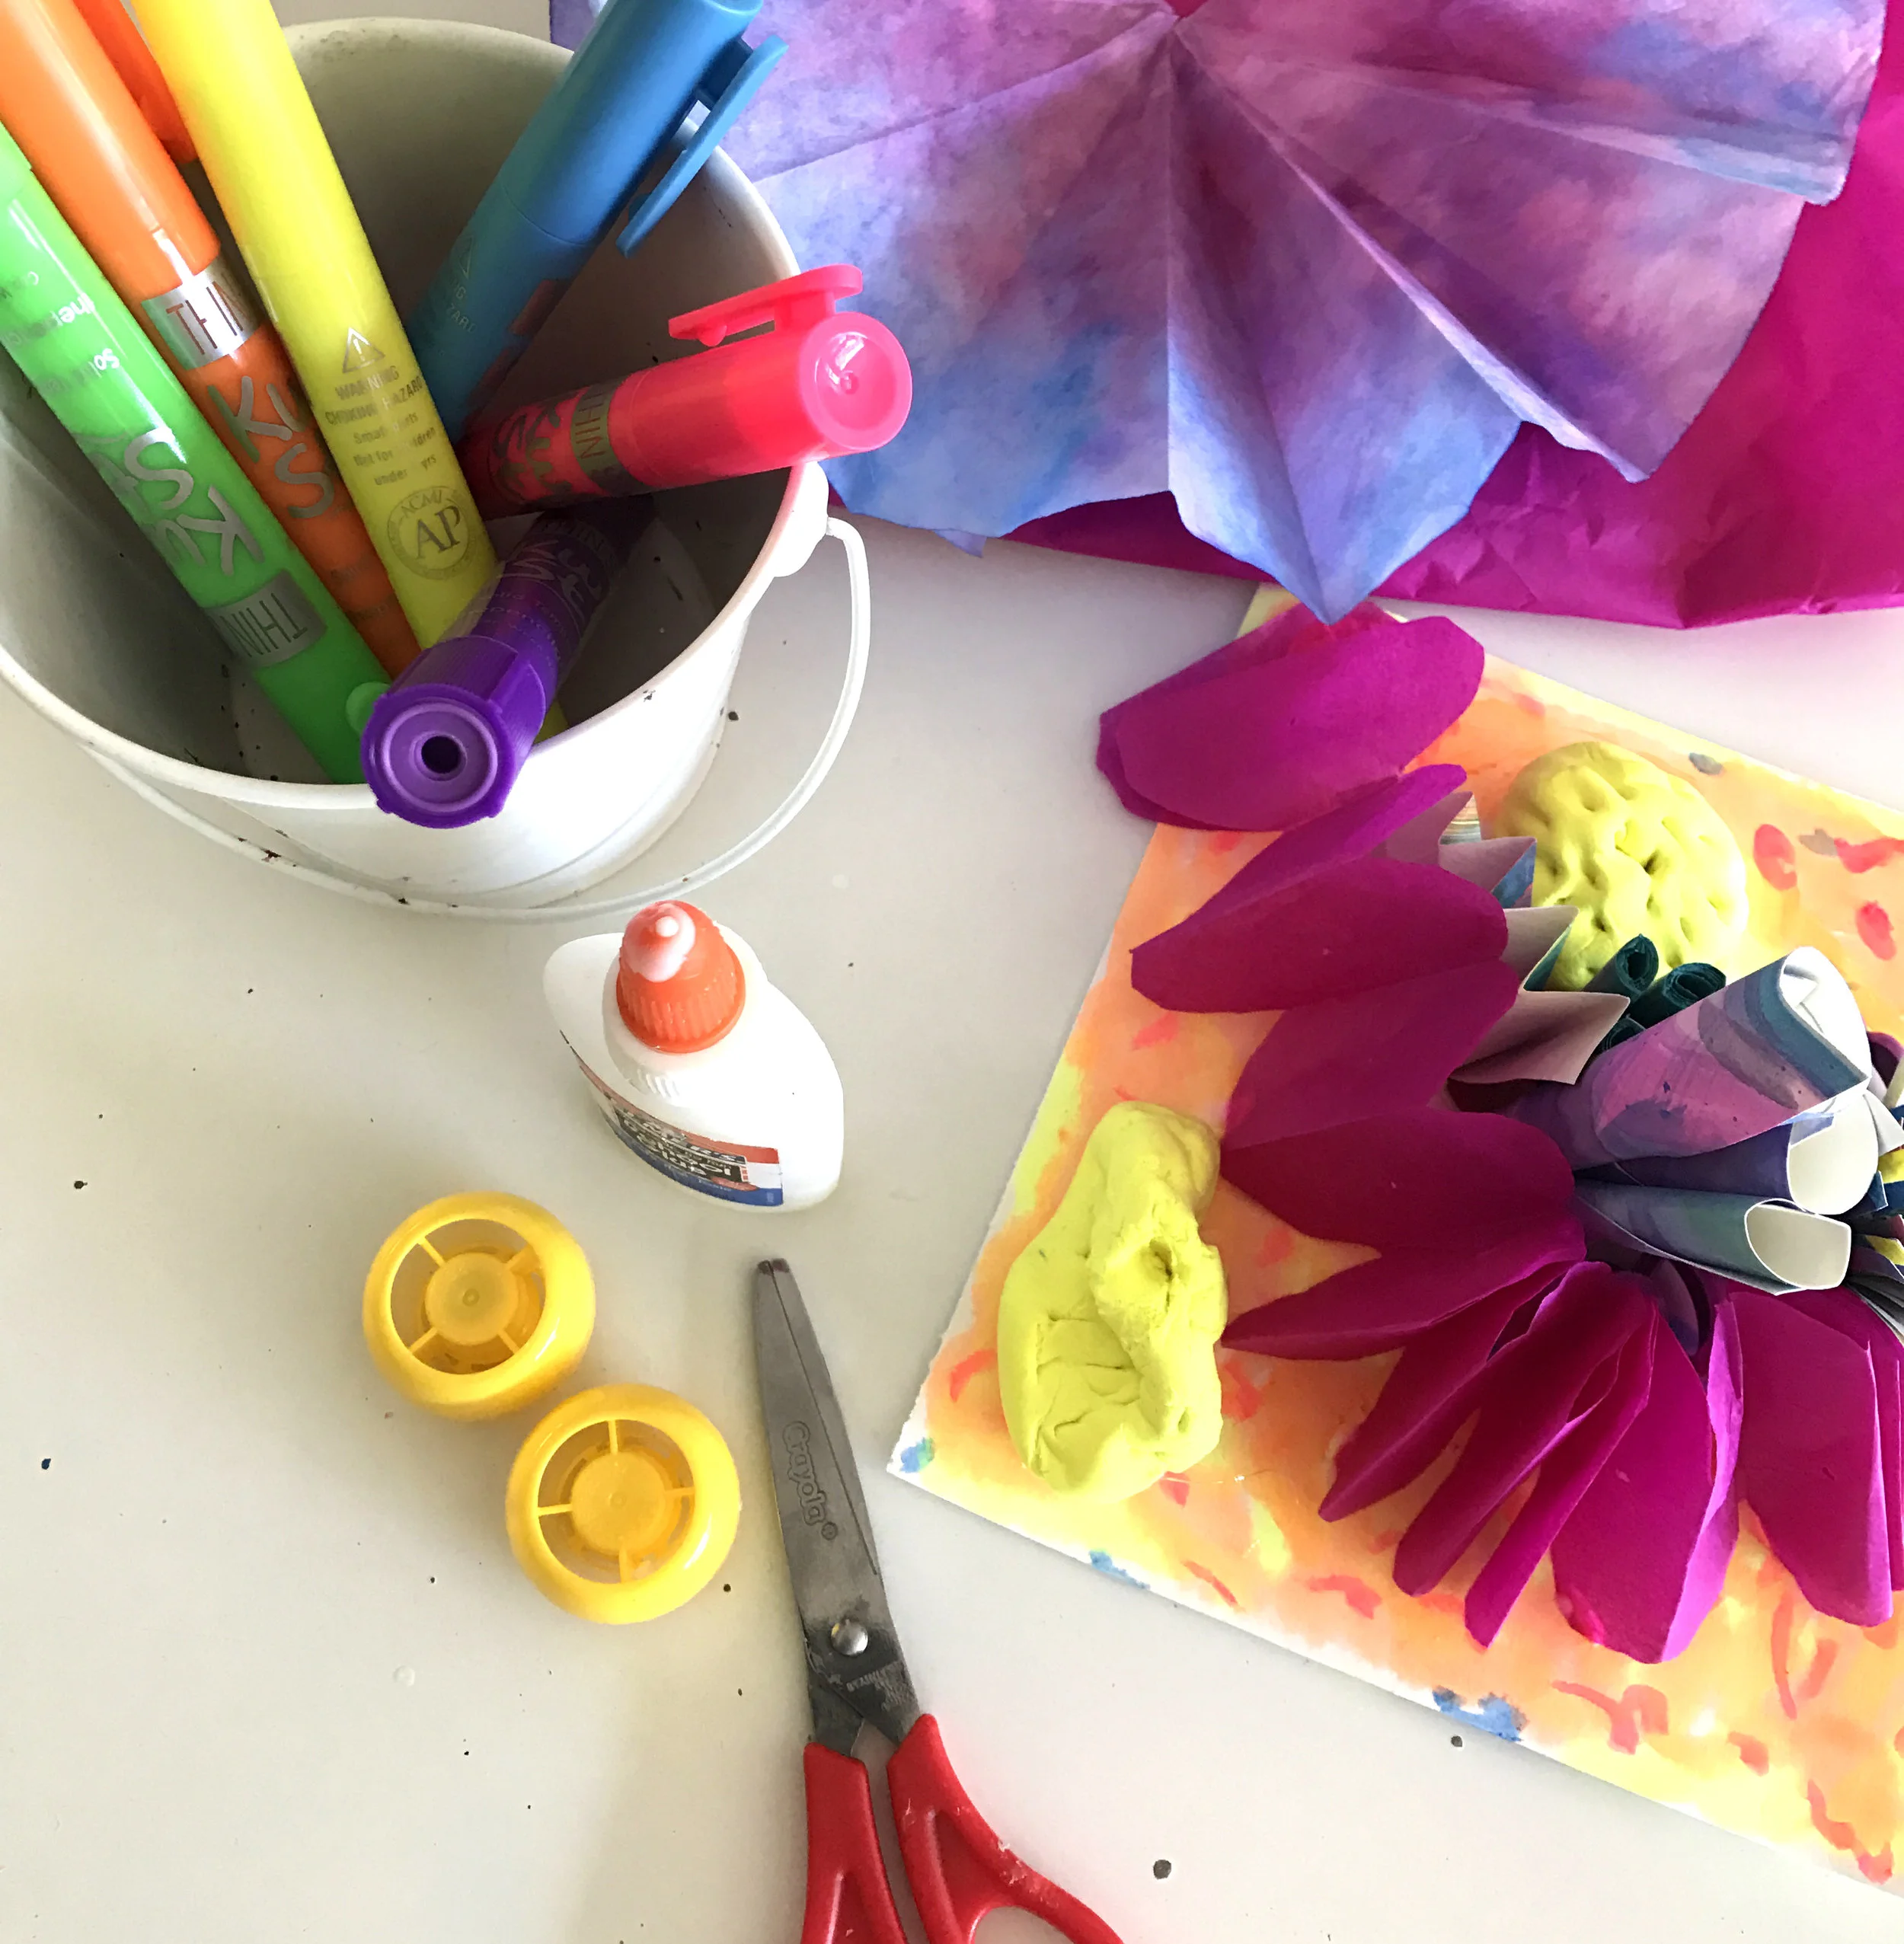
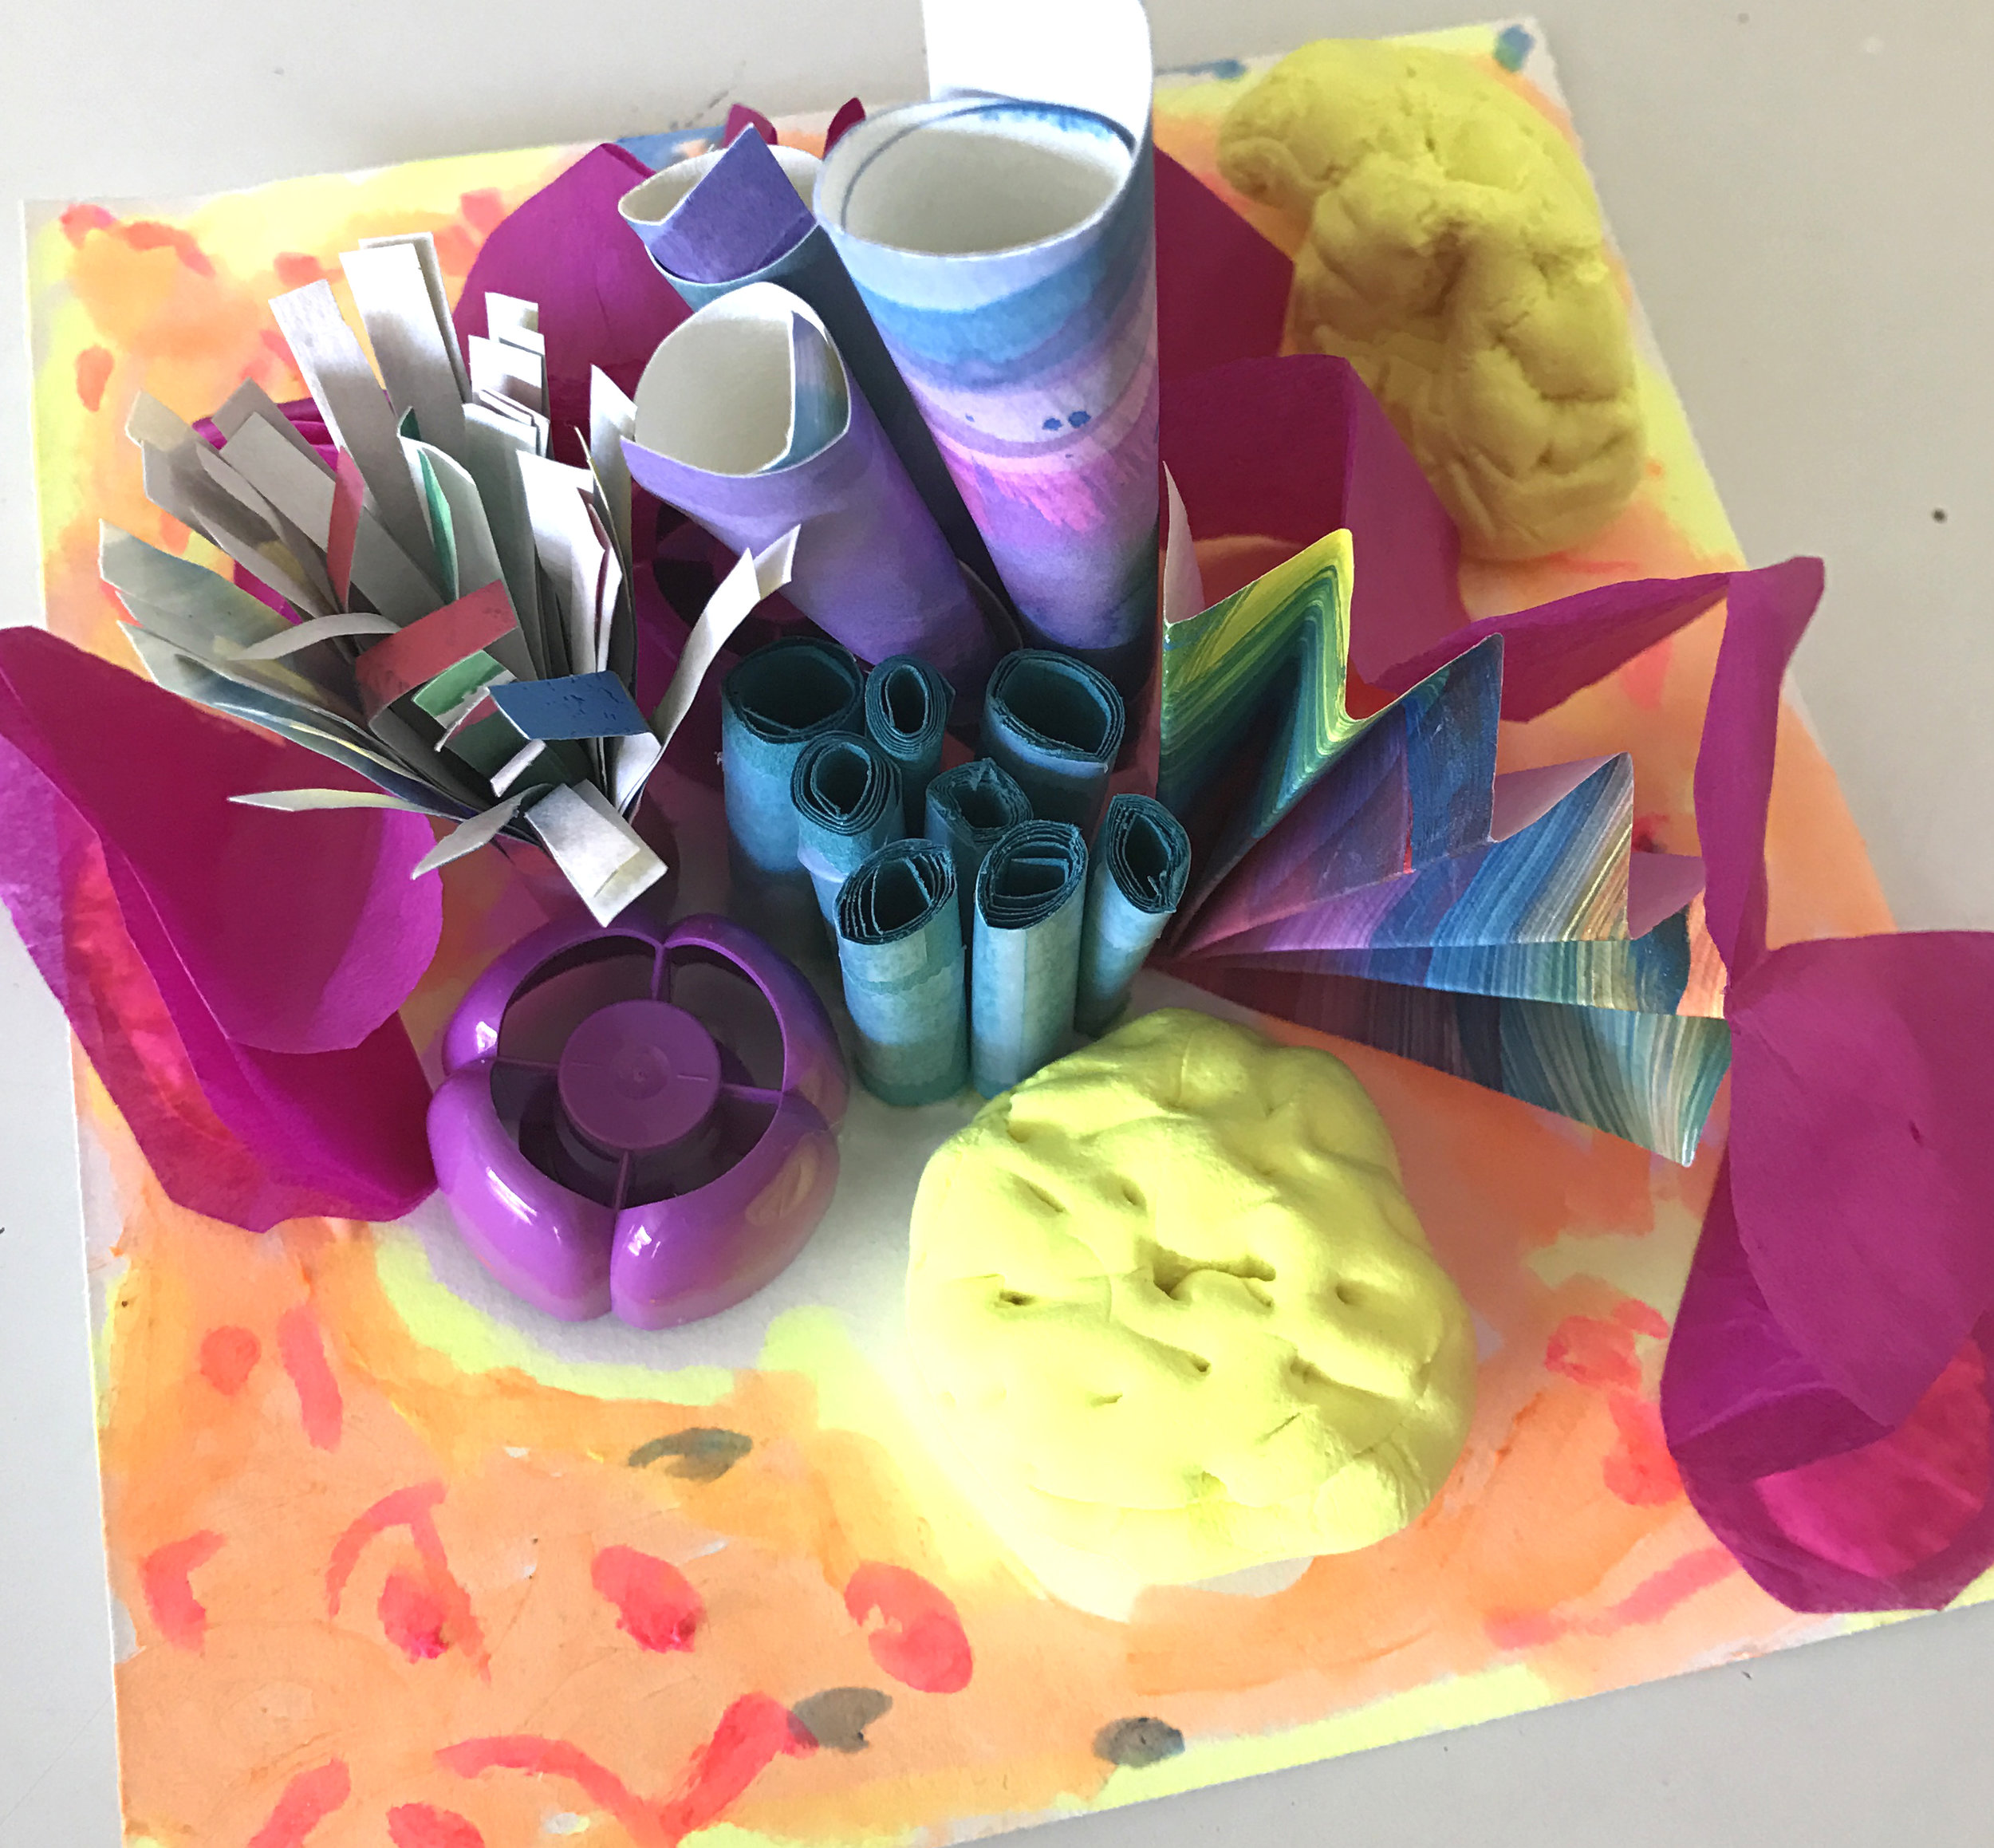
Coral Reef 3D Sculpture ART PROJECT
What You'll Need:
Cardstock
Collage paper
Recycled materials
Scissors
Hot glue gun (optional)
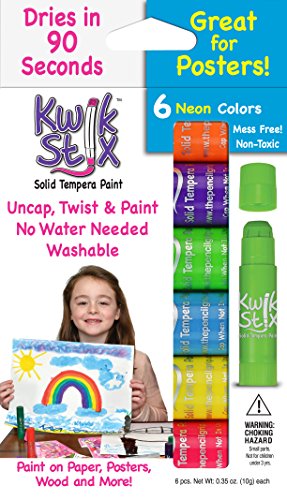
1. Coral reefs are too beautiful to have not done a three dimensional project. First, decorate your cardstock with Neon colored Kwik Sticks (we sell these in the studio for $6, they come in thick and thin widths).
2. Find different types of collage paper - construction paper, recycled painted paper, tissue paper, etc. Experiment with different folding techniques. Rolled paper, folding paper accordion style, and cutting paper into fringe and then rolling it all work great. Glue them down to your paper.
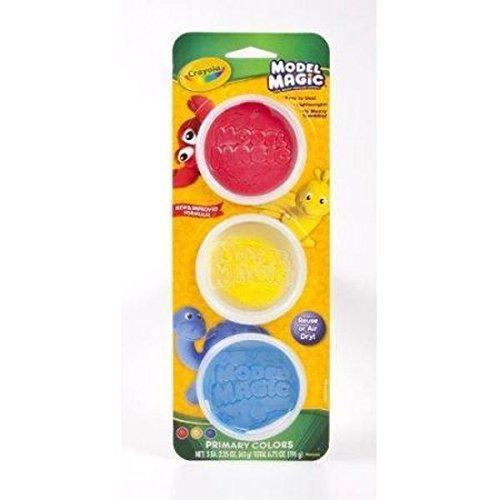
3. Make coral reef using Model Magic clay. Clay will air dry. Add any remaining details using recycled materials. We love recycled baby food pouch tops in our studio!

Tropical Fish Collage
What You'll Need:
Bleeding tissue paper
Scissors
Cardstock or Watercolor paper
Glue/Water mixture (1:4 ratio)
Paintbrush
Pencil/eraser
1. Sketch out your fish shape using a pencil and an eraser.
2. Cut out pieces of tissue paper to fill in your collage. Start with a large piece to cover the whole shape of the fish. Paint the glue/water mixture on your paper and stick the tissue paper down.
3. Begin to layer in different pieces of tissue paper to create fun colors in your fish. Continue to cover tissue paper with glue/water mixture as colors will bleed together. Use plain un-watered down glue if you do not wish to have the colors bleed.
4. Fill in the background with tissue paper.
5. Add an eye for the fish.
*TIP: Consider using "warm" colors such as pinks, reds, oranges and yellows for the fish and "cool" colors such as blues and greens for the water. This will make the fish really pop.