Planet Crafts For Kids & a Slime Recipe!
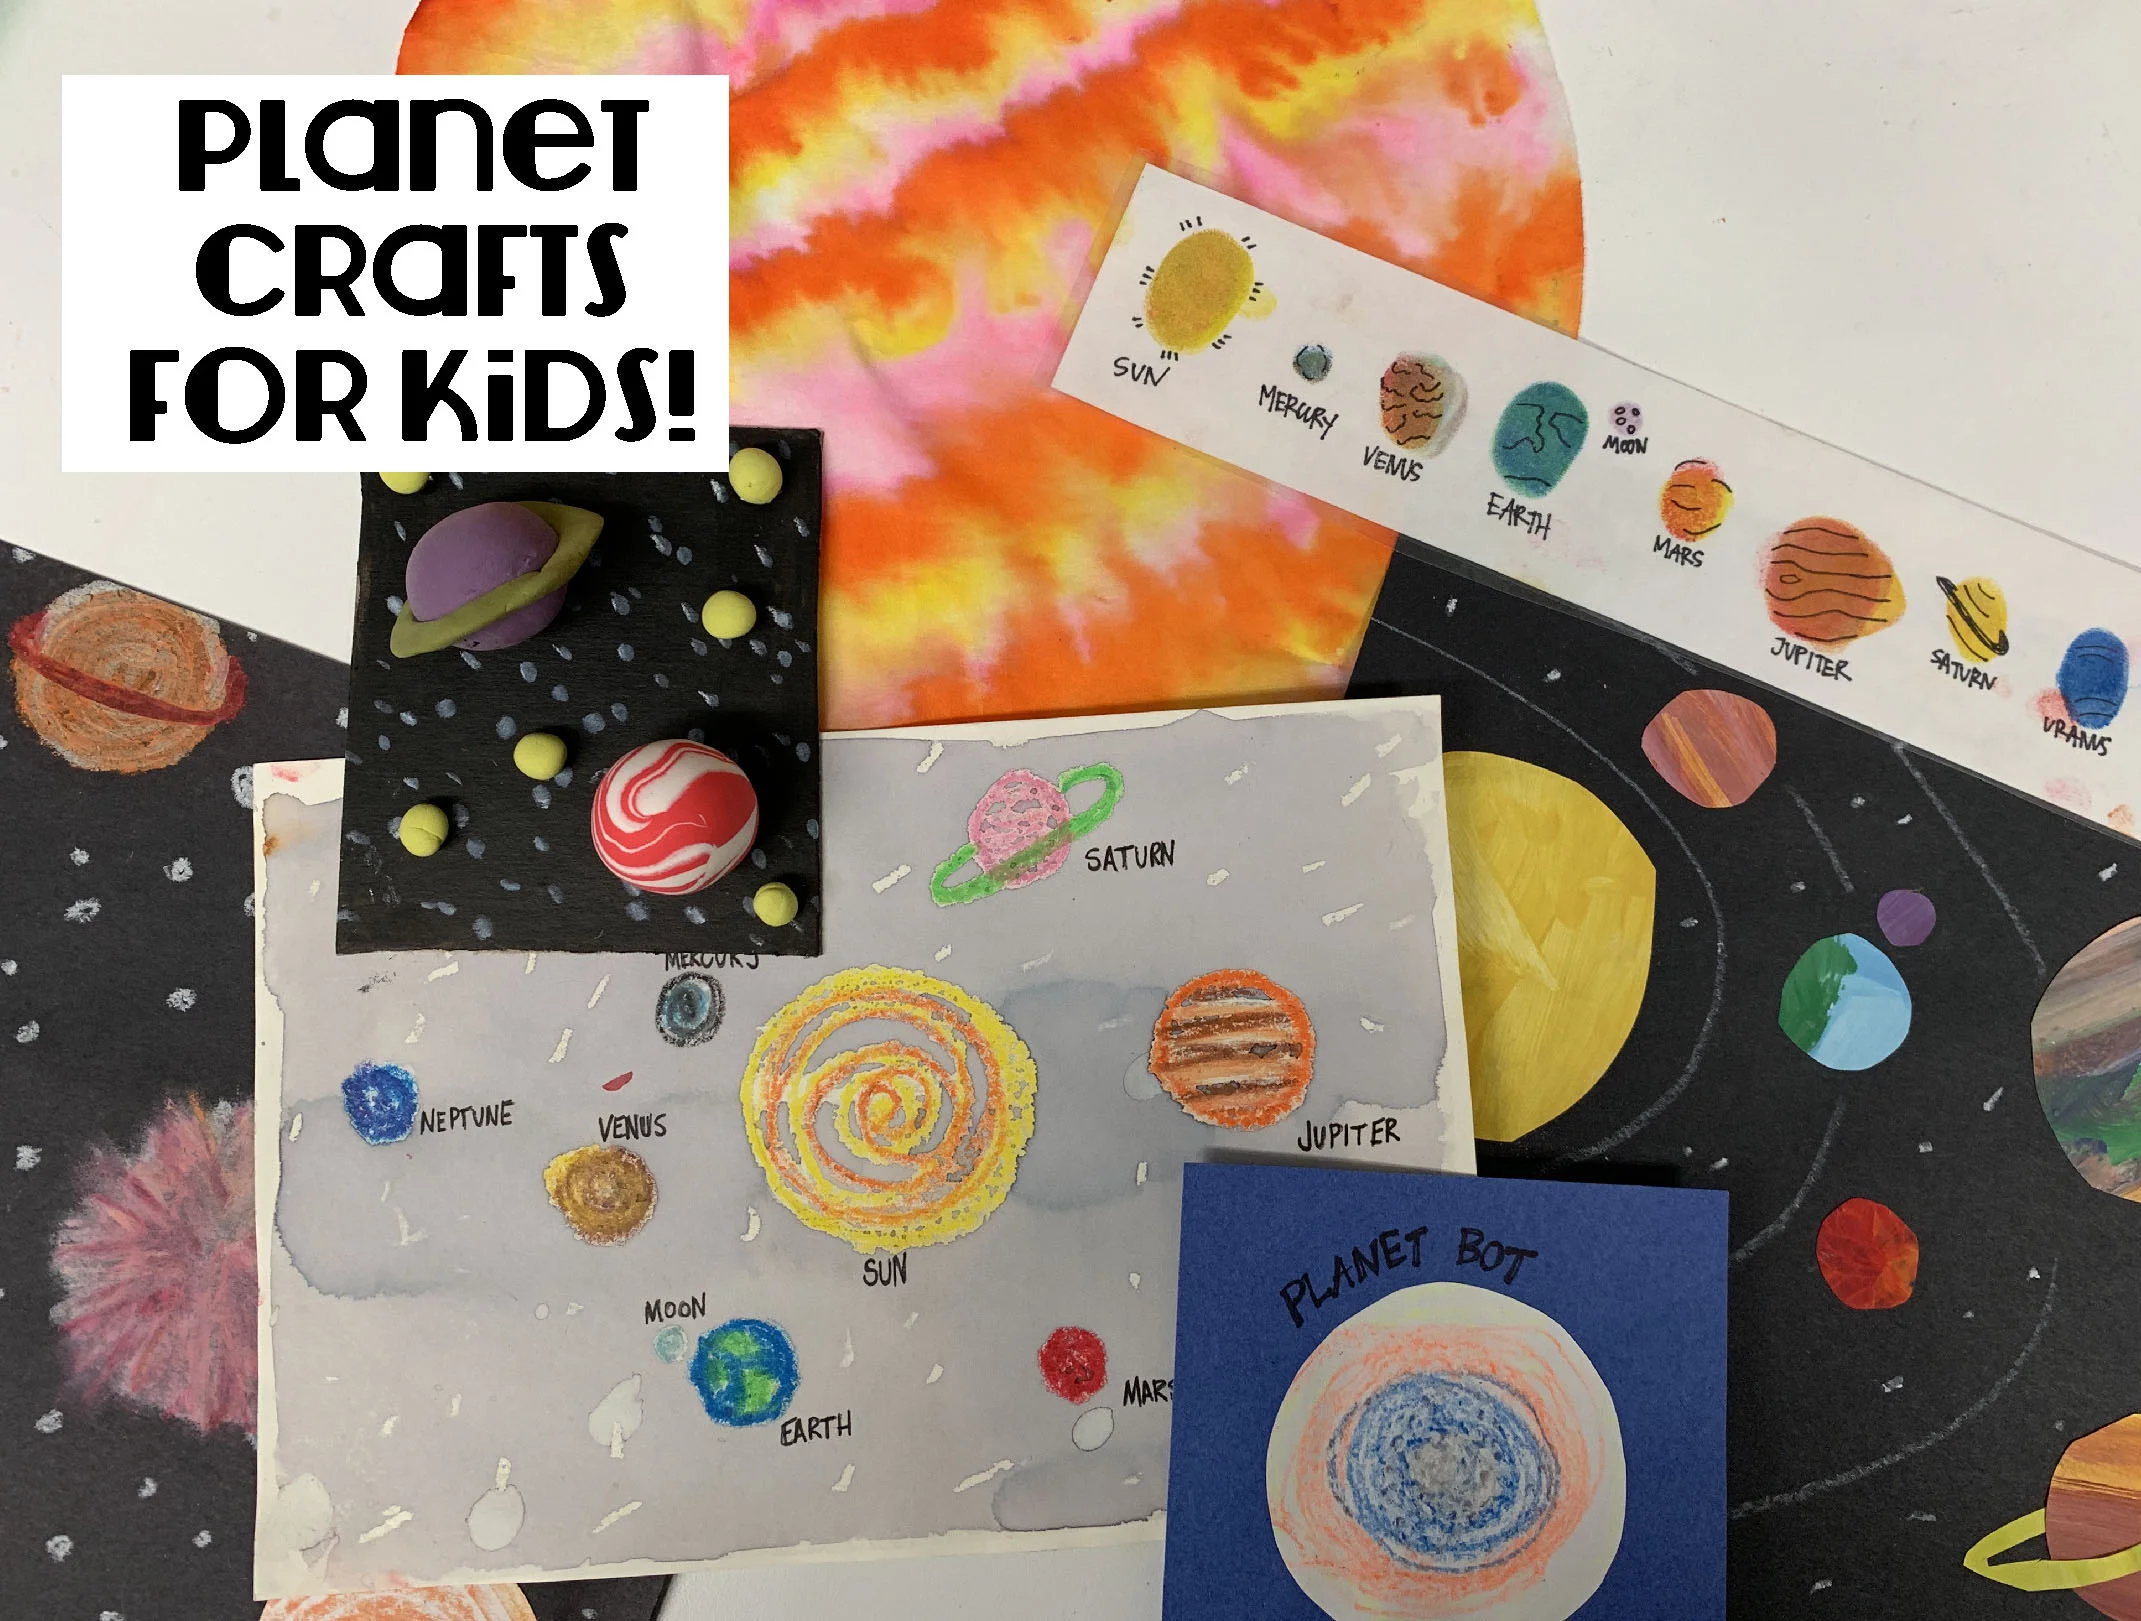
Planet Crafts for Kids. By The Art Project
Kids seem to be fascinated by all things space. This week are focusing on just planets! Here are some fun planet themed projects for kids of all ages. Plus, we are including a fun Slime Recipe! If you can’t get enough, check out some of our other planet & space projects here!
“Nebula” Slime Recipe
Kids can’t seem to get enough of making slime in the studio, and, to be honest, our instructors can’t either! We take advantage of any chance we get to make some new kind of slime. Over the past few years, we’ve tweaked and tweaked our slime recipes to make them less sticky, stretchy, easier clean up, less wasteful of materials, etc. We had fun this week coming up with some planet inspired slime recipes to make with kids. Here is what we came up with!
What You’ll Need:
Baking soda
Water
Contact solution (the kind you use must have Boric Acid in the ingredients)
Mixing bowls and spoons
Baggie for slime storage
OPTIONAL: Glitter or sequins
Instructions:
Pour 1/4 cup clear glue into a mixing bowl. Add 1/4 tsp of baking soda and mix until you don’t see any more powder.
Add 5 T of water to your mixture and stir. Add a few drops of food coloring or liquid watercolors until your slime reaches desired color.
Add 1 T of contact solution and mix. Continue to stir until your slime starts to form a ball. Use your hands to knead slime until it is not sticky anymore. The more you play with it, the less sticky it will be.
Repeat above recipe to make a second batch of slime in a different color.
Swirl colors together and add glitter or sequins! *TIP: Use 2 colors that mix well together (some options would be pink/blue, yellow/blue, red/yellow, etc.)

"Nebula" Slime Recipe. By The Art Project
Paper Marbling Planets
We love doing paper marbling using shaving cream in the studio. It mimics the Japanese surface design technique of suminagashi that traditionally uses ink. This shaving cream method is much more approachable for kids because the materials are easier to wash, less expensive and are likely already lying around the house! We decided to make planets using this technique
What You’ll Need:
Shaving cream (must be the foam kind like Barbasol or a similar brand)
Toothpick or wooden dowel
Paper pre-cut into circles. Watercolor paper works great for this because it is thick and can hold more materials.
Scraping tool (we use tongue depressors)
Instructions:
Spread shaving cream across the tray. Smooth out the surface. Add a few drops of color.
Swirl color around in the shaving cream. Be sure to not mix the colors and lose the swirling patterns.
Stamp your paper face down in the shaving cream on top of the marble pattern.
Remove your paper and scrape excess shaving cream off to reveal the marbling pattern underneath.

Paper Marbling Planets. By The Art Project
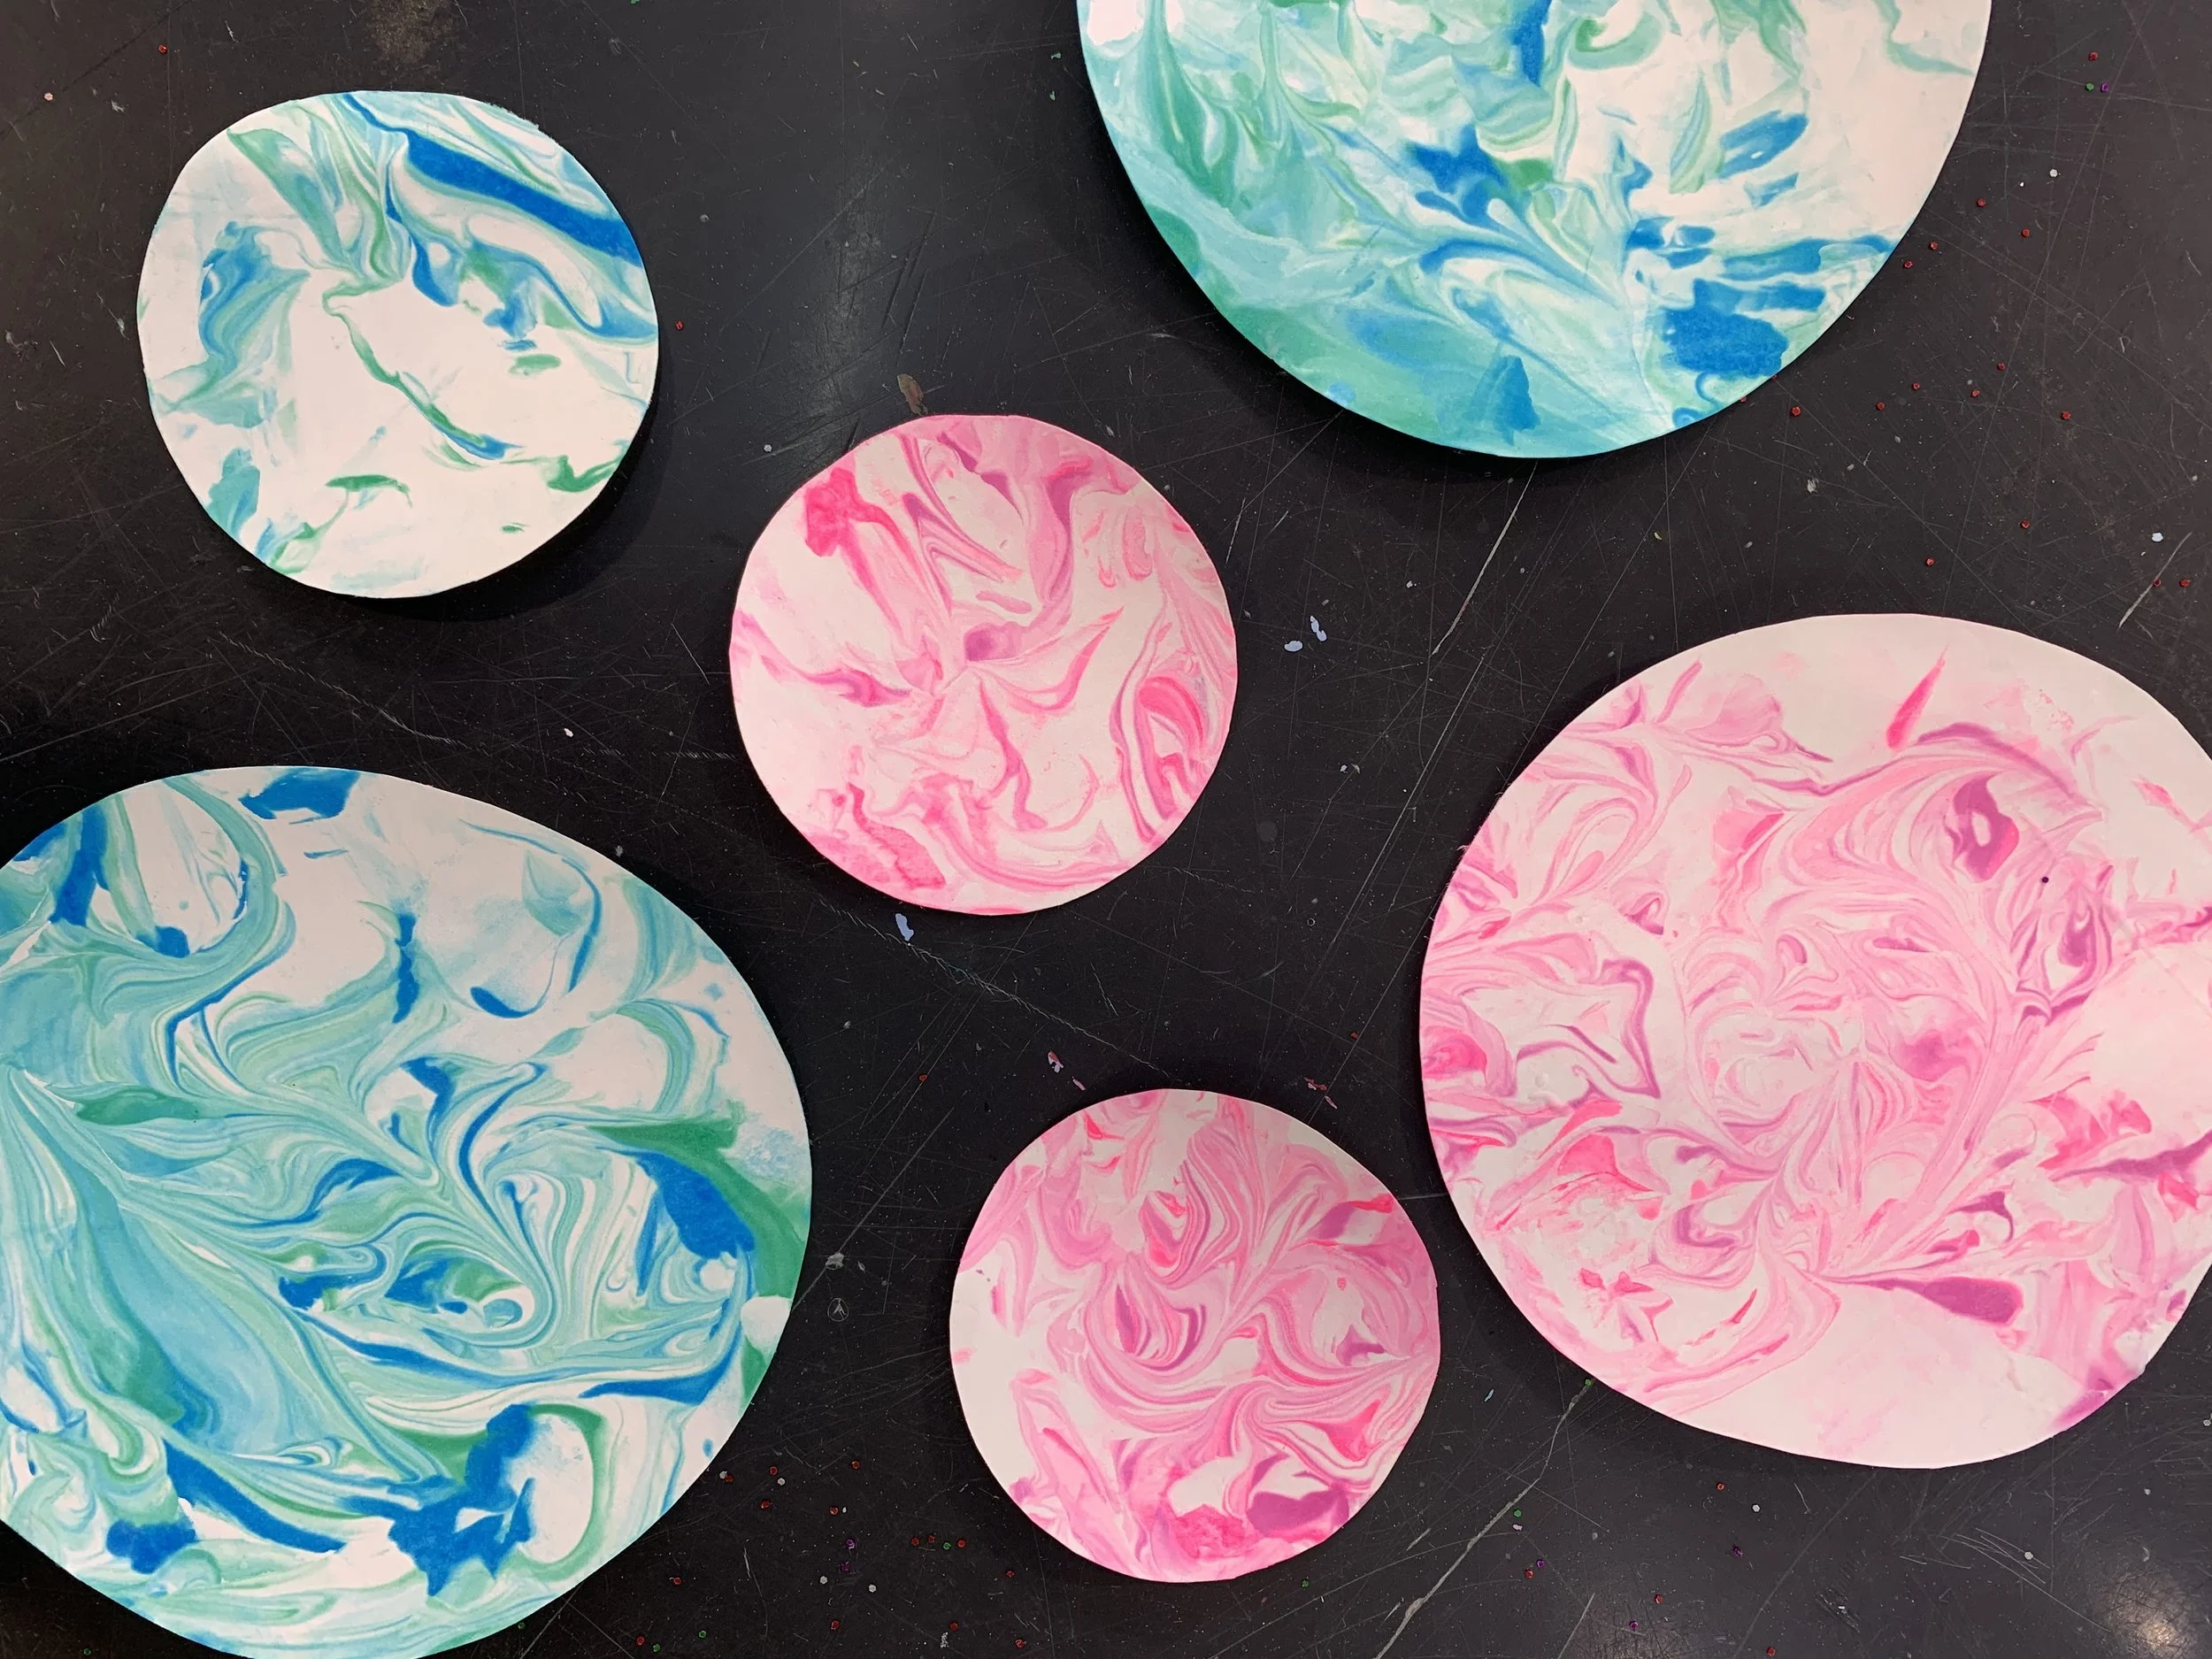
Paper Marbling Planets. By The Art Project

Model Magic 3D Planets
What You’ll Need:
Washable glue or hot glue
Cardboard
Instructions:
Color a piece of cardboard using Kwik Sticks (quick dry paint sticks).
While the background is drying, sculpt planet shapes out of Model Magic clay.
Glue planets down to your piece of cardboard. Model Magic clay will air dry in 24-48 hours.
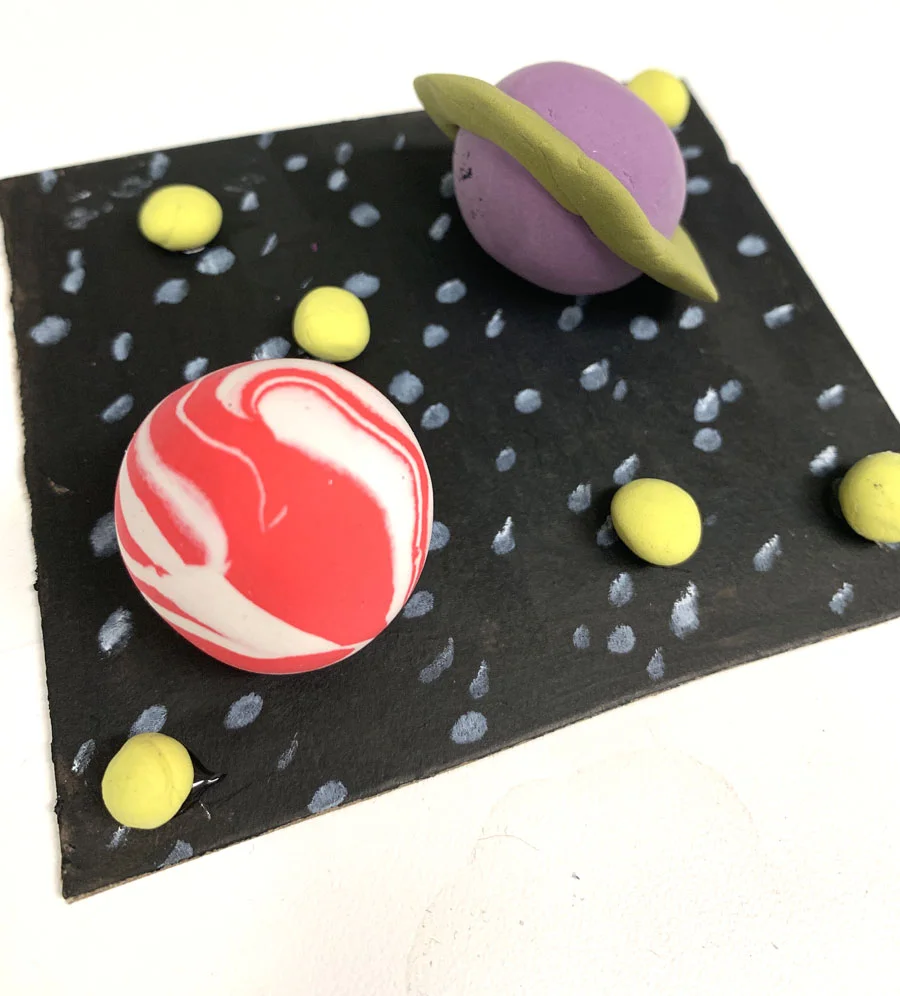
Model Magic 3D Planets. By The Art Project
Solar System Collage
What You’ll Need:
Collage paper (we used recycled painted paper)
Construction paper
Scissors
Glue sticks
Oil pastels or crayons (we love Crayola Construction Paper Crayons)
Instructions:
Cut planet shapes out of collage paper.
Arrange them on a piece of construction paper and glue them down using a glue stick.
Add additional details to your solar system using oil pastels. Oil pastels or Construction Paper Crayons show up great on top of construction paper.
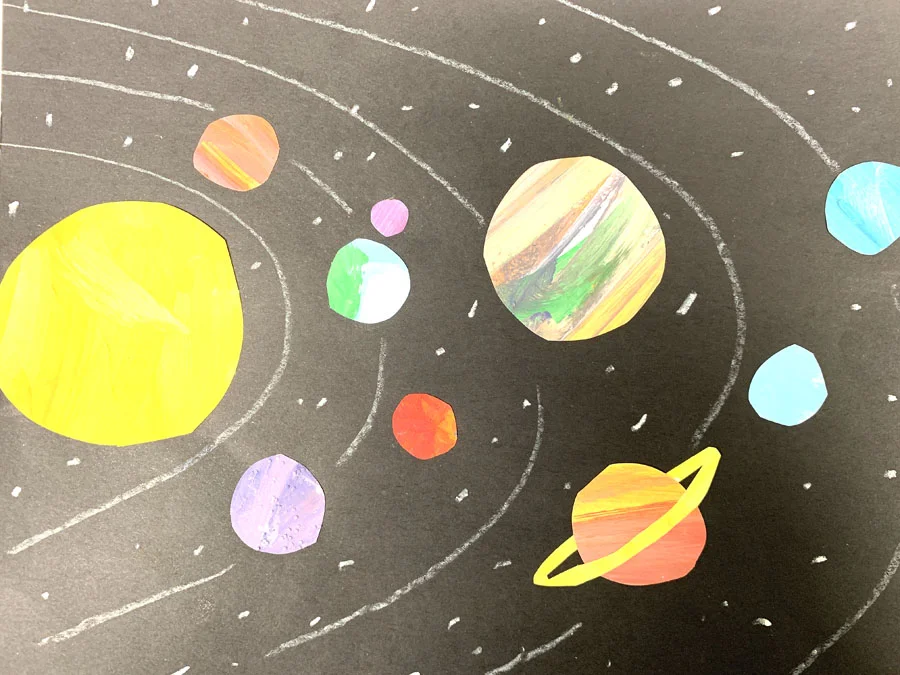
Solar System Collage. By The Art Project
Coffee Filter Planet
We have used this technique before making flowers, butterflies, tie dye, etc. It makes a great planet because of the watercolor effect created with the markers and water. Plus, it is such a fun process for kids and using the spray bottles is great for their fine motor skills!

What You’ll Need:
Washable markers
Spray bottle filled with water
Coffee filters
Instructions:
Color coffee filter with washable markers. Make sure to use colors that will mix well together and not turn brown.
Spray water all over the surface of your coffee filter. Be careful not to spray too much water!
Allow your coffee filter to dry. It will dry flat and more opaque then it appears while wet.

Coffee Filter Planet. By The Art Project
Solar System Watercolor
What You’ll Need:
Oil pastels or crayons (we love Crayola Construction Paper Crayons)
Watercolor paints - for this project, we made the grey color using recycled dried up markers. Find out how to do this here!
Instructions:
Draw your planets using oil pastels, crayons and permanent markers. Feel free to use white in the background for stars, as it will show up once you paint over the top.
Paint on top of your drawing using watercolor paints. The crayon/permanent marker lines will resist the watercolor paints.

Solar System Watercolor. By The Art Project